
Configure Windows Computer for PIN Printing
All Printing Jobs
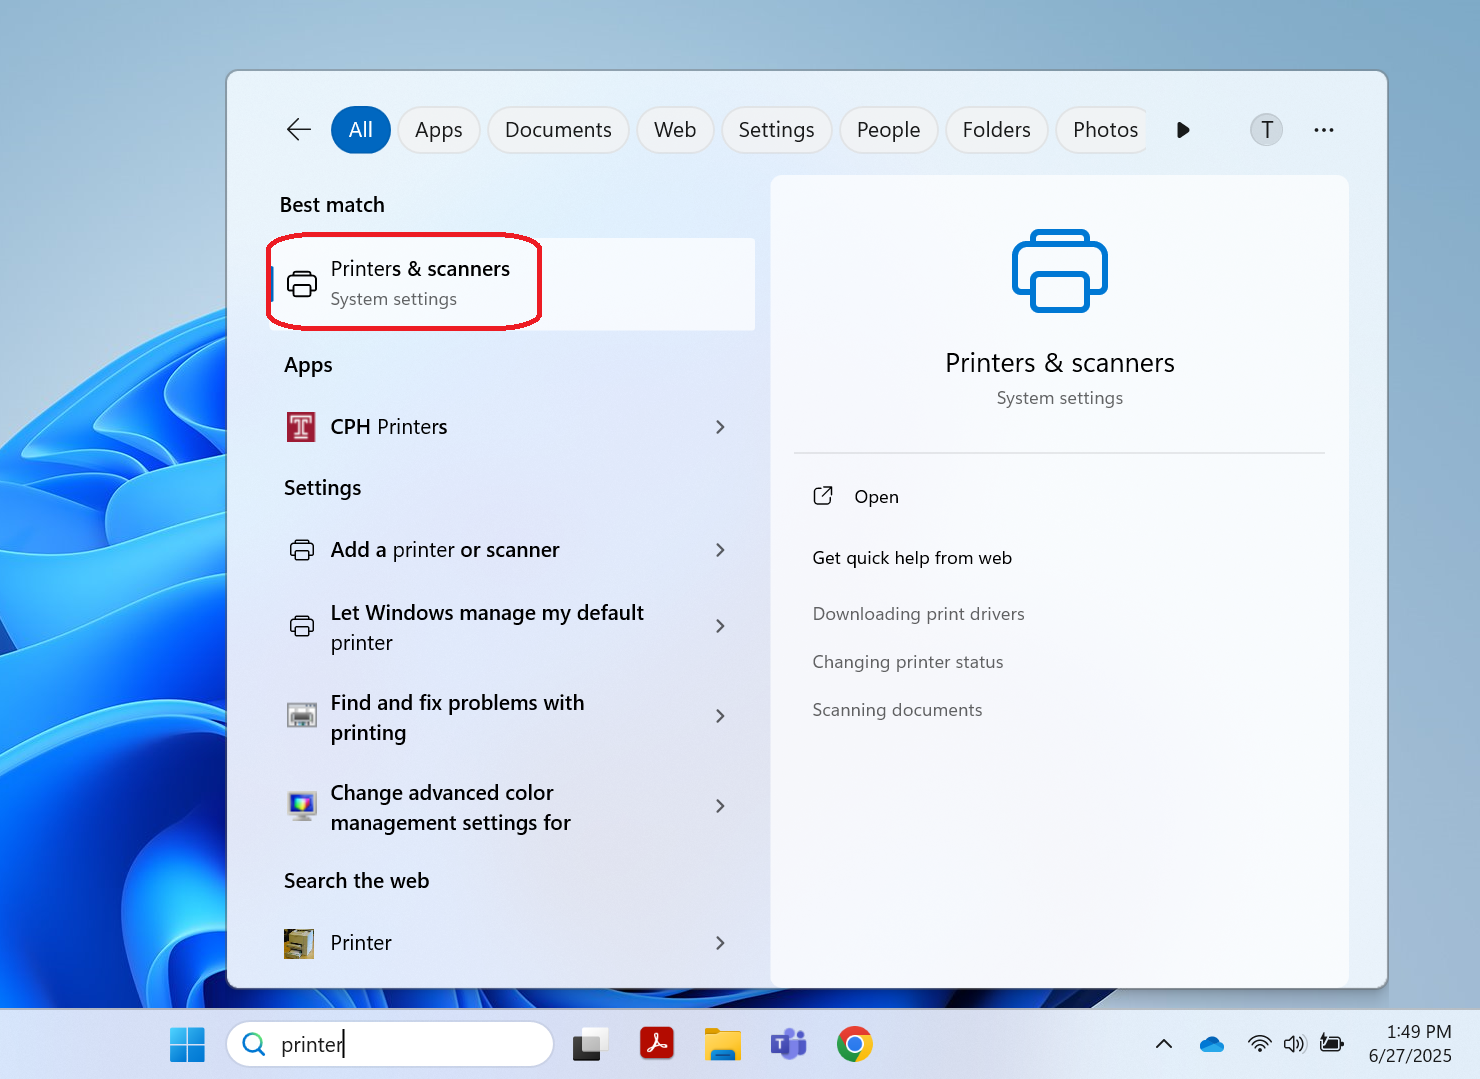
| 1. Select the Start icon or search for print in the search bar |  |
|
2. Click Printer & Scanners.
|
 |
| 3. Click the name of shared office printer. | 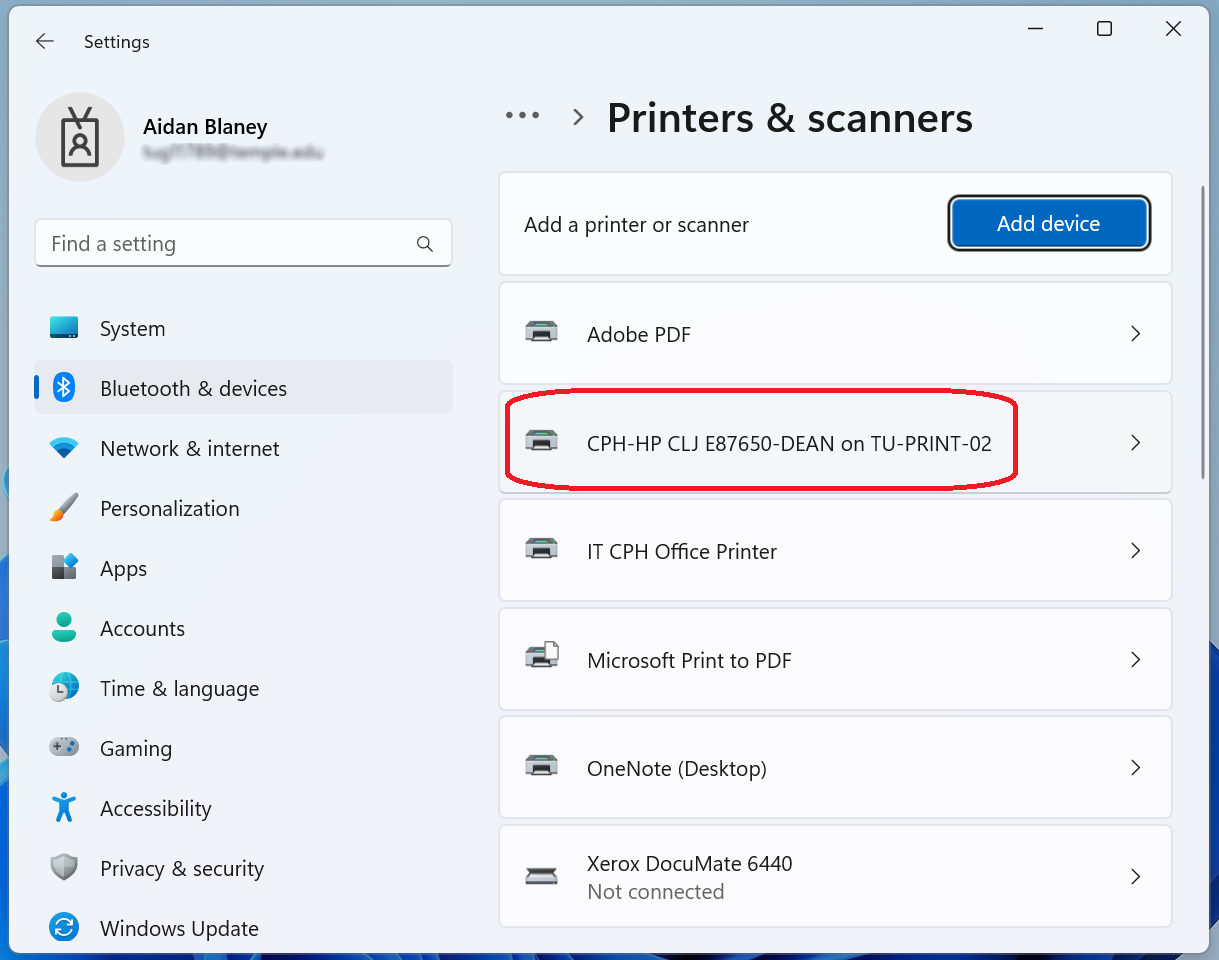 |
| 4. Click Printing preferences. |  |
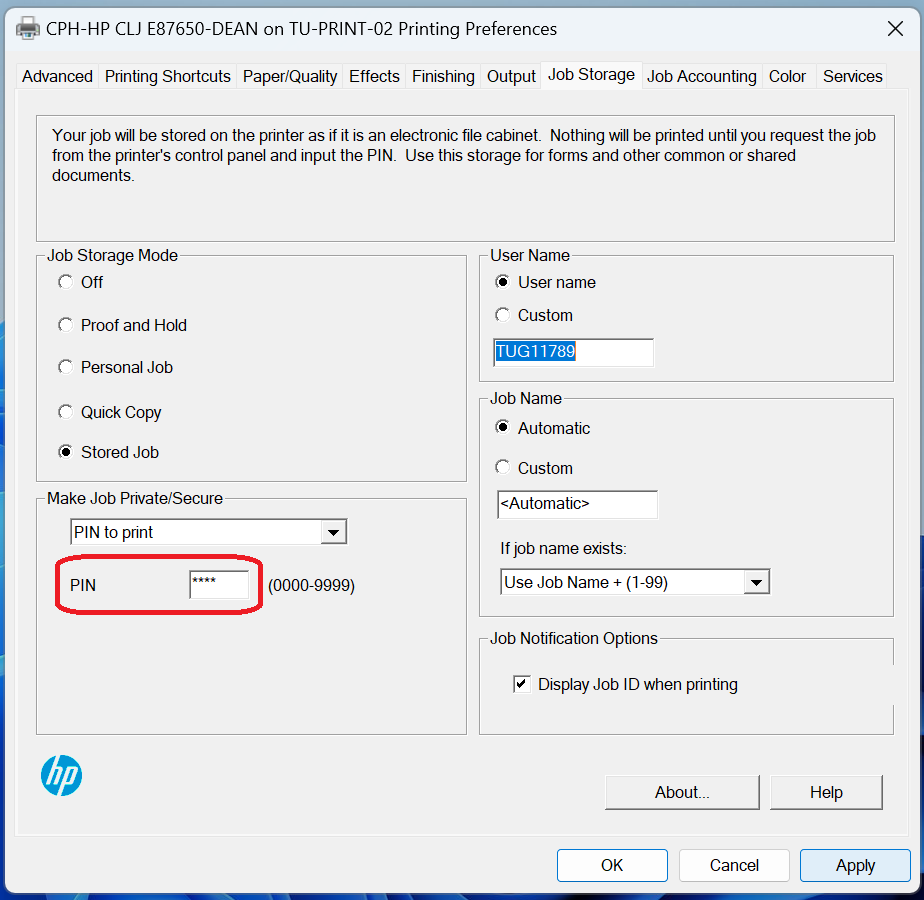
| 5. Click the Job Storage tab. | 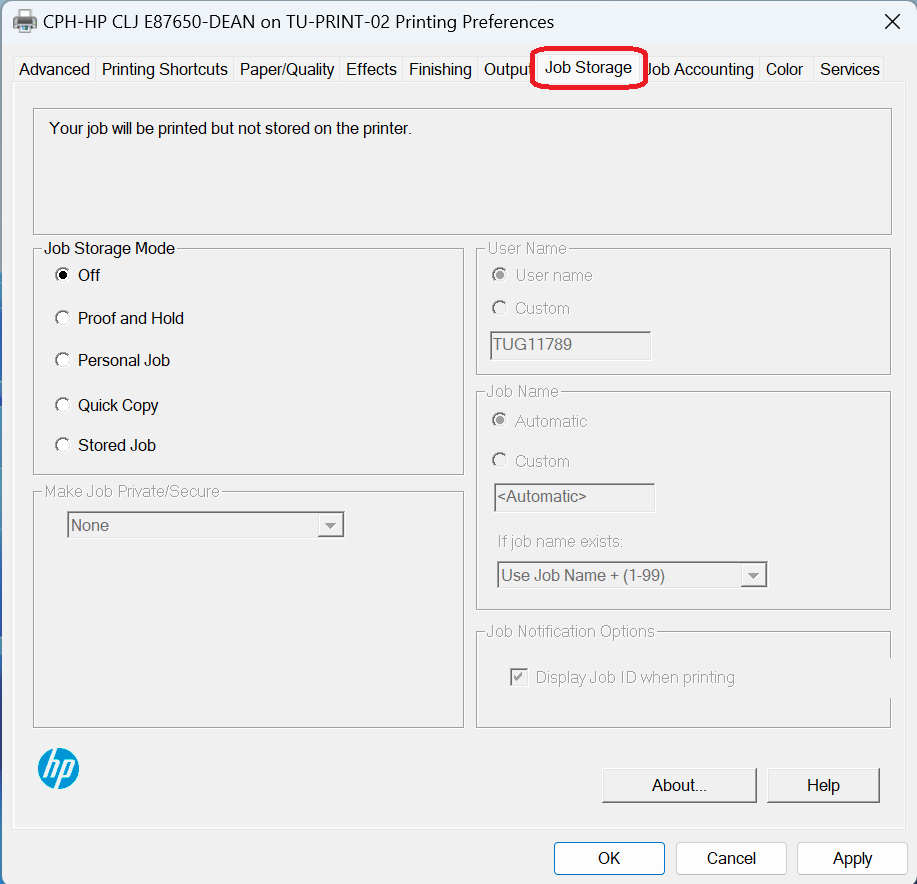 |
| 6. Select Stored Job under Job Storage Mode. | 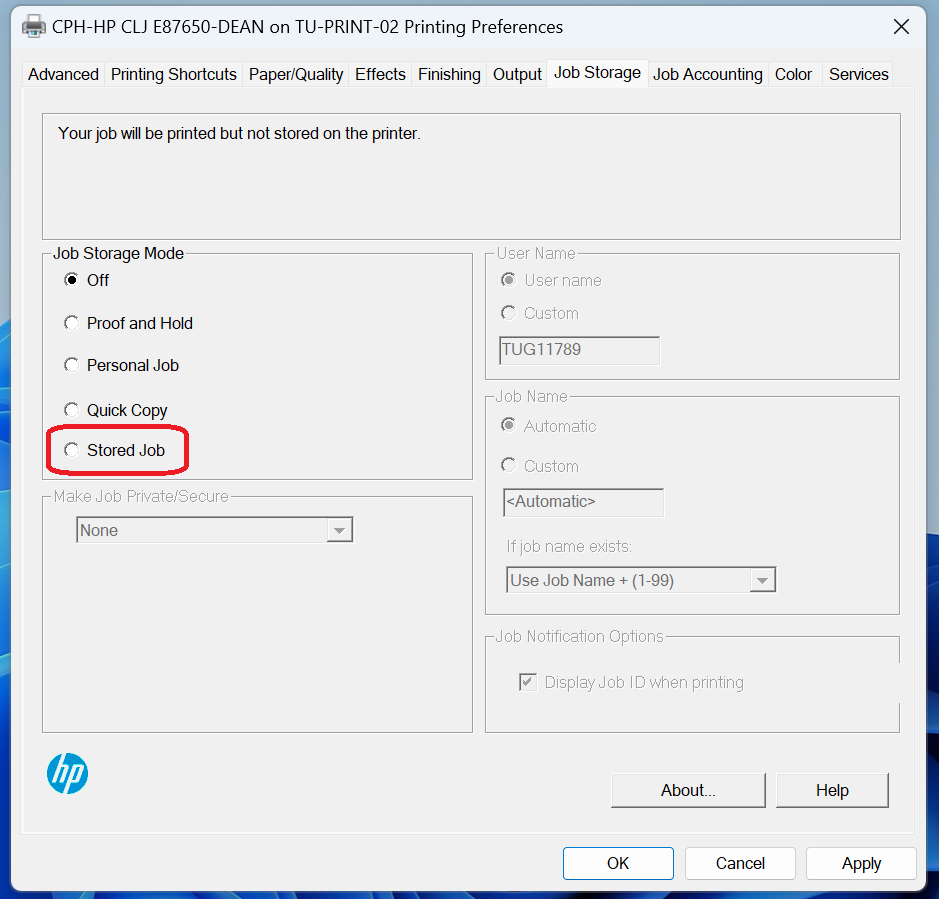 |
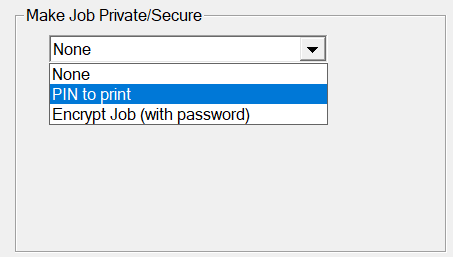
| 7. Select from the dropdown menu in Make Job Private/Secure. | 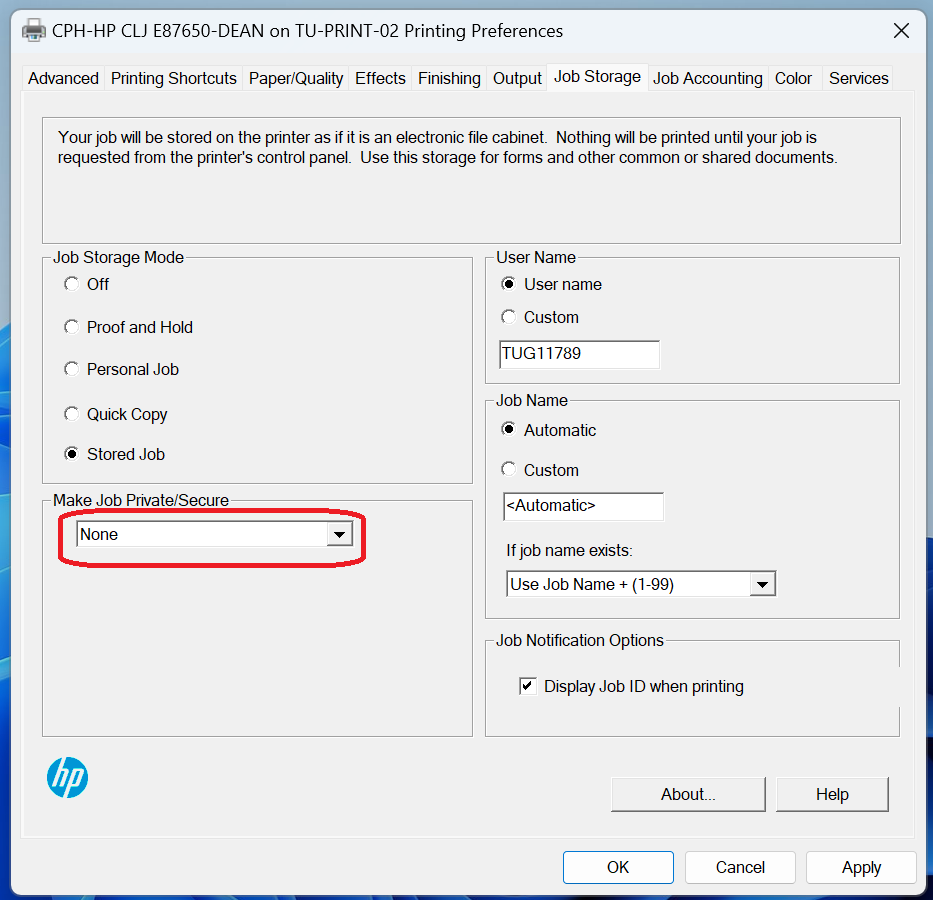 |
|
8. Select PIN to print.
Add a pin that is easy to remember. |
|
|
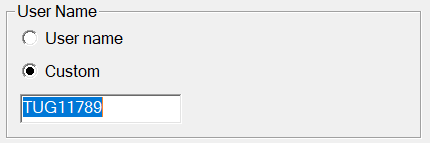
9. Under the User Name, verify it is the name you want. This name will be used for the folder created on the printer.
If you wish to change the name, select Custom and add the name you would like. |
 |
| 10. Click Apply, then OK. | 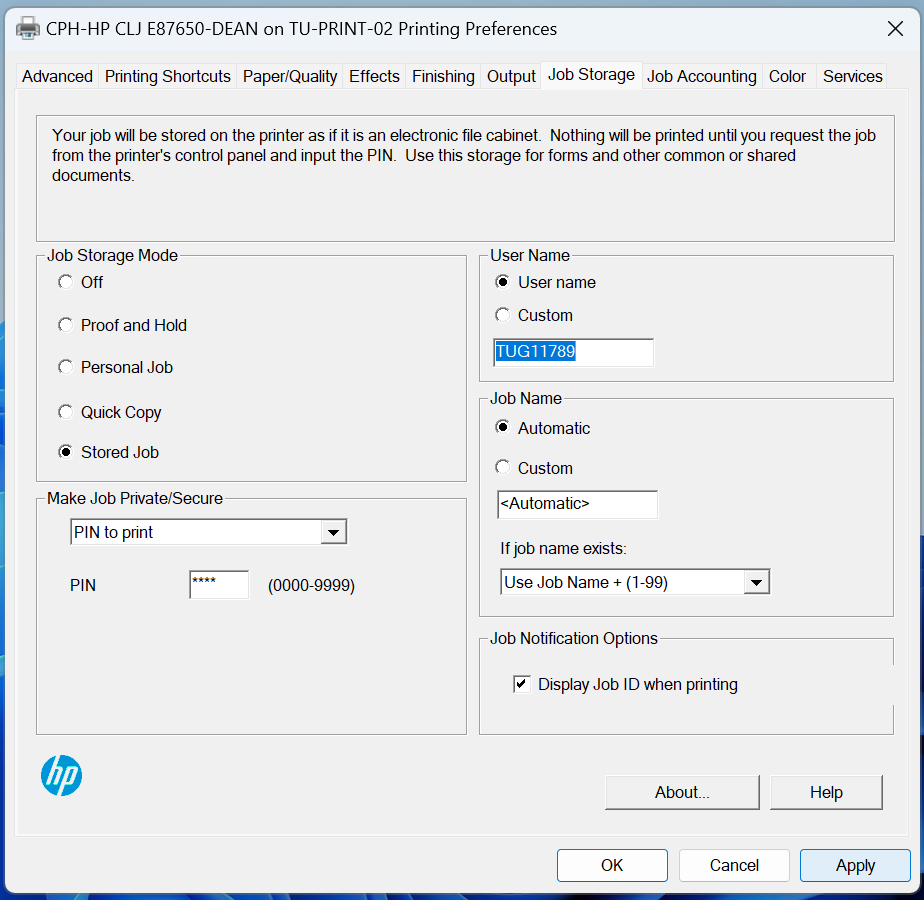 |
|
11. Go to document you wish to print and select print. Please note a window will pop up when printing. You can click the checkbox In the future, do not show this information. This window is a notification of how your print job will be saved. |
|

One-time Printing
|
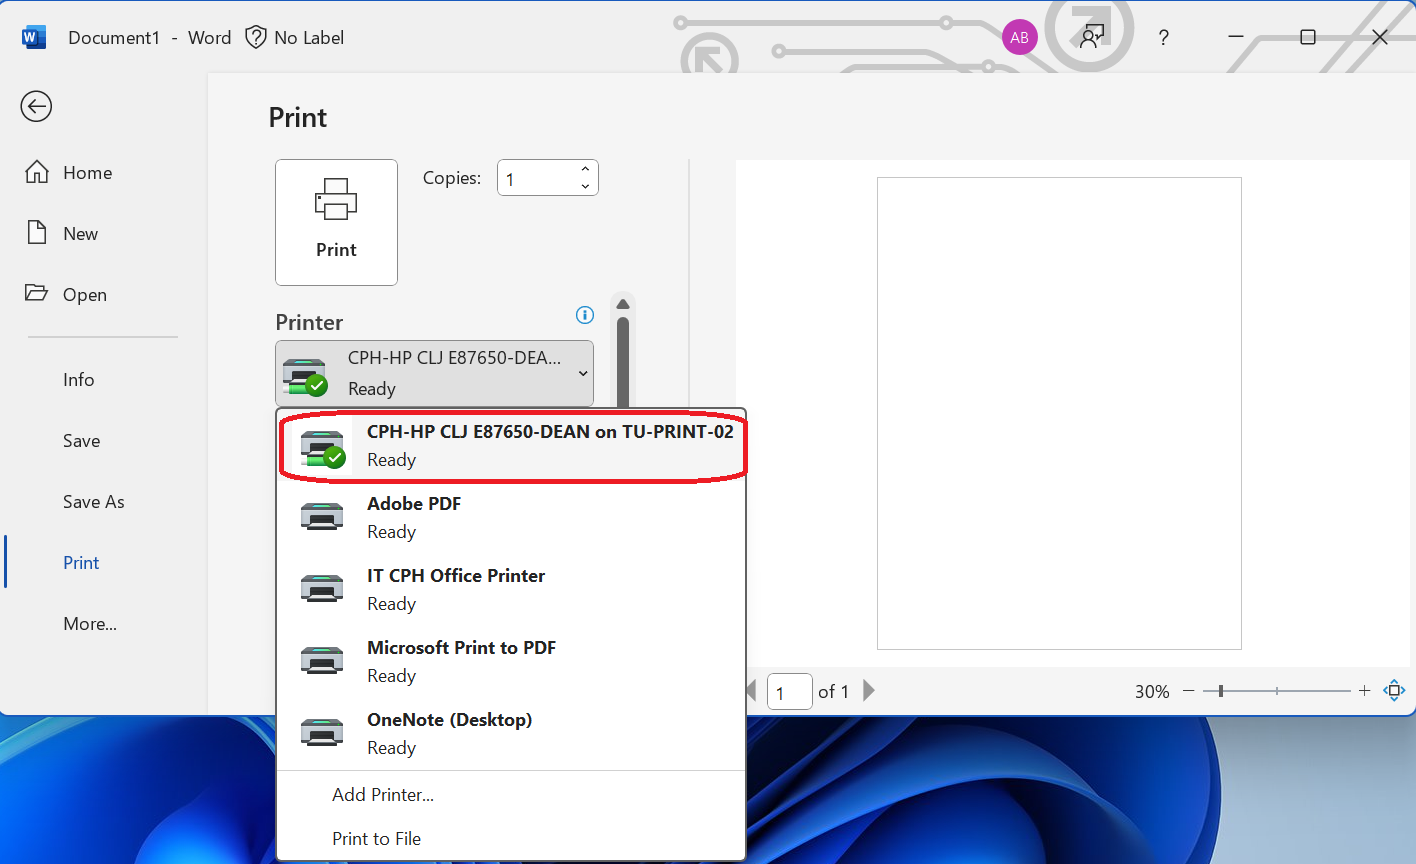
1. Go to the document you wish to print and click Print or CTRL + P.
|
|
|
2. Select the name of the shared office printer.
|
 |
| 3. Click Printing preferences. | 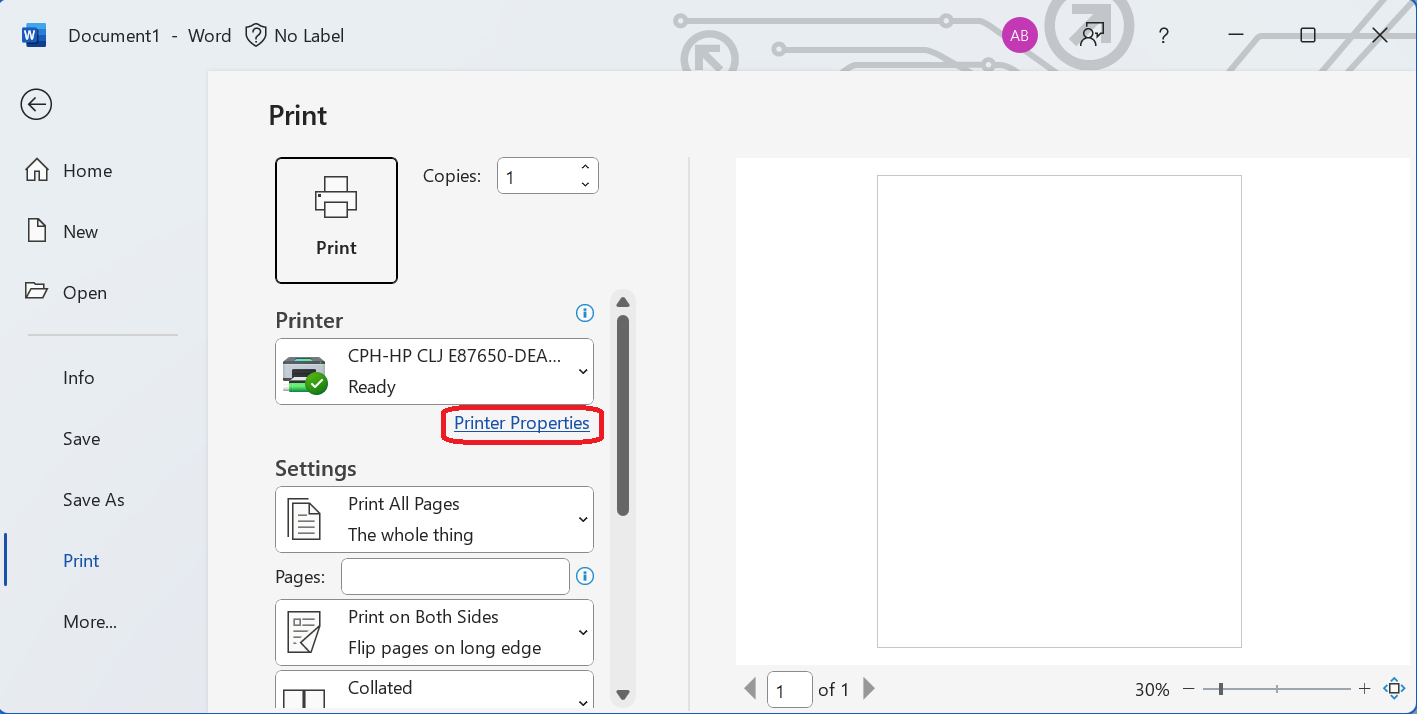 |
| 4. Click the Job Storage tab. | |
| 5. Select Stored Job under Job Storage Mode. | |
| 6. Select from the dropdown menu in Make Job Private/Secure. | |
|
7. Select PIN to print.
Add a pin that is easy to remember. |
|
|
8. Under the User Name, verify it is the name you want. This name will be used for the folder created on the printer.
If you wish to change the name, select Custom and add the name you would like. |
|
| 9. Click Apply, then OK. | |
|
10. Go to document you wish to print and select print. Please note a window will pop up when printing. You can click the checkbox In the future, do not show this information. This window is a notification of how your print job will be saved. |
|