Configure Mac Computer for PIN Printing
For either printing option, please verify you have the printer downloaded:
- Go to the Self Service application.
- Scroll through the list of applications and select install under the shared office printer you wish to print from.
One-time Printing
|
1. Go to the document you wish to print and click Print or ⌘ + P or command + P.
|
|
|
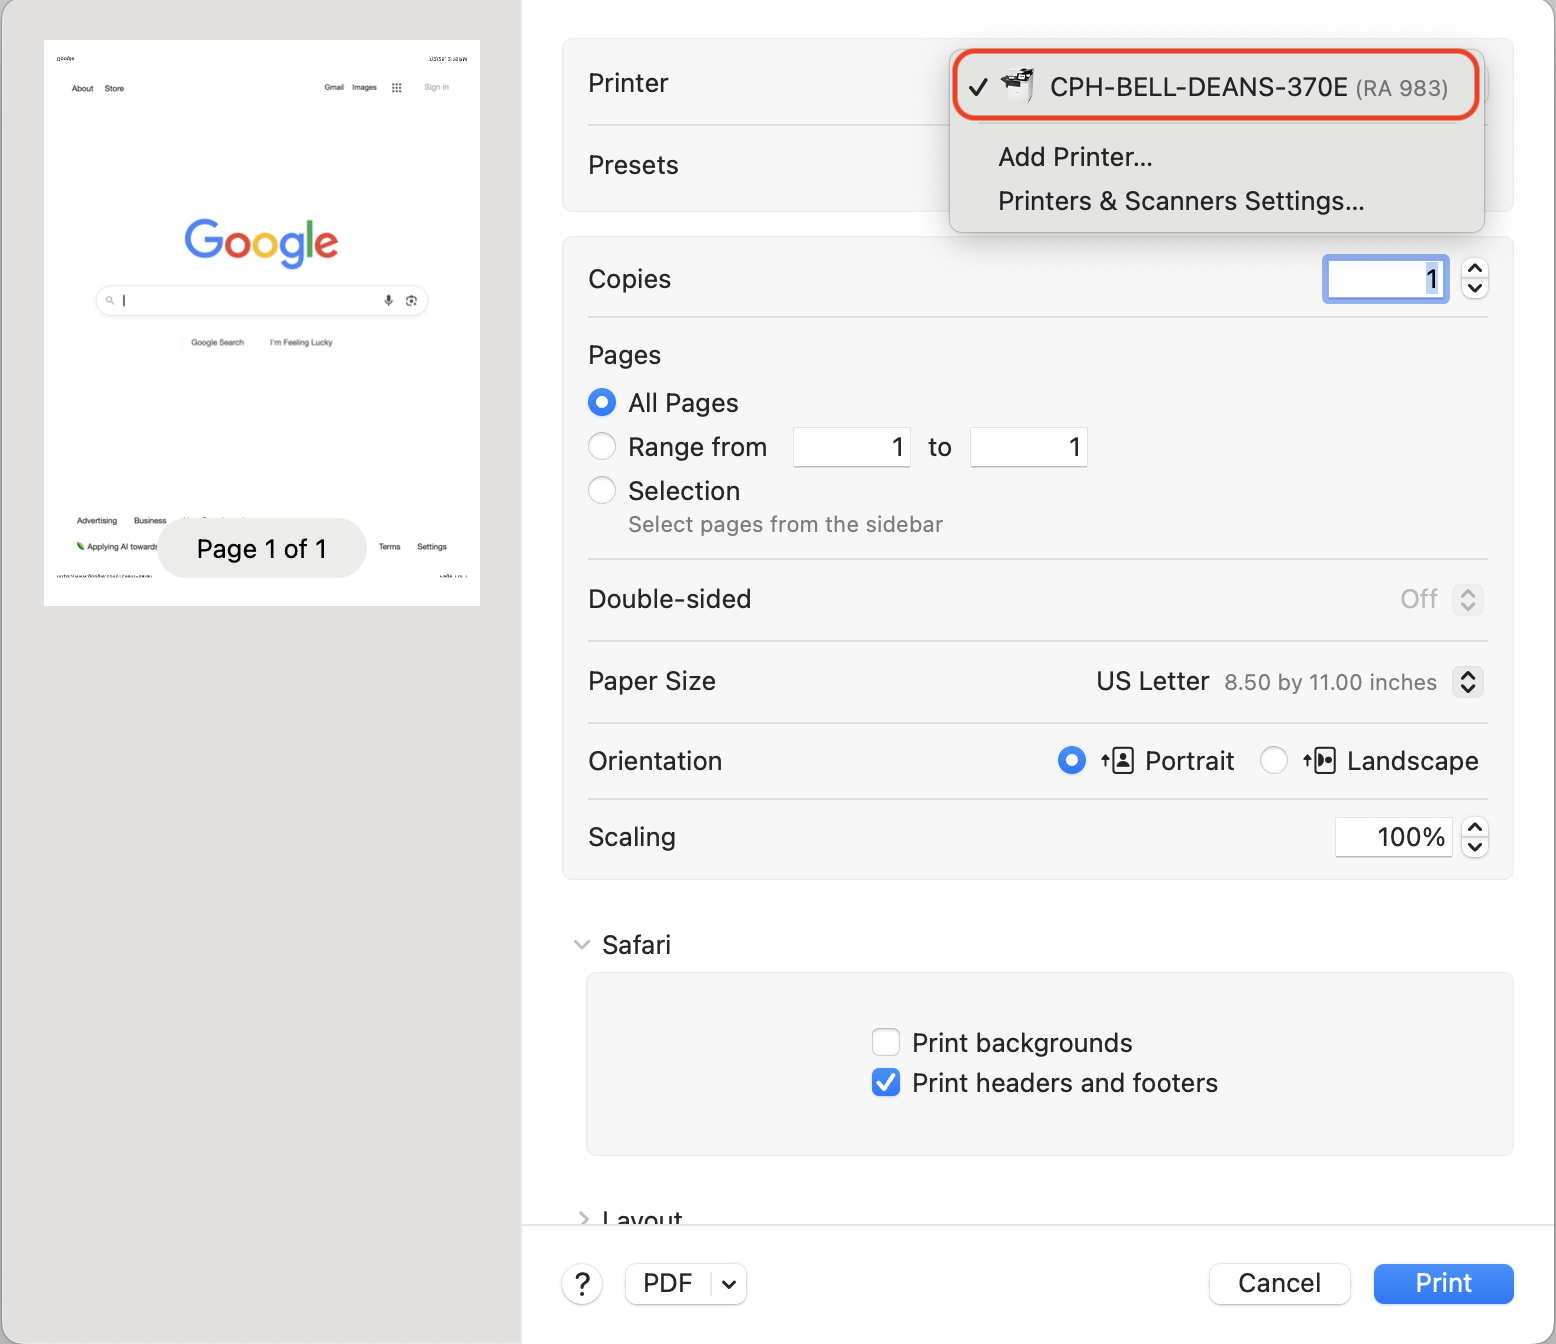
2. Click the printer dropdown menu and select the name of the shared office printer.
|
 |
|
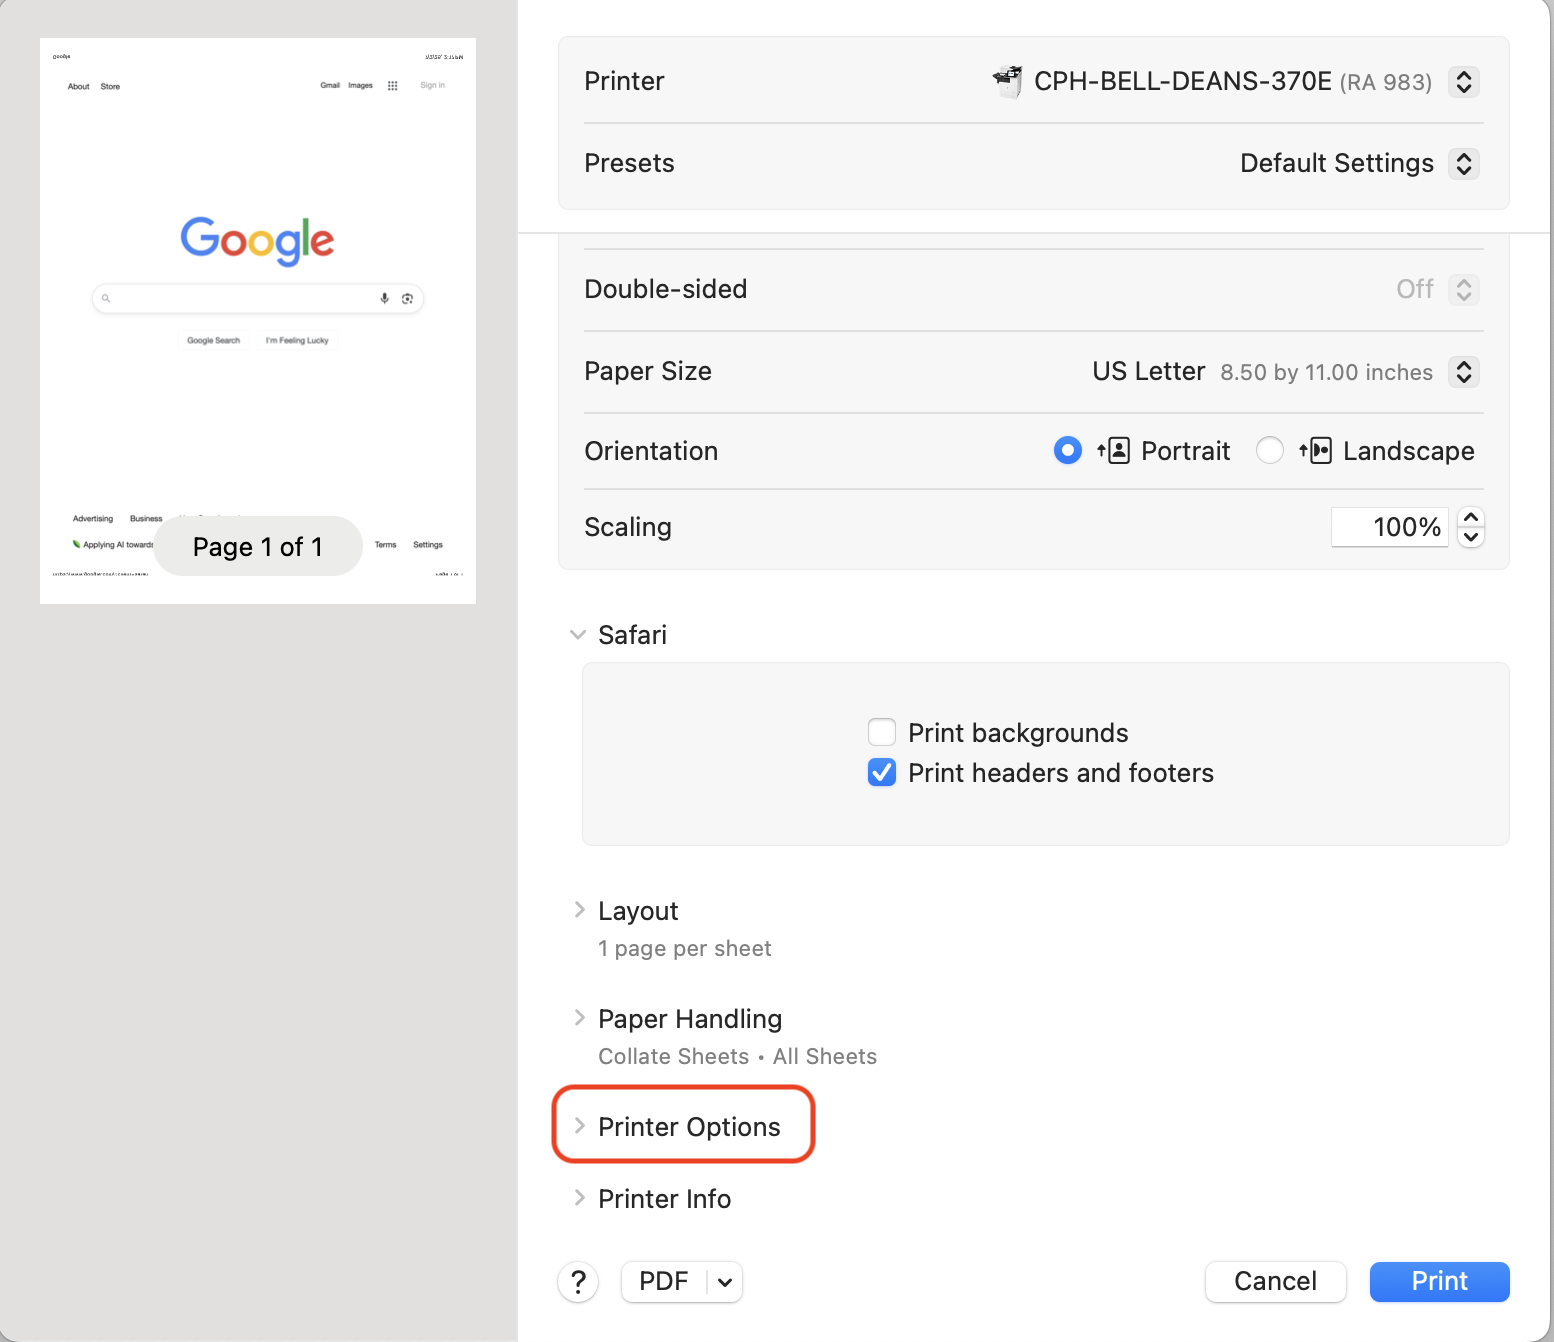
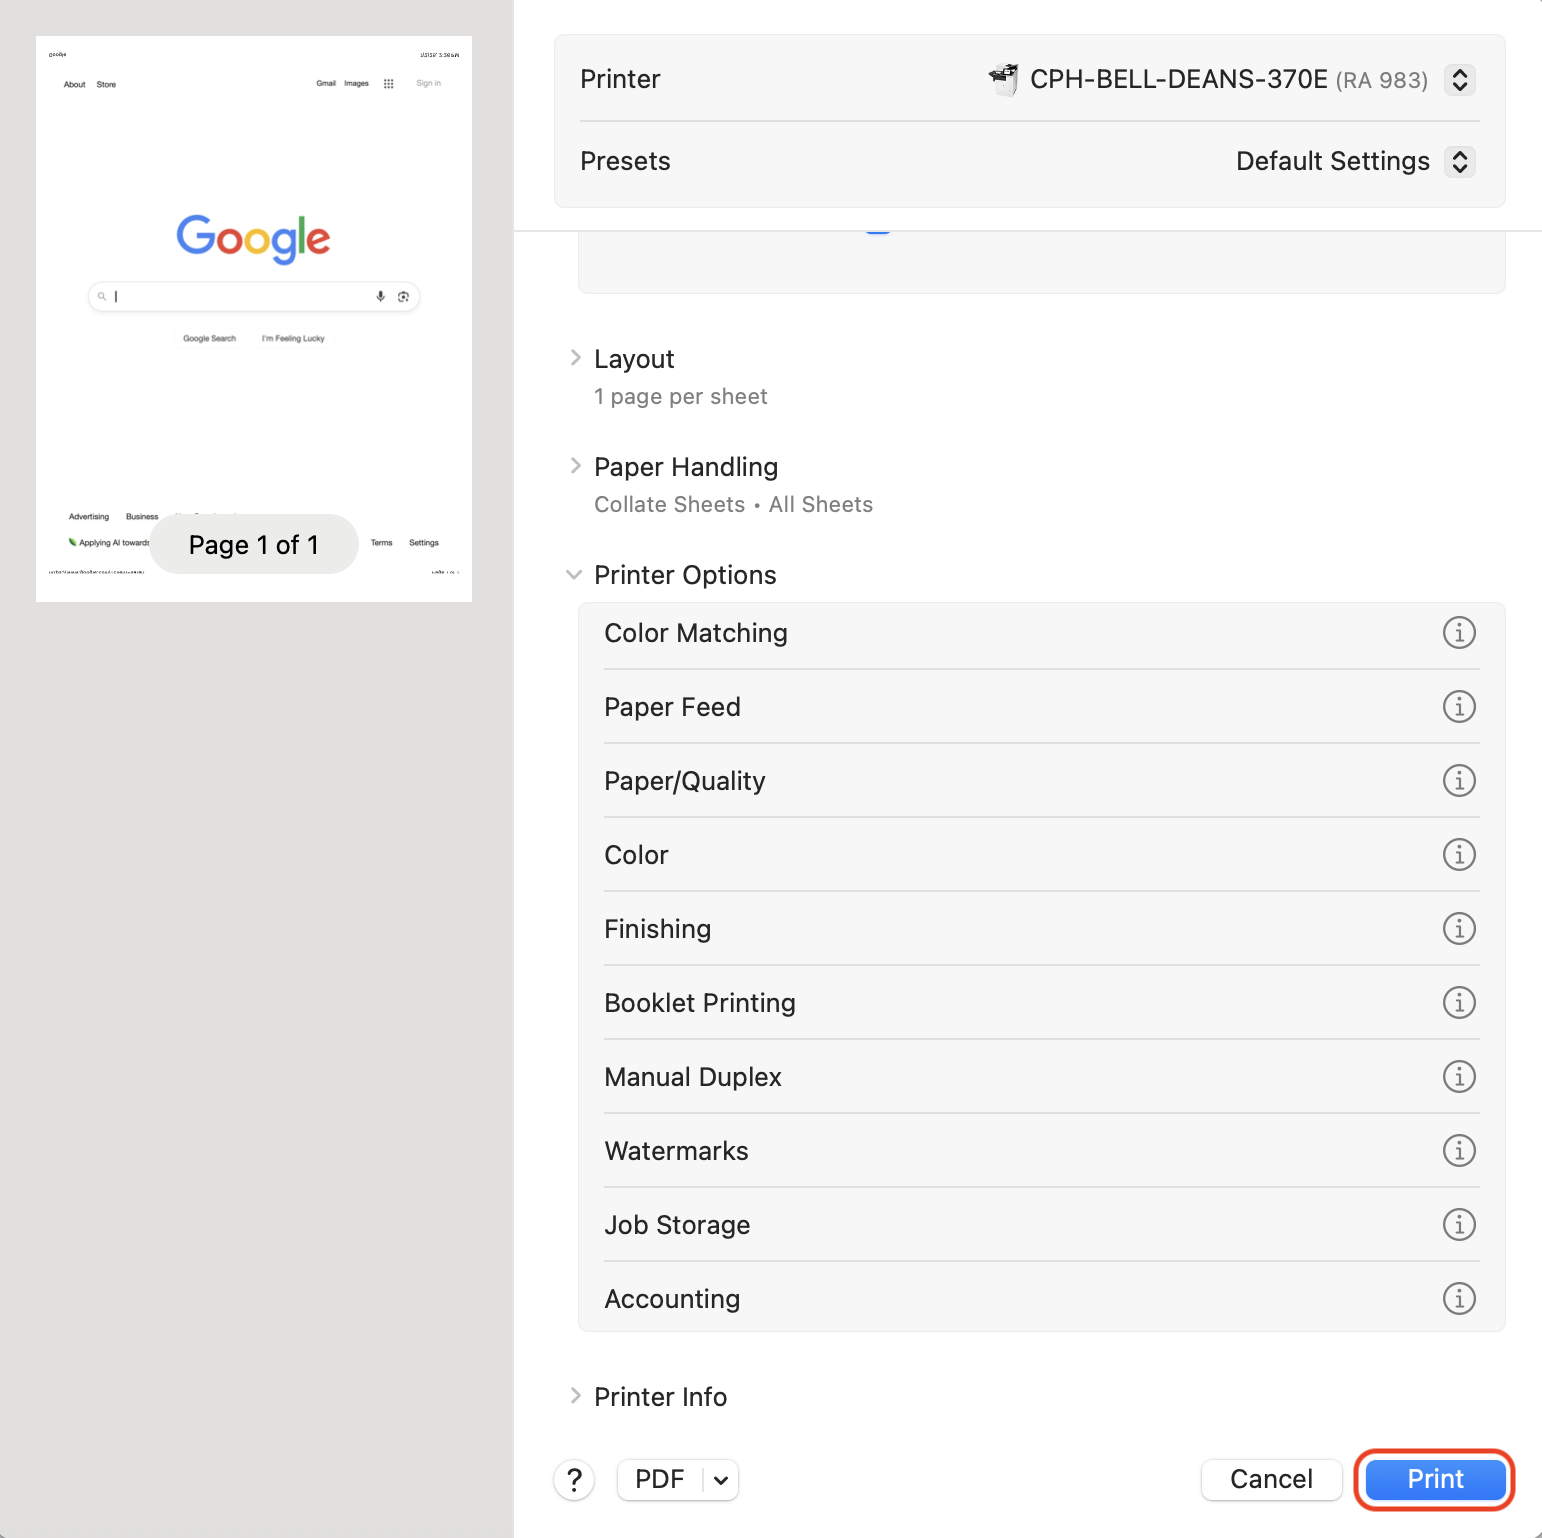
3. Scroll down and open the dropdown menu for Printer Options.
|
 |
|
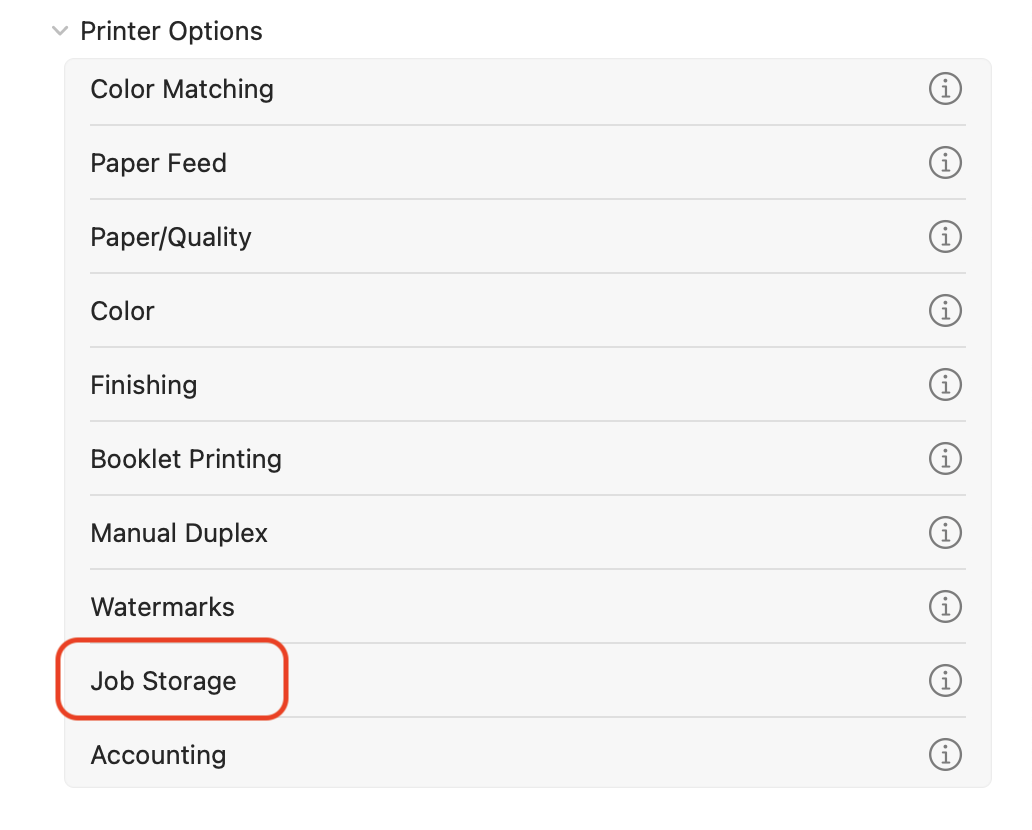
4. Click Job Storage.
|
 |
|
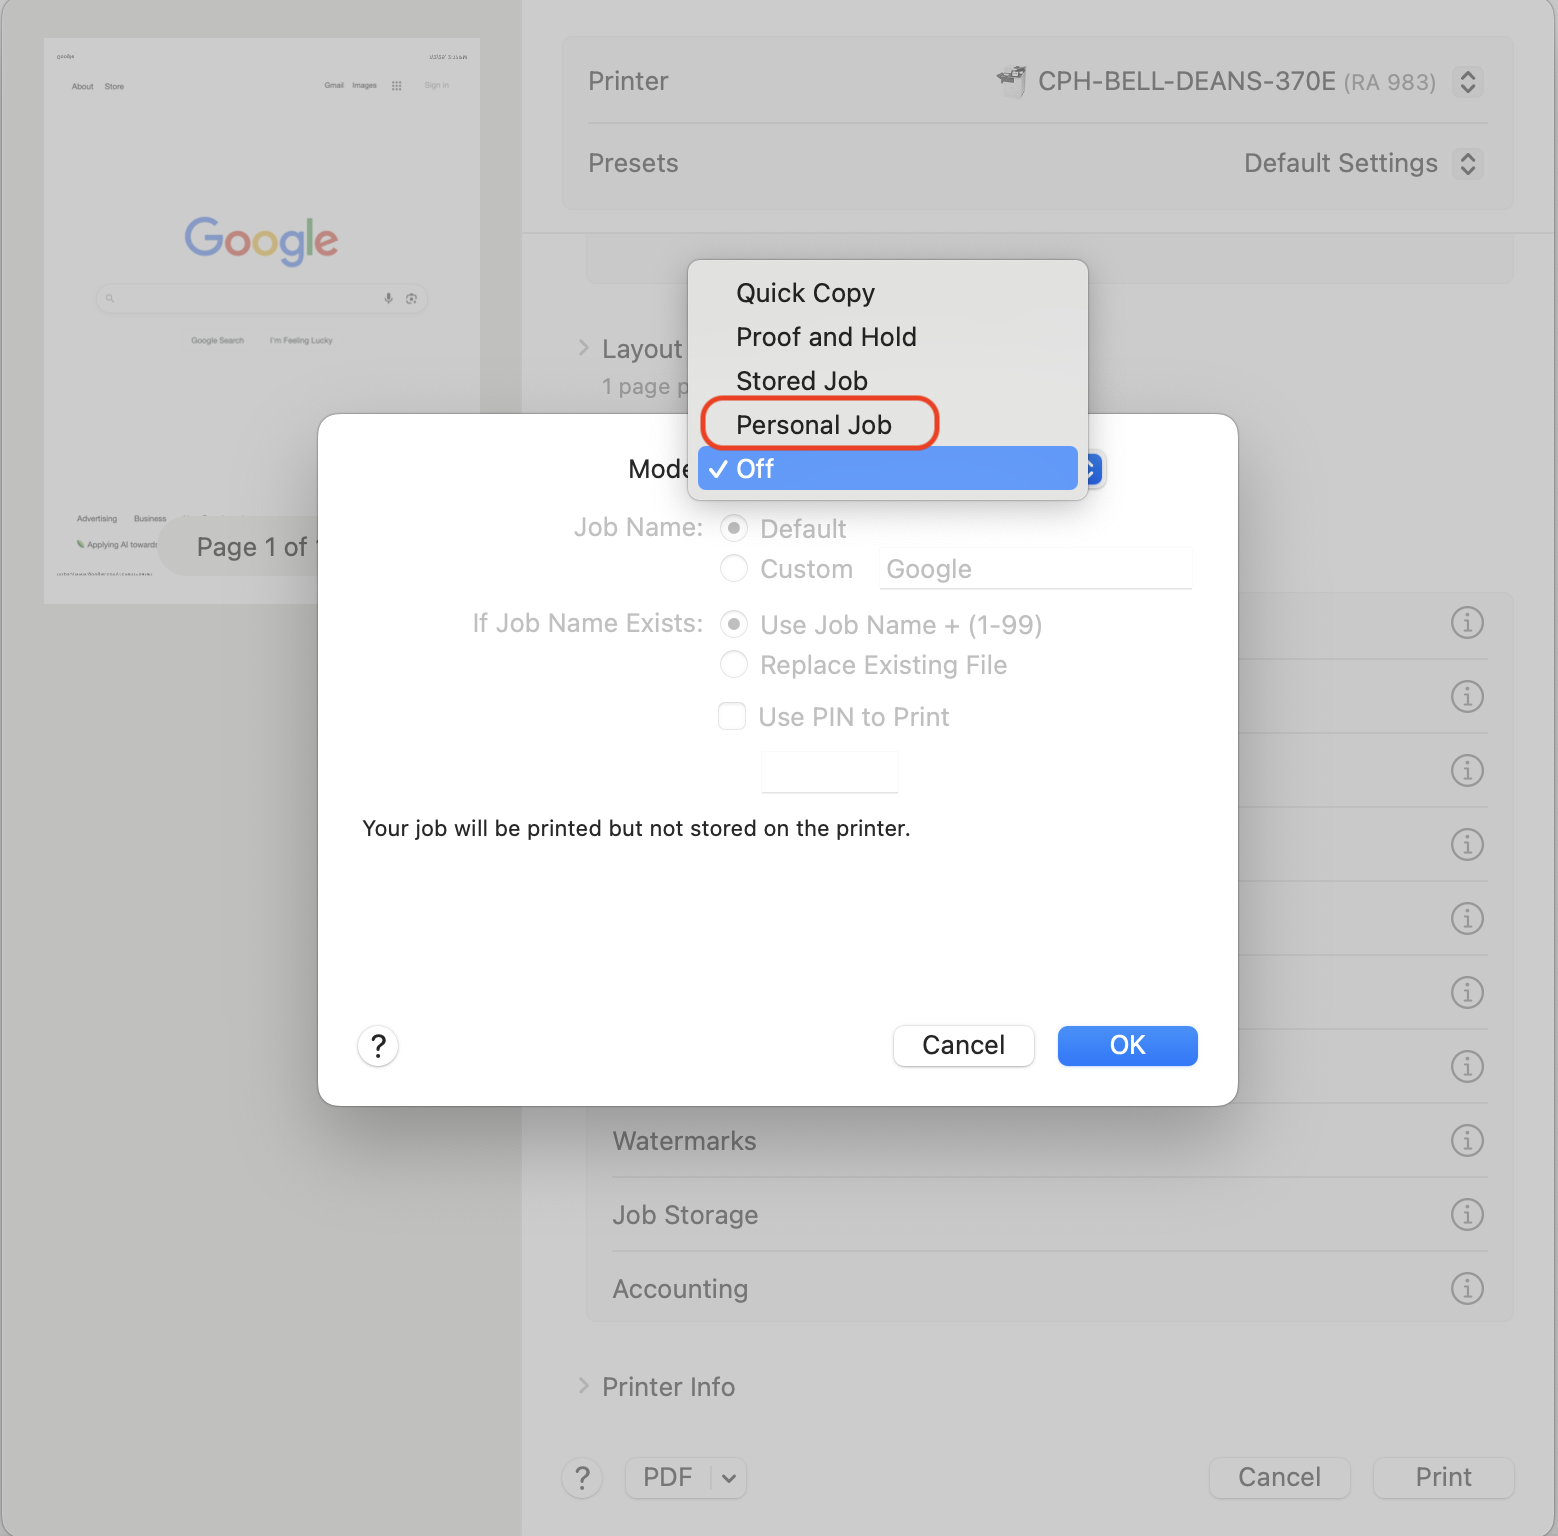
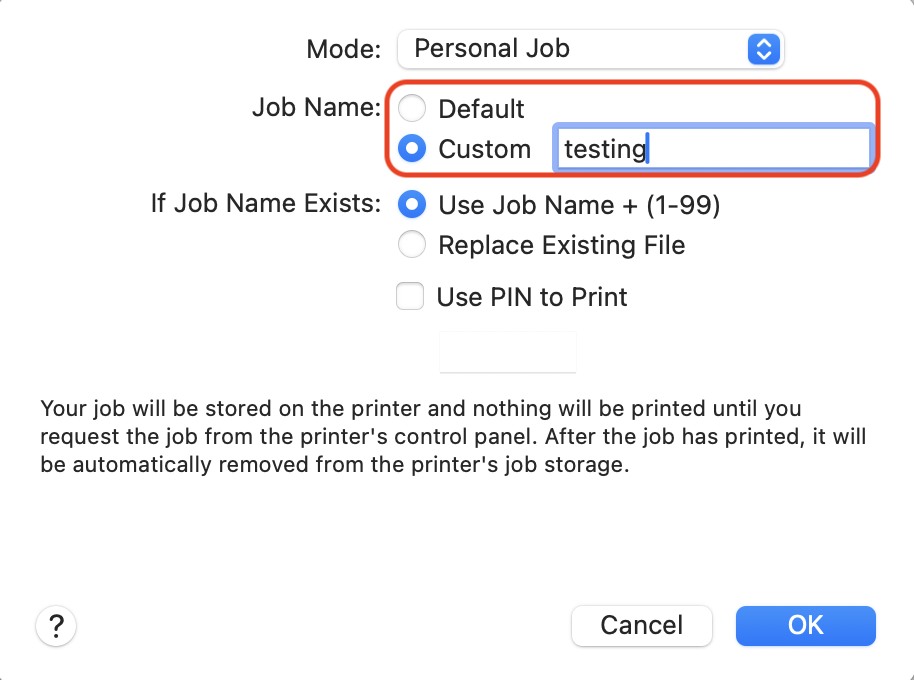
5. Select the Mode dropdown menu and click Personal Job.
|
 |
|
6. Under Job Name, verify the name of the file or update the name by selecting Custom.
|
|
|
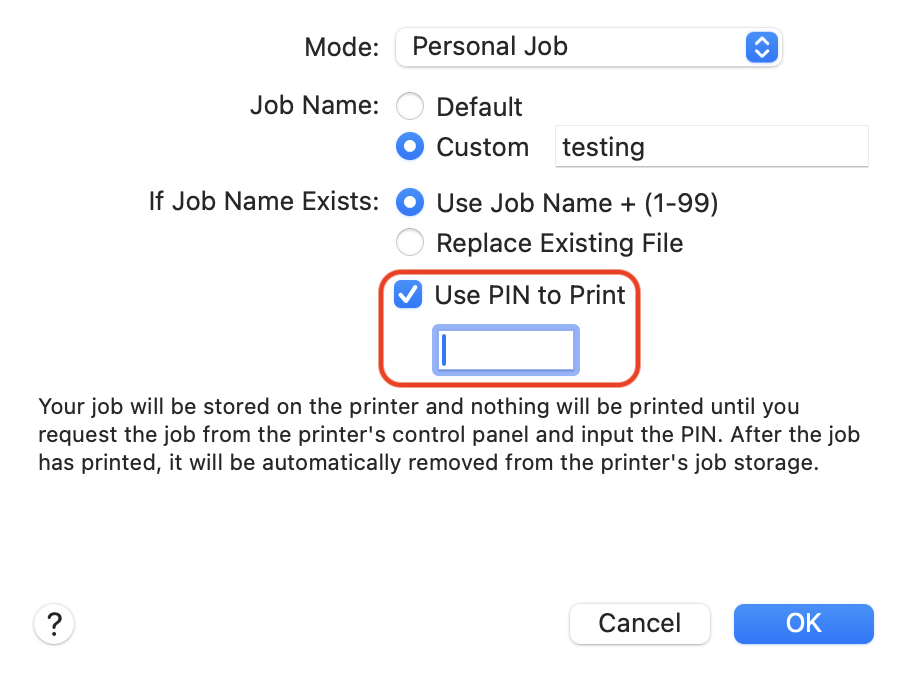
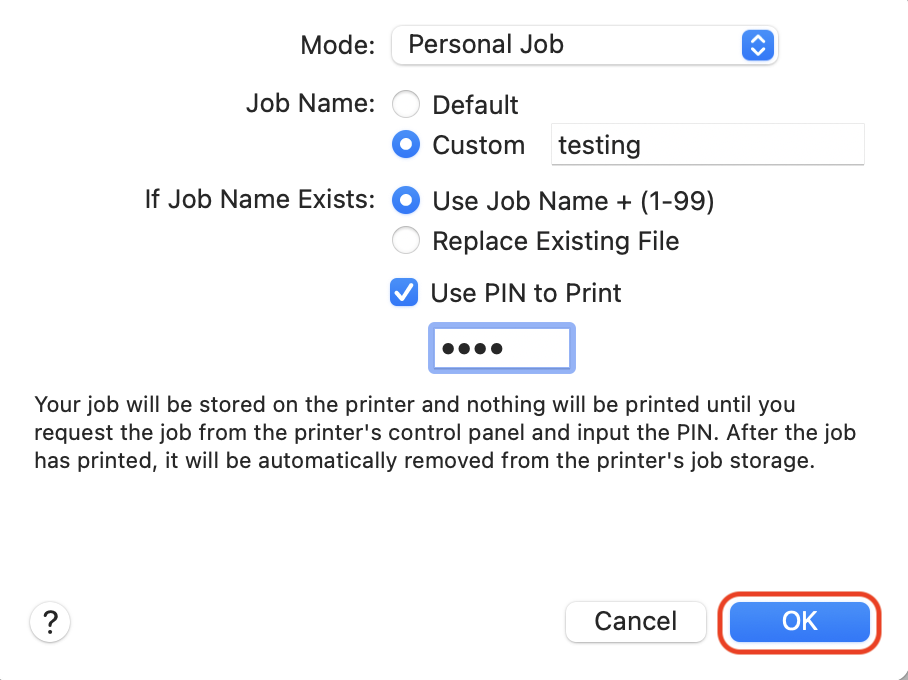
7. Check the box next to Use PIN to print.
Add a pin that is easy for you to remember.
|
|
|
8. Click OK.
|
|
|
9. Click Print.
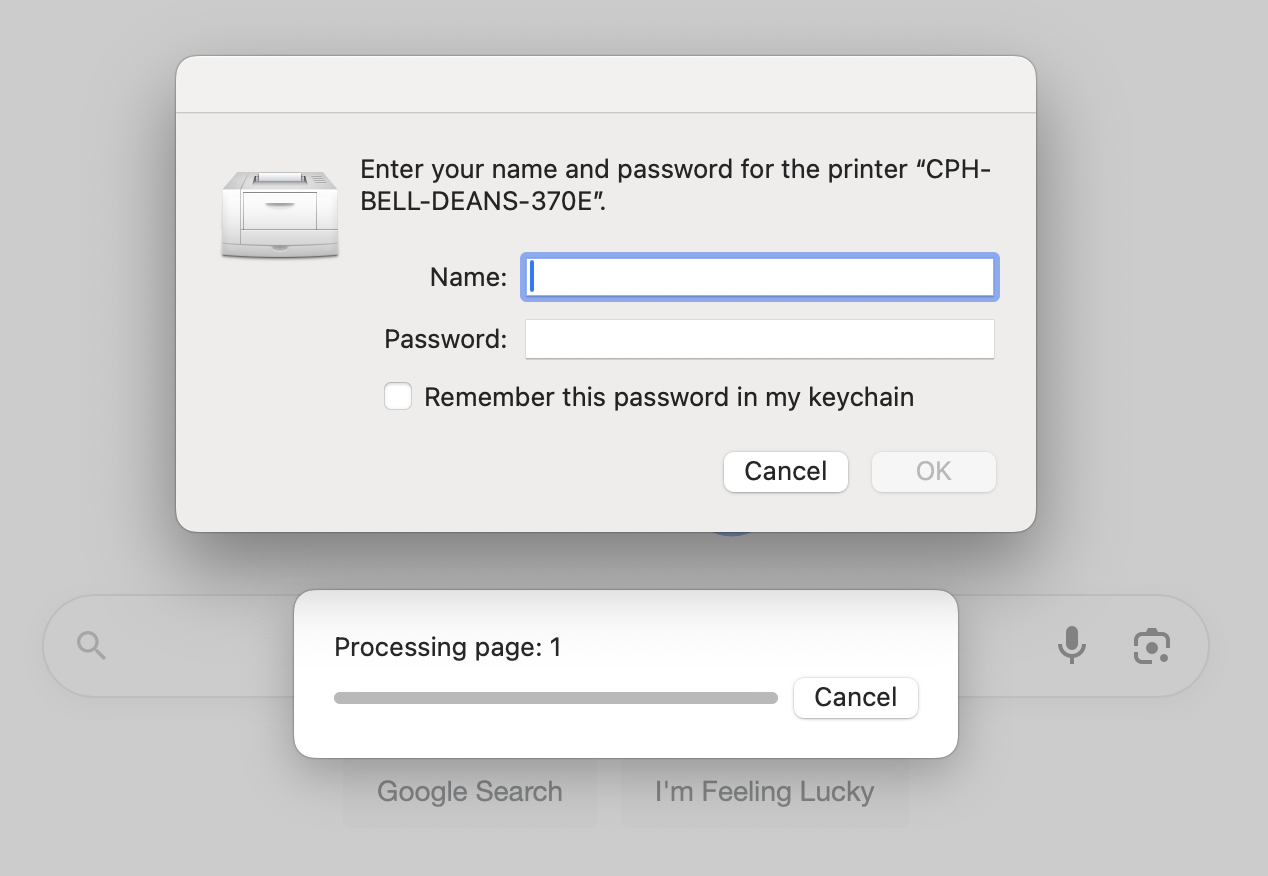
Please note a window will pop up prompting you to enter your name and password.
|
|
|
10. Enter your accessnet username and password.
|
|
|
11. Click OK.
Now you can go to your shared office printer.
|
All Printing Jobs
Please note that this option creates a preset that will have to be selected each time you print. It will not default to that preset.
|
1. Go to the document you wish to print and click Print or ⌘ + P or command + P.
|
|
|
2. Click the Printer dropdown menu and select the name of shared office printer.
|
|
|
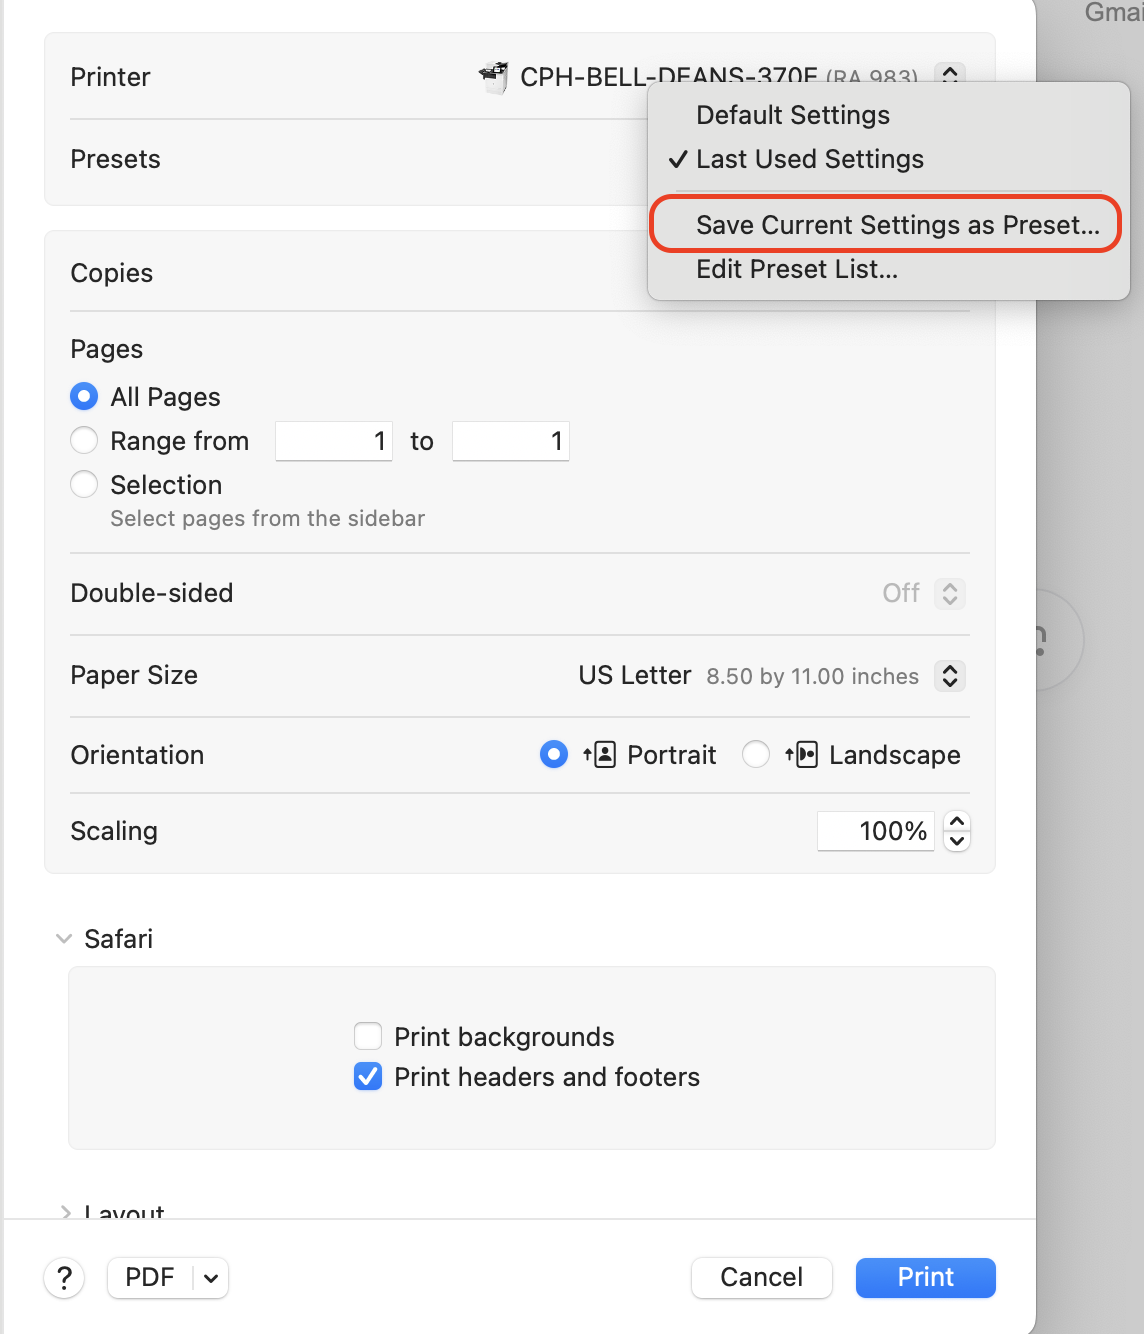
3. Click the Presets dropdown menu and select Save Current Settings as Preset.
|
|
|
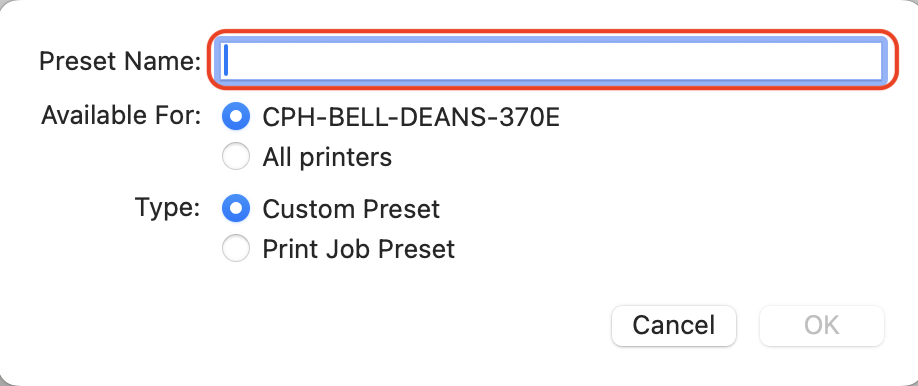
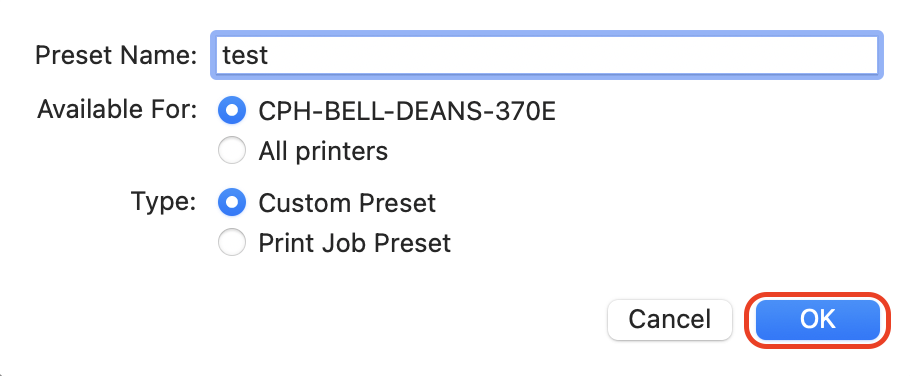
4. Enter a Preset Name.
|
 |
|
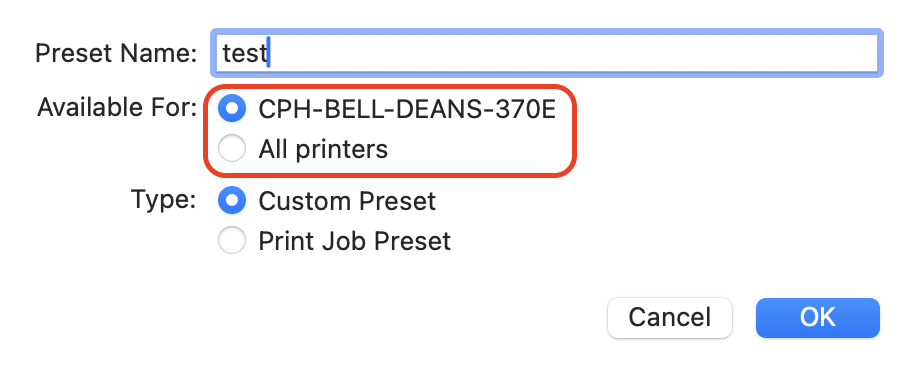
5. Select the printer name or All printers.
|
 |
|
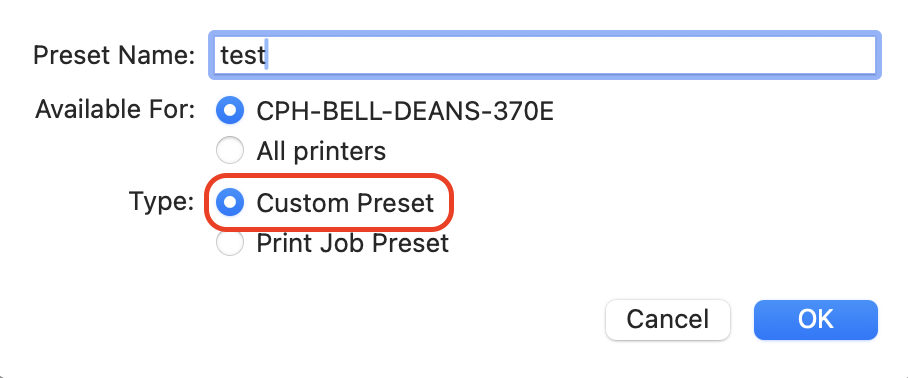
6. Select Custom Preset.
|
 |
|
7. Click OK.
|
 |
|
8. Scroll down and open the dropdown menu for Printer Options.
|
|
|
9. Click Job Storage.
|
|
|
10. Select the Mode dropdown menu and click Personal Job.
|
|
|
11. Under Job Name, verify the name of the file or update the name by selecting Custom.
|
 |
|
12. Check the box next to Use PIN to print.
Add a pin that is easy for you to remember.
|
 |
|
13. Click OK.
|
 |
|
14. Click Print.
Please note a window will pop up prompting you to enter your name and password.
|
 |
|
15. Enter your accessnet username and password.
You can check Remember this password in my keychain for future access.
|
 |
|
16. Click OK.
Now you can go to your shared office printer.
|