
Compliance
All students at the Barnett College of Public Health enrolled in a program that offers student placements with external site partners - for a clinical placement, internship, practicum, fieldwork project, or similar experience - are obligated to complete compliance requirements before that experience begins. Relevant Barnett College of Public Health policies are attached and visible on the page sidebar on the left.
Uploading Compliance Documents
1. Log in and from your dashboard, click on View All under Compliance. The number and percentage within the card indicates any items that need your attention and percentage completion.

Image of the compliance tile on the Exxat Dashboard
2. You will be redirected to the Compliance section where you will see a table with all items your program has requested you to upload. You will see any of the following statuses for each item:
a. Get started: you have not yet started working on this item.
b. In progress: you have begun filling your information for this item, but nothing has been submitted to the school.
c. Pending Review: the document has been submitted to your school.
d. Approved: the document has been reviewed by your school and it meets all requirements.
e. Not Approved: the document has been reviewed by your school and determined that it does not meet the requirements.
f. Expiring: an approved document on file is expiring.
g. Expired: the document has expired.
3. Click anywhere on the row for the item you’d like to manage.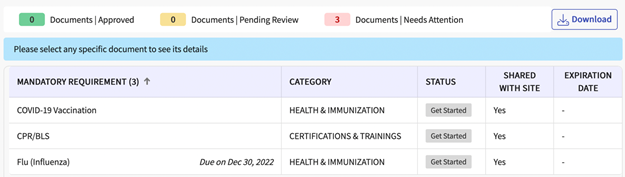
Image of the Compliance page of Exxat with requirements listed
**The SHS Summary form from Temple Student Health can be uploaded to any applicable Health/Immunization Requirement**
4. After selecting a document, a drawer will open and it will display the guidelines for your compliance requirement, a template or sample document (if your school has provided one), and any information you have previously uploaded. Please review these items before moving on.
i. You may see the following options:
a. Vaccination
b. Titer Details: Can be used if you have titer information rather than vaccination details.
c. Other Requirement Details: ex. HIPAA, FBI Fingerprints, etc.
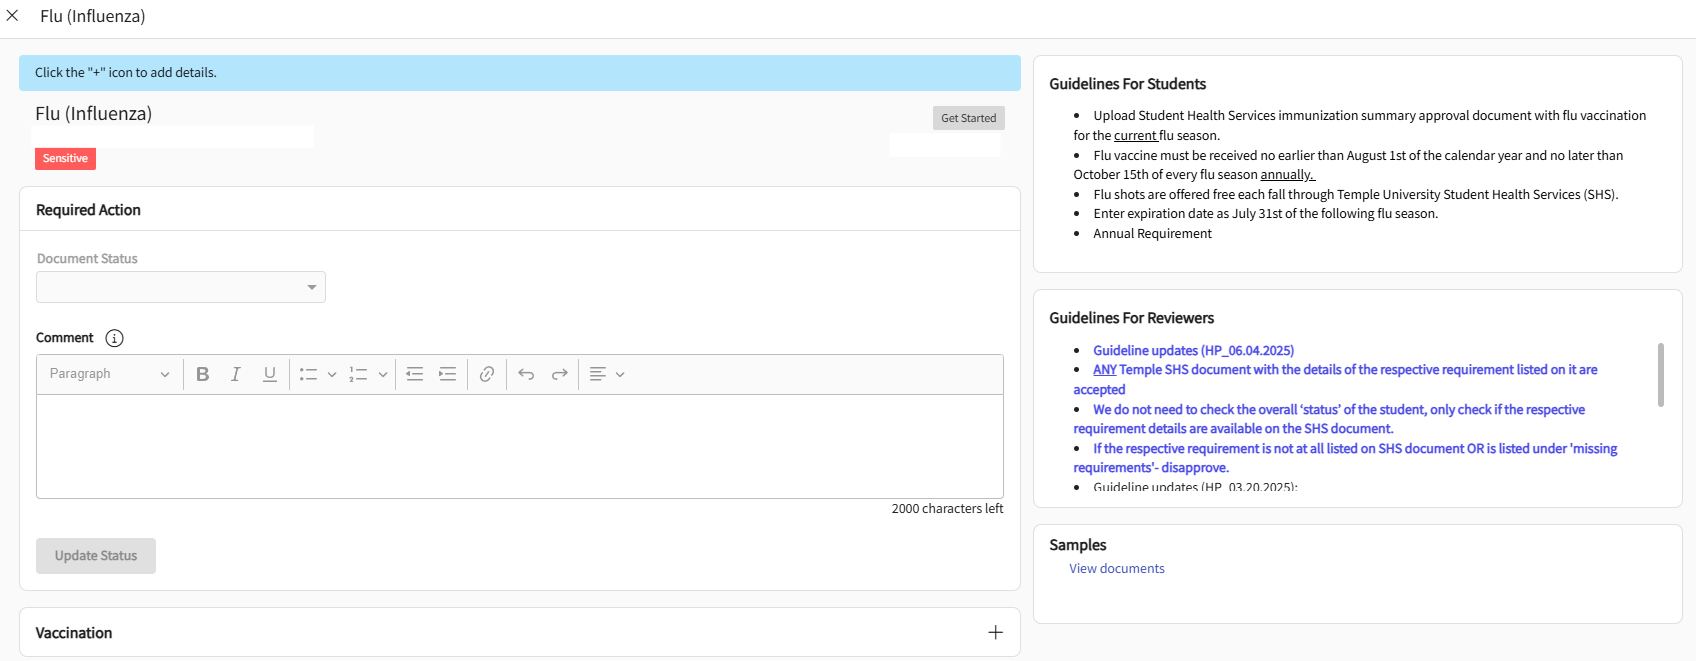
Image of a sample Flu requirement
5. To begin uploading a document and completing the information for a requirement, click on the plus (+) icon next to the document name. To edit an existing item, click the pencil icon.

Image of vaccination and titer date entry fields
6. Another drawer will open asking for additional details and allowing you to drag and drop a file to be uploaded. Alternatively, you may click on the cloud button to search for a file to upload.
7. After you have completed all required fields, click Submit for Review.
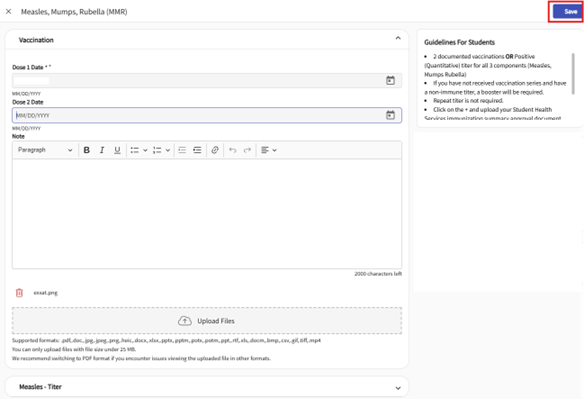
Image of a vaccination drawer asking for dose details and file upload
8. You will be asked to confirm your submission. Click OK.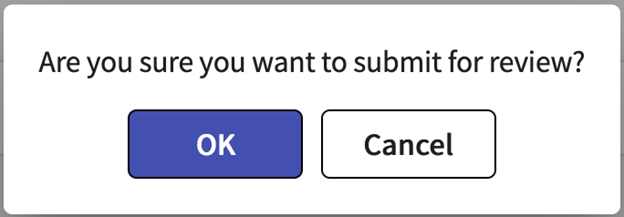
Image of submit for review pop-up
9. The drawer will close, and you will see the status of the item you are working on change to Pending Review.
10. Once you submit a document for approval, keep returning to check the status of your requirements. When your school has reviewed the document, it will change to:
a. Not approved: your document will include a status, and once selected will show you details as to why your document has not been approved. Click on the pencil icon to make the needed changes and/or upload a new document.
b. Approved: you are good to go!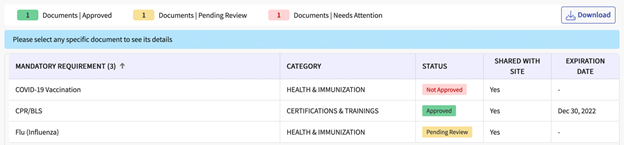
Image of Compliance page with requirements in various statuses