MySQL Database Connection Instructions (Mac)
|
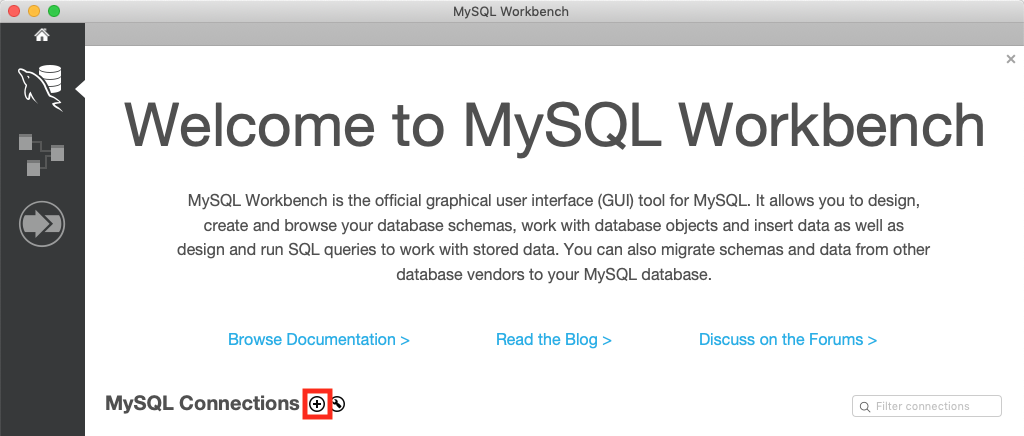
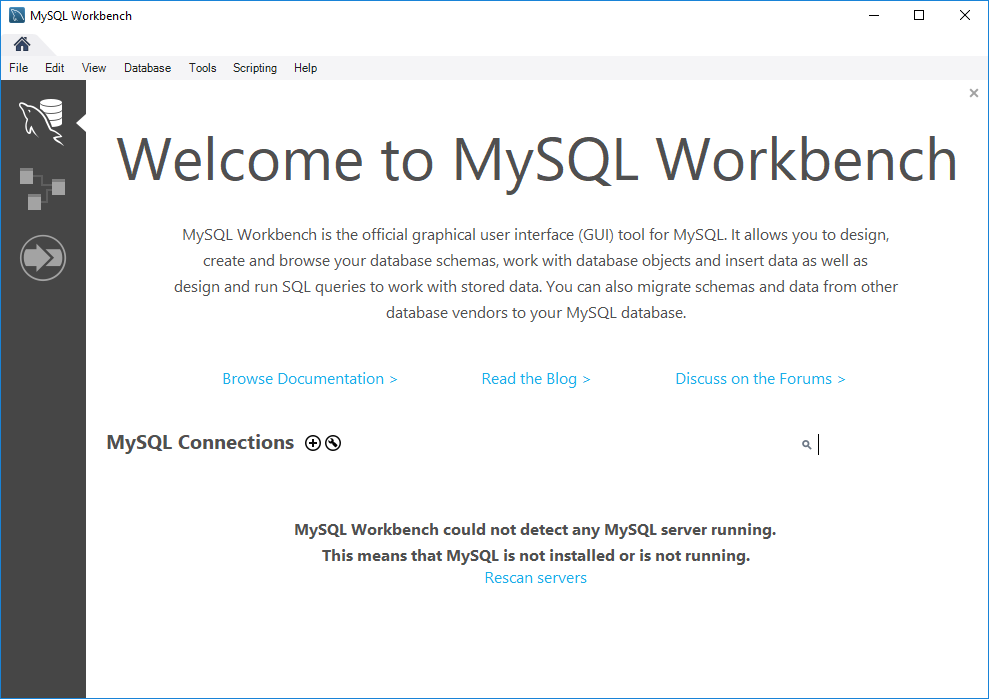
1. After completing the MySQL Workbench installation, you will launch the application and see the initial launch screen.
|
 |
| 2. You need to add a database connection. If you are adding more than one connection, please follow these steps for each database. Click on the +. |
|
|
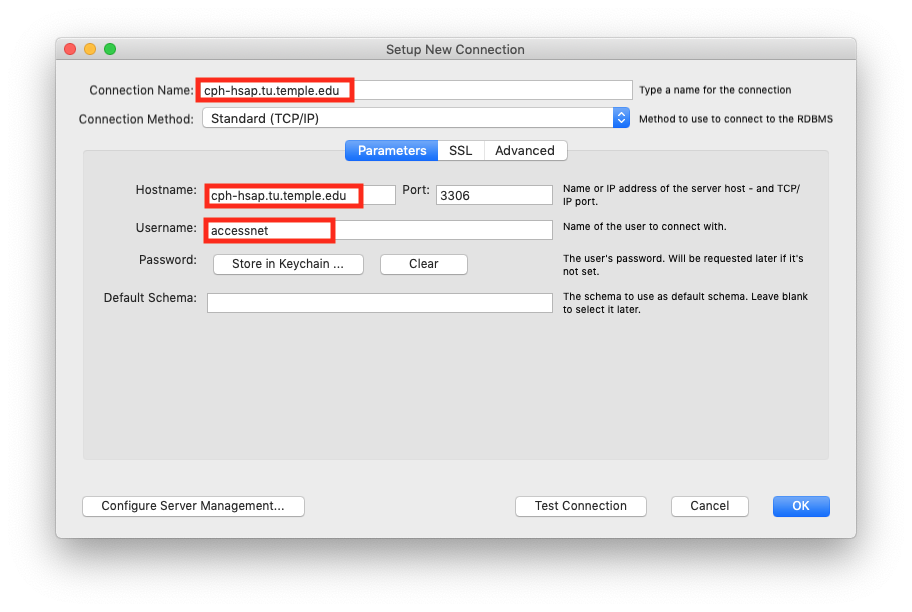
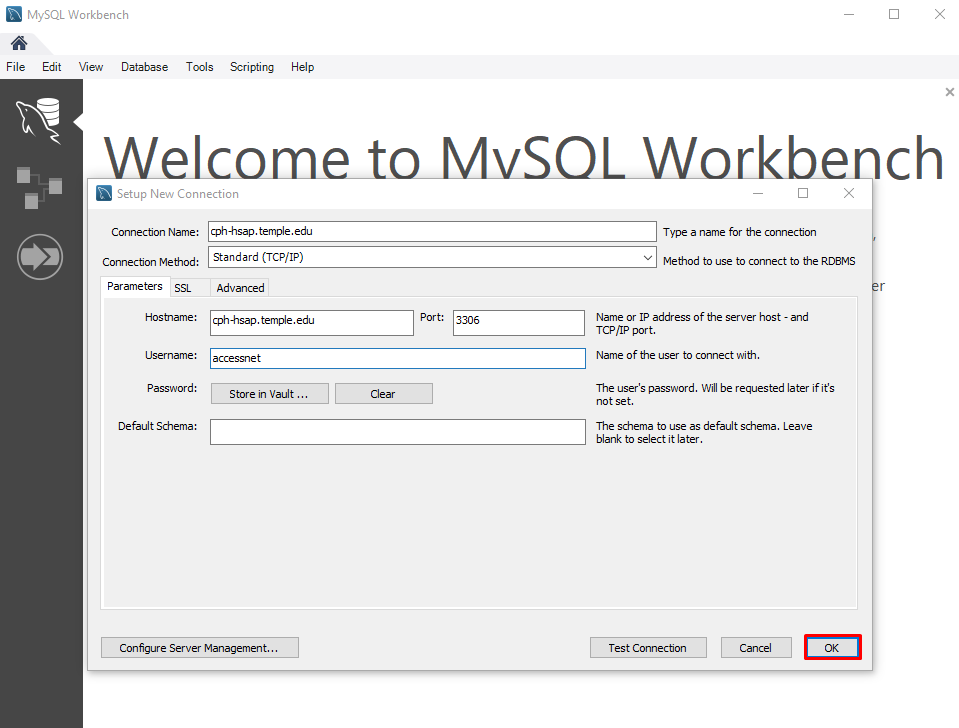
3. You will need to input the following information to connect to your Temple hosted database.
|
 |
|
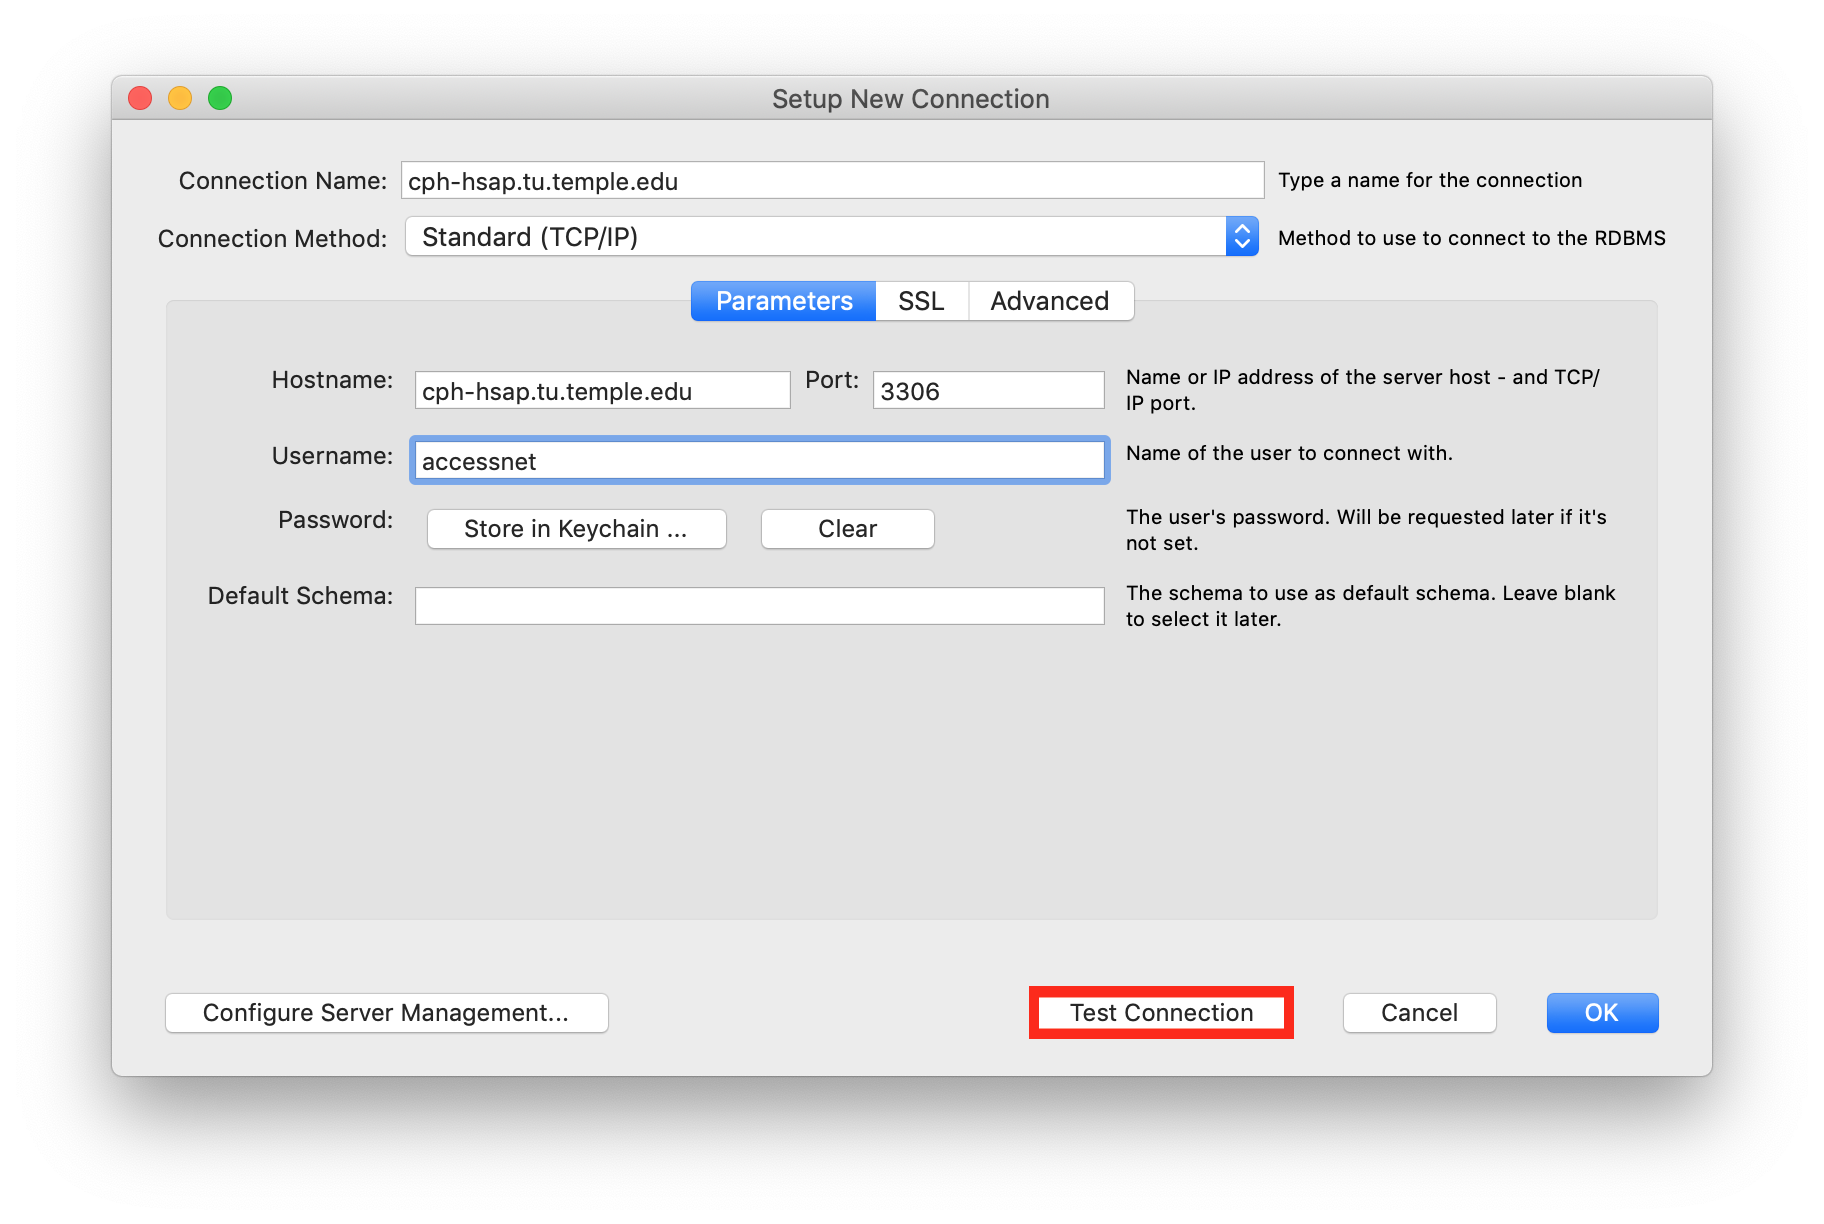
4. Once you enter required information, click on the Test Connection button.
|
 |
|
5. You should be prompted to enter a password. Enter the password provided by your instructor. If you do not see this window then something has been typed incorrectly.
|
 |
|
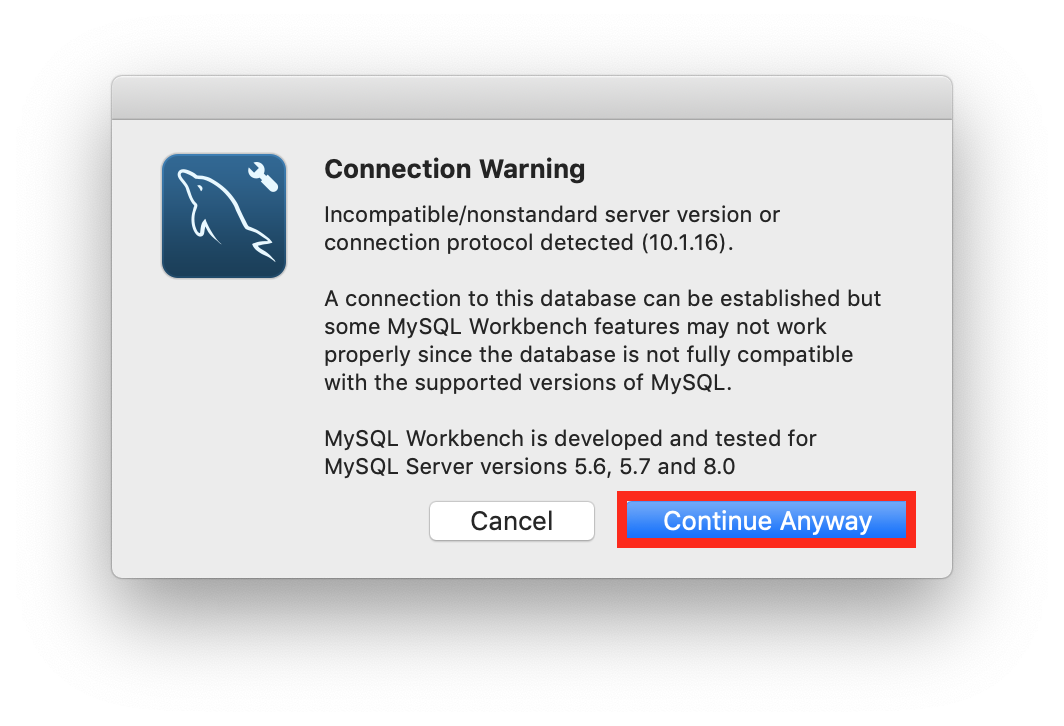
6. If the connection is successful you will see this Warning window. This is normal due to the version of SQL database we are using and is actually not a problem. Click Continue Anyway.
|
 |
| 7. You should see this window for a successful MySQL connection. Click OK. |  |
|
8. The database connection is not yet saved. Click OK again for the connection settings to be saved.
|
 |
| 9. You can now launch the database connection by clicking on the database name. | 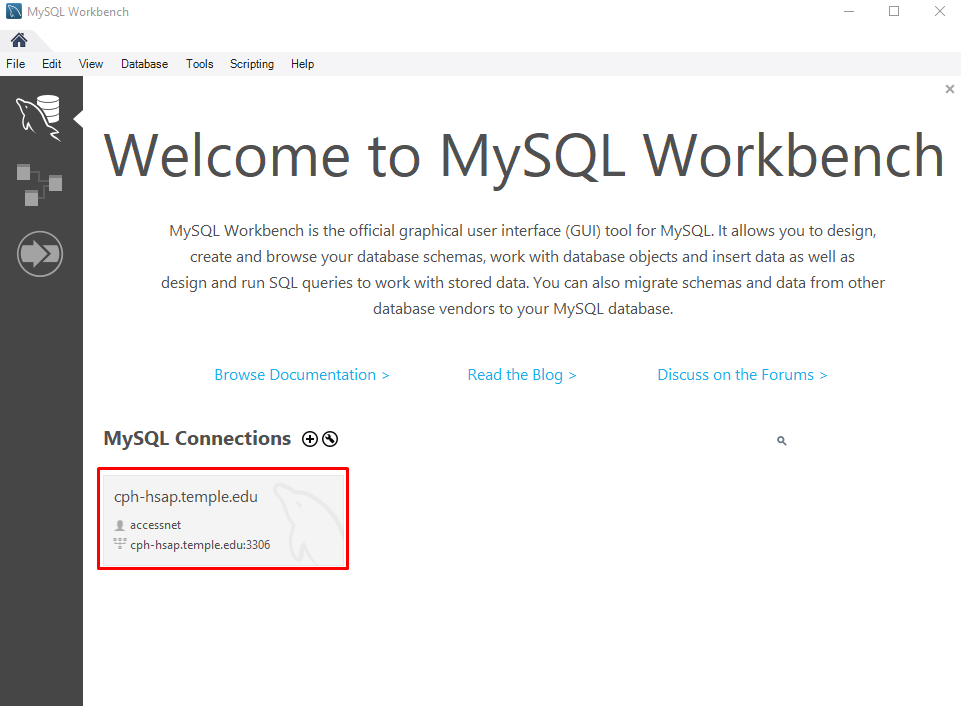 |