
Connecting with Your Laptop
Use your BCPH laptop to connect
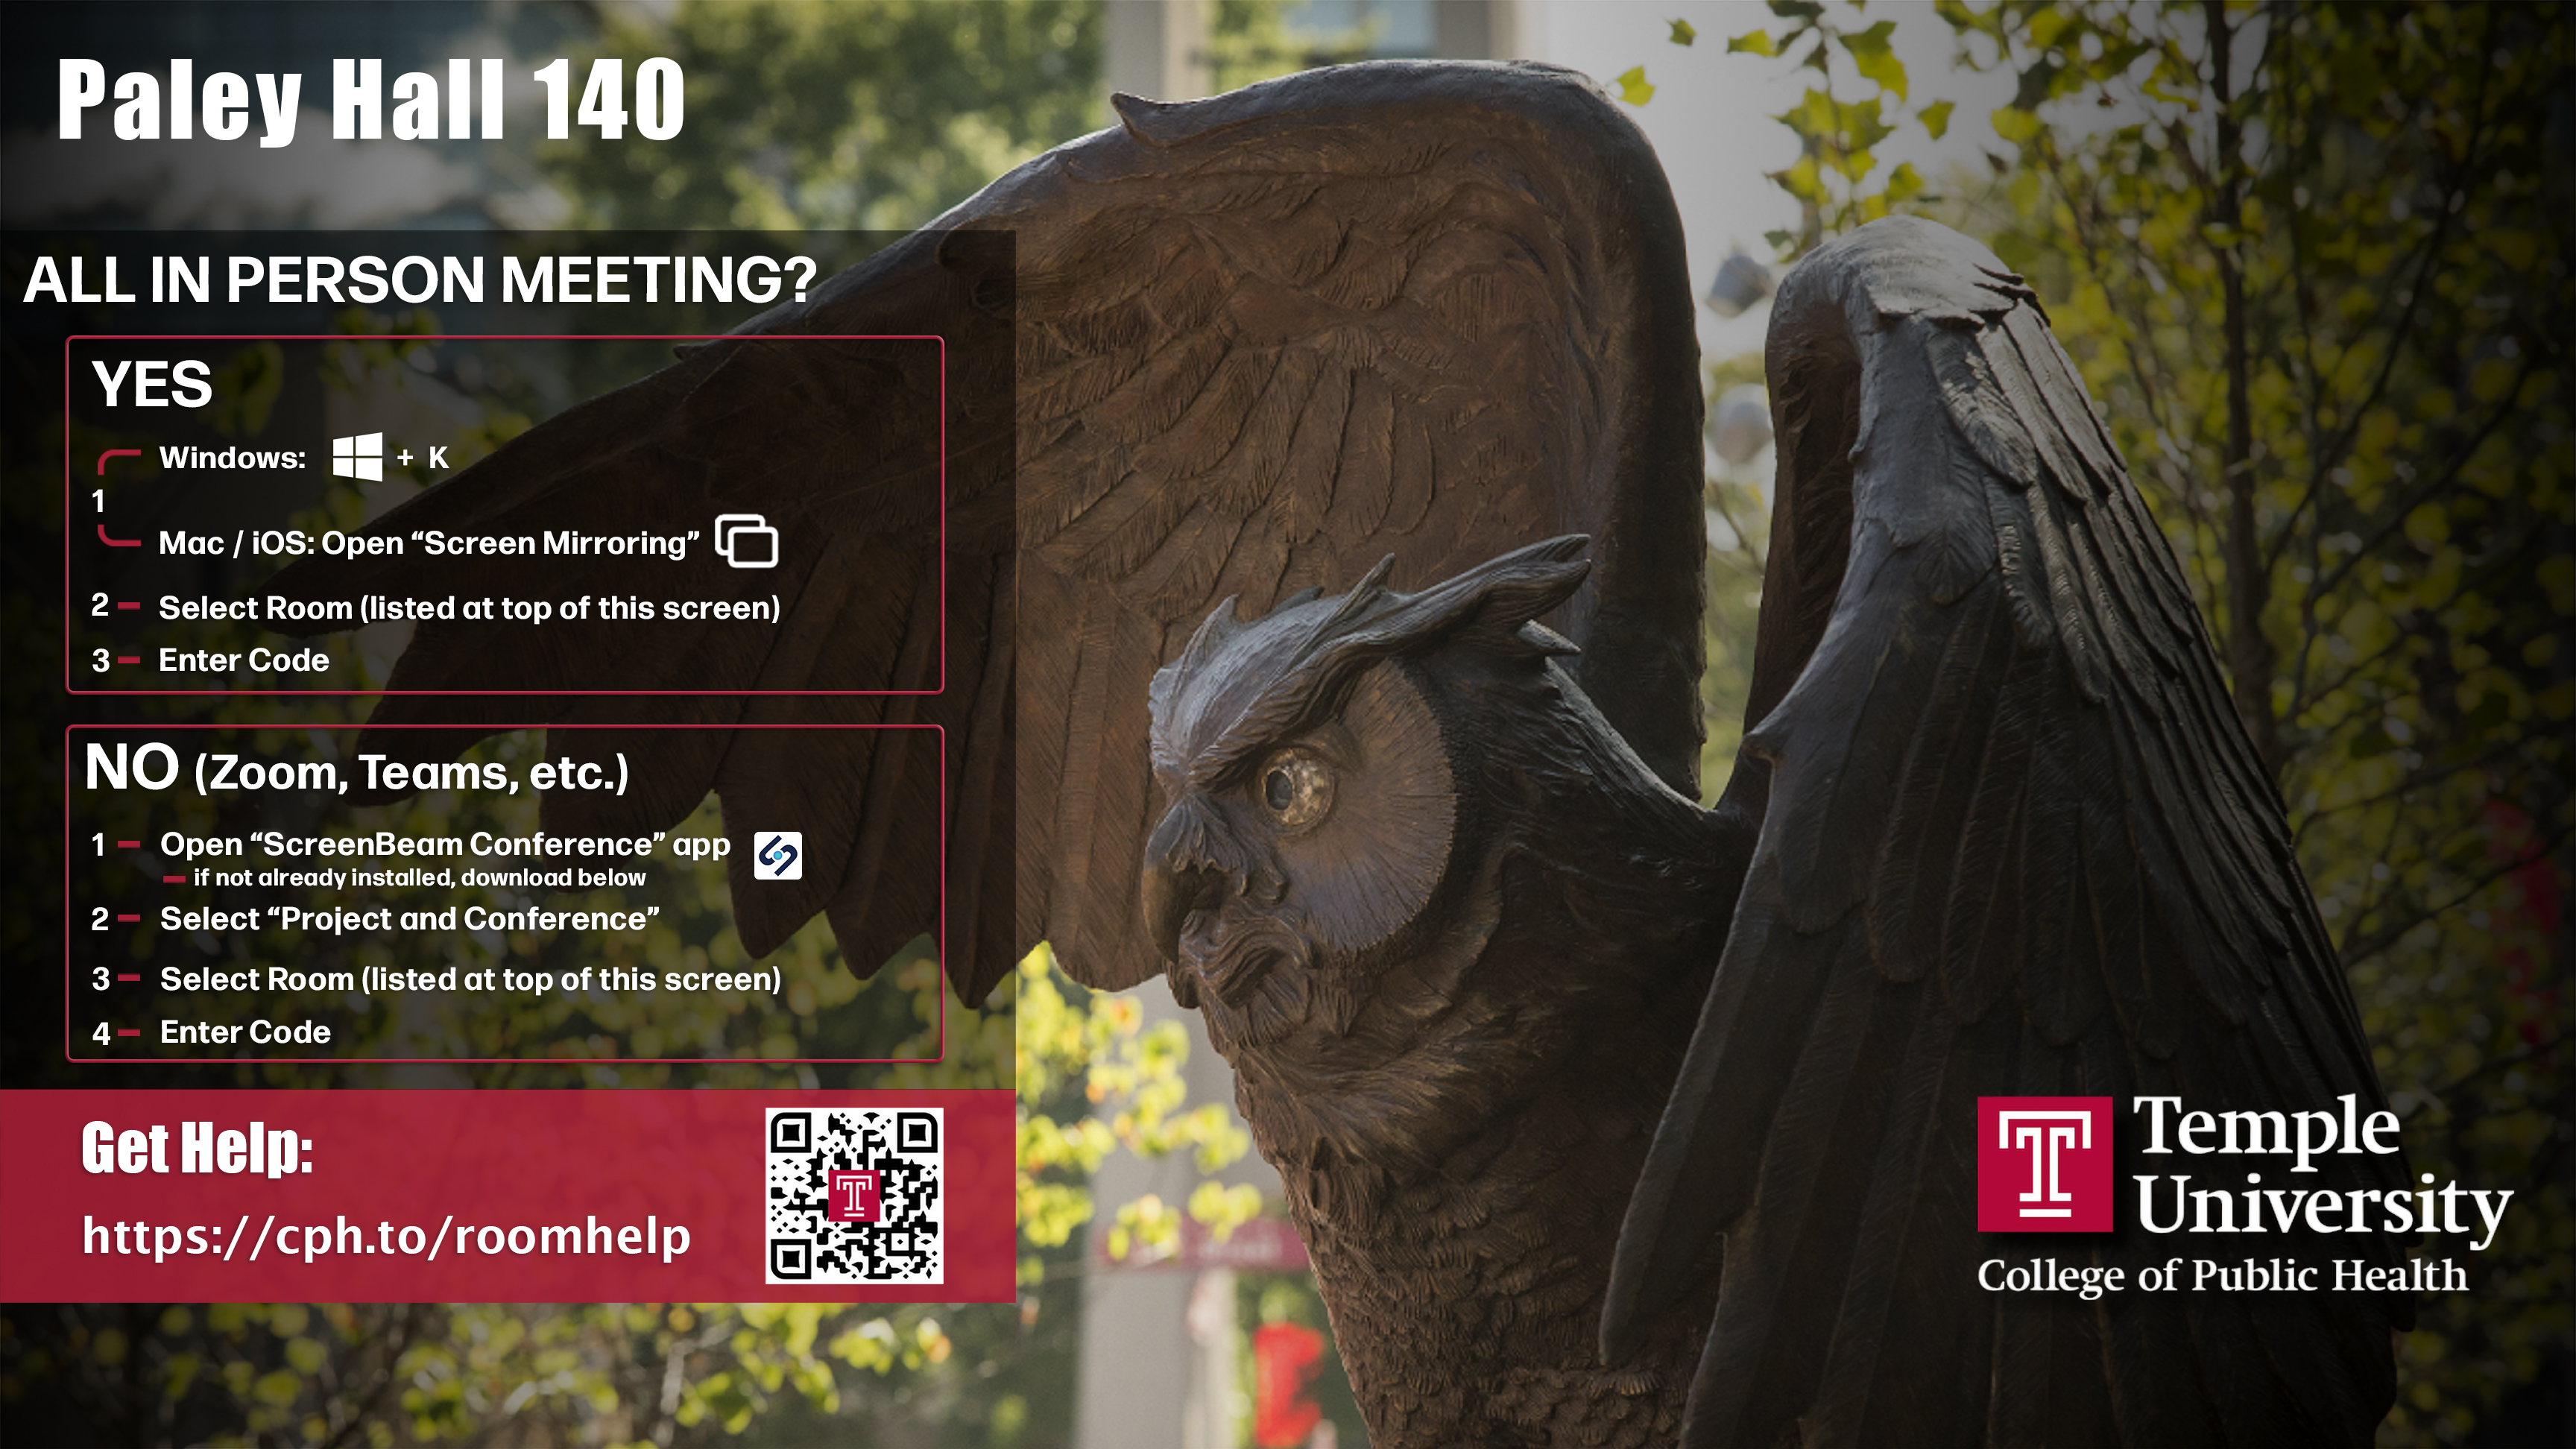
All conference rooms are equipped with a ScreenBeam wireless device for easy meeting technology. The in-room display will automatically show the ScreenBeam connection screen with instructions, as pictured below.
In 18-46 seat conference rooms, please ensure Wireless Projection is selected on the AMX Panel located in the room before proceeding.
Users need only answer one question to decide how to connect:
Is everyone physically attending the meeting in that room?
If the answer is Yes:
- Use mirroring to connect to the large screen and room speakers:
Windows laptops: Press + K
+ K
Macs or iPhones: Open Screen Mirroring
- Select the room from the list displayed.
- Enter the code.
If the answer is No:
Connect to the web conference (Zoom or Teams) meeting to use the in room camera, microphone, speakers & large screen as follows:
- Open the ScreenBeam Conference App (laptop only)
(Download the ScreenBeam software if you don't have it installed yet from downloads) - Select Project and Conference.
- Choose the conference room’s ScreenBeam device (e.g., Paley Hall 140) and click Connect.
- Enter the 4-digit code shown on the display, then click Display.
Note: The ScreenBeam application is only available for laptops. All BCPH-owned laptops have ScreenBeam pre-installed. For non-BCPH devices, download ScreenBeam at screenbeam.com/getconference.
When using Zoom and Teams for web conferencing, verify that:
- video has selected In-Room Camera
- microphone has selected In-Room Microphone.
- speaker has selected Digital Output
Connecting on Teams
Connecting on Zoom
Using ScreenBeam as a Second Screen (Extended Display)
For improved privacy and additional screen space, you can configure ScreenBeam to extend your display instead of mirroring. This allows your laptop screen to remain private while presenting content on the room display.
Windows
- Connect to ScreenBeam as usual.
- On your keyboard, press + P
- Select Extend.
- Your laptop and the ScreenBeam display will now function as two separate screens.
macOS
- Connect to ScreenBeam.
- Go to the screen mirror icon at the top right,
 , then click change.
 - Select Extended Display.
- Click Start Mirroring.
- Your Mac will now use the ScreenBeam display as an extended desktop.
Disconnect
Windows Users: Press ![]() + K or at the bottom right toolbar there is a mirror icon,
+ K or at the bottom right toolbar there is a mirror icon, ![]() , to click on, then click Disconnect.
, to click on, then click Disconnect.
Mac Users: Go to the screen mirror icon at the top right, ![]() , then click Disconnect.
, then click Disconnect.
For your privacy, it’s imperative you disconnect from ScreenBeam before you leave the conference room.
Warning: If you do not disconnect from the ScreenBeam device, your device will remain connected until you disconnect from the Temple wireless network.
This means you could still be projecting to the conference room display from your office.
Other users will be unable to connect to the ScreenBeam until you disconnect.
ScreenBeam Download
Windows Users
Version 1.0.5.29
If prompted "To continue with the installation the following applicated will be terminated automatically", click Ok.
Mac Users
For Temple issued laptops, please go to the self service app to download.
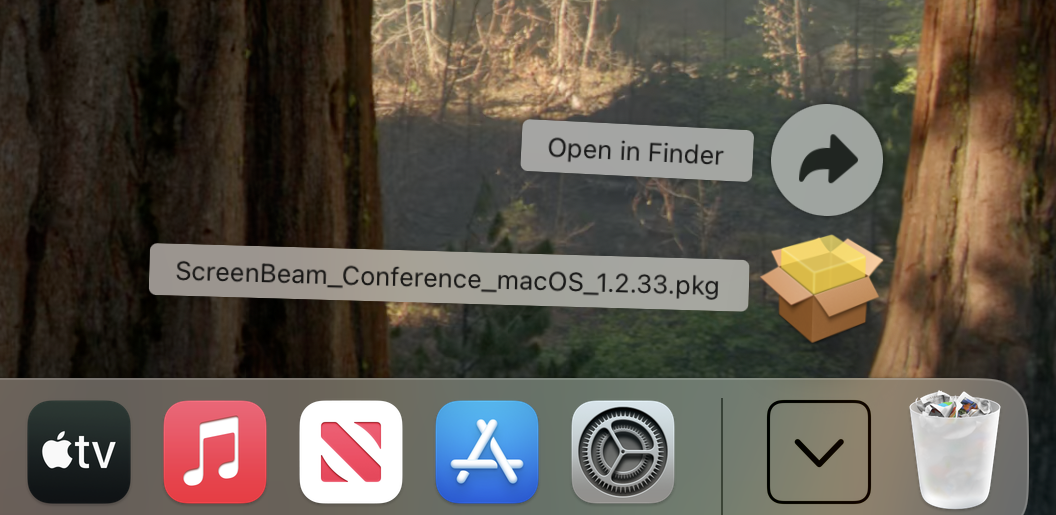
1. Download ScreenBeam Conference: Version 1.2.36 for MacOS 15 and 14 Version 1.2.0 for MacOS 13 | |
2. After downloading, click on downloads and open the ScreenBeam package. |
|
2. Click Continue. |
|
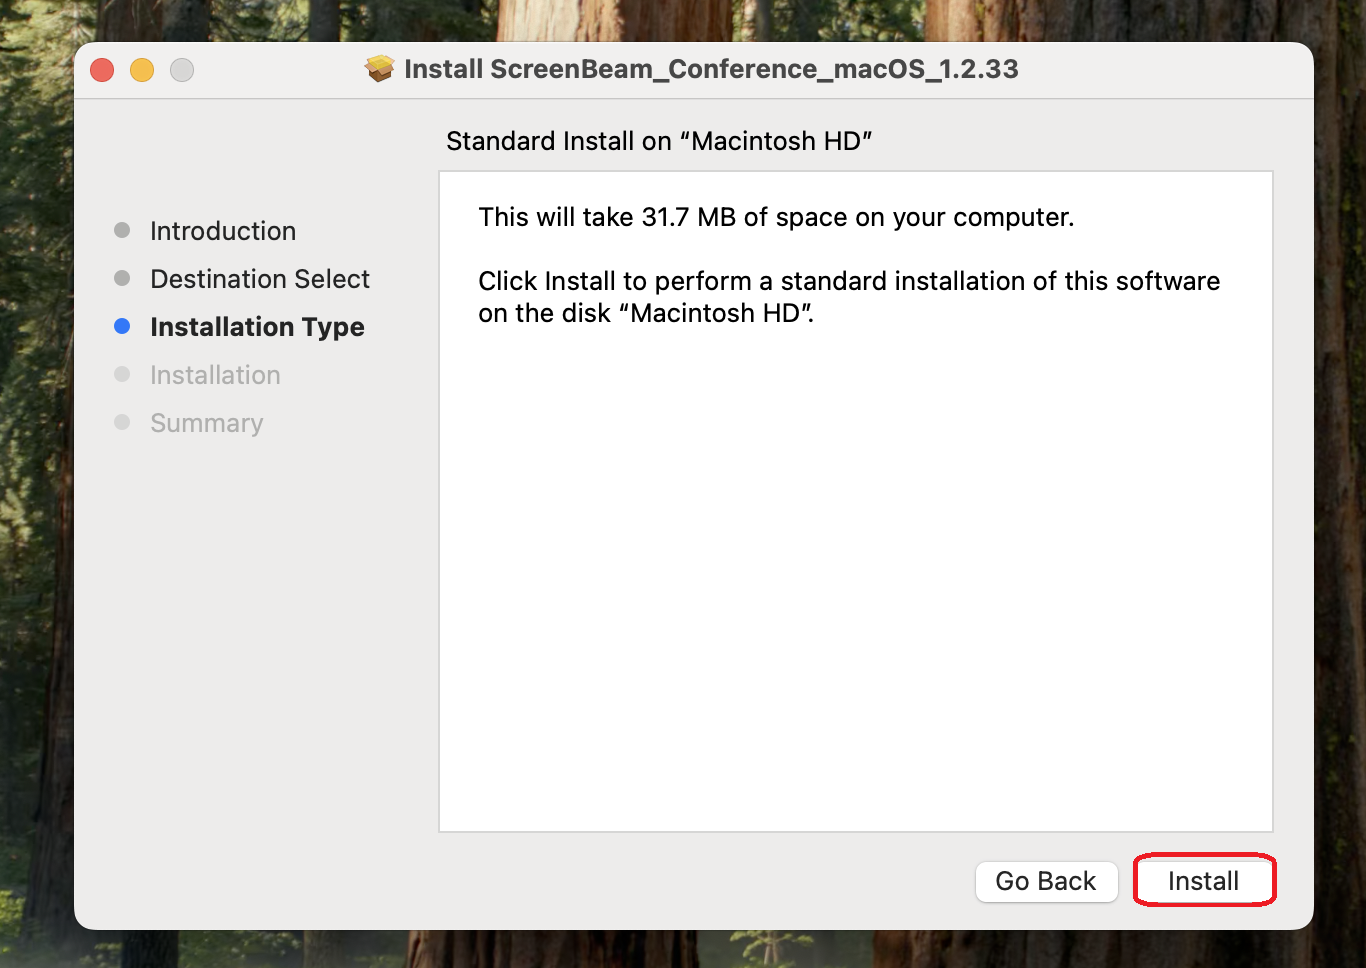
4. Click Install. |
|
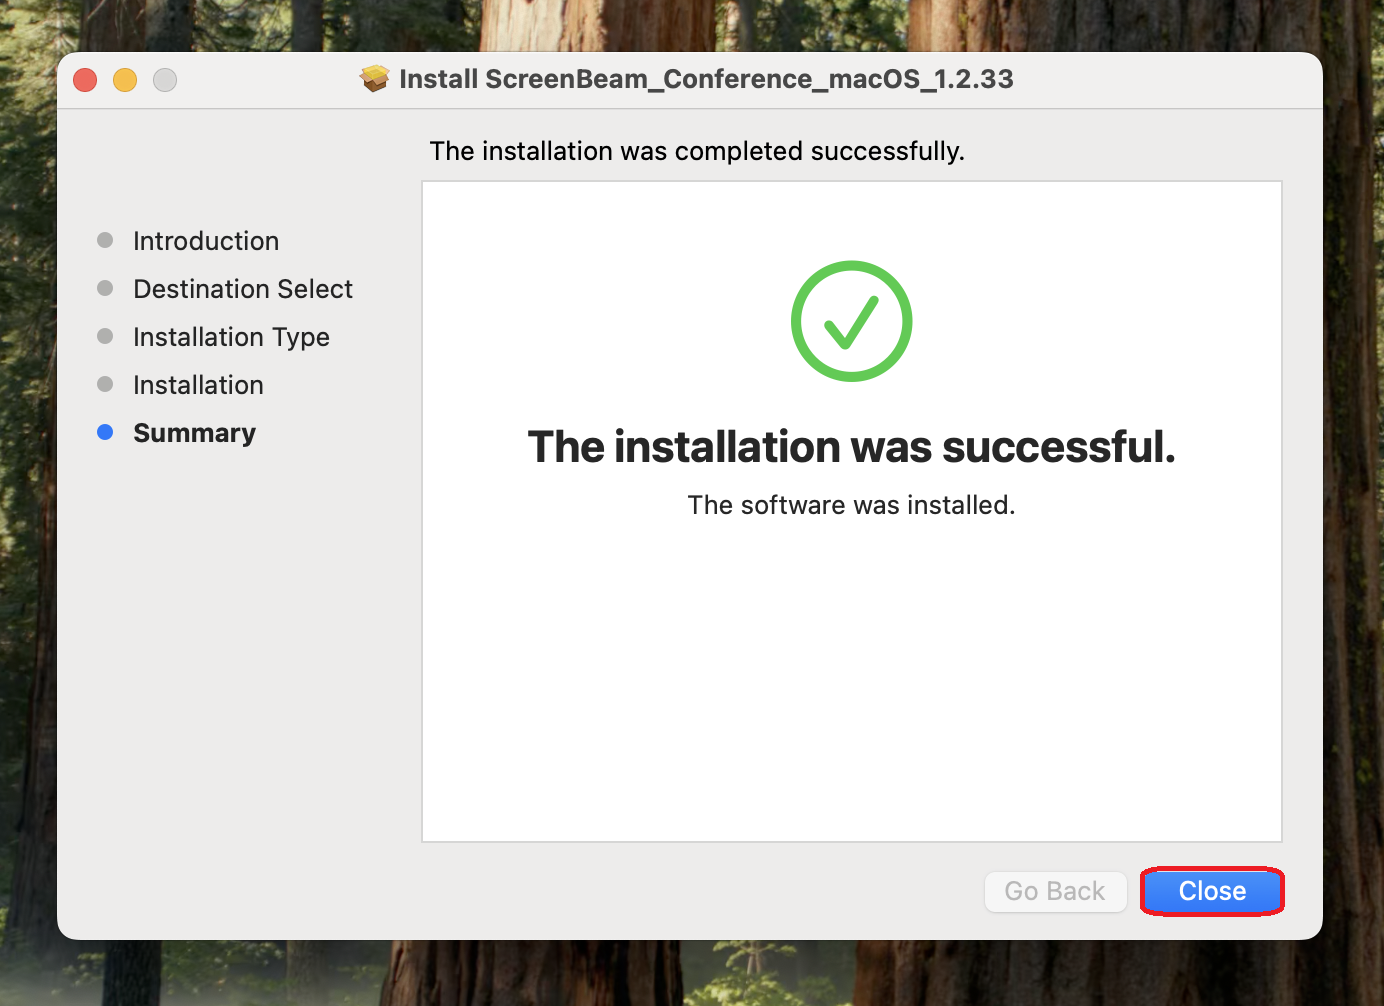
5. Click Close. |
|
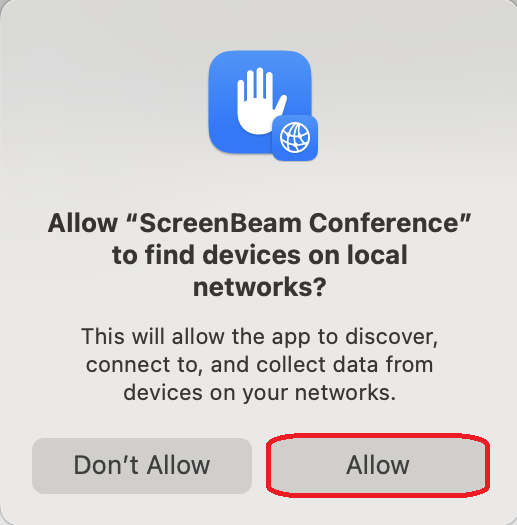
6. When prompted, click Allow. |
|
7. Click Open System Settings. It is important you click Open System Settings or you will have to go to Settings -> General -> Login Items & Extensions -> ScreenBeam Conference (click the |
|
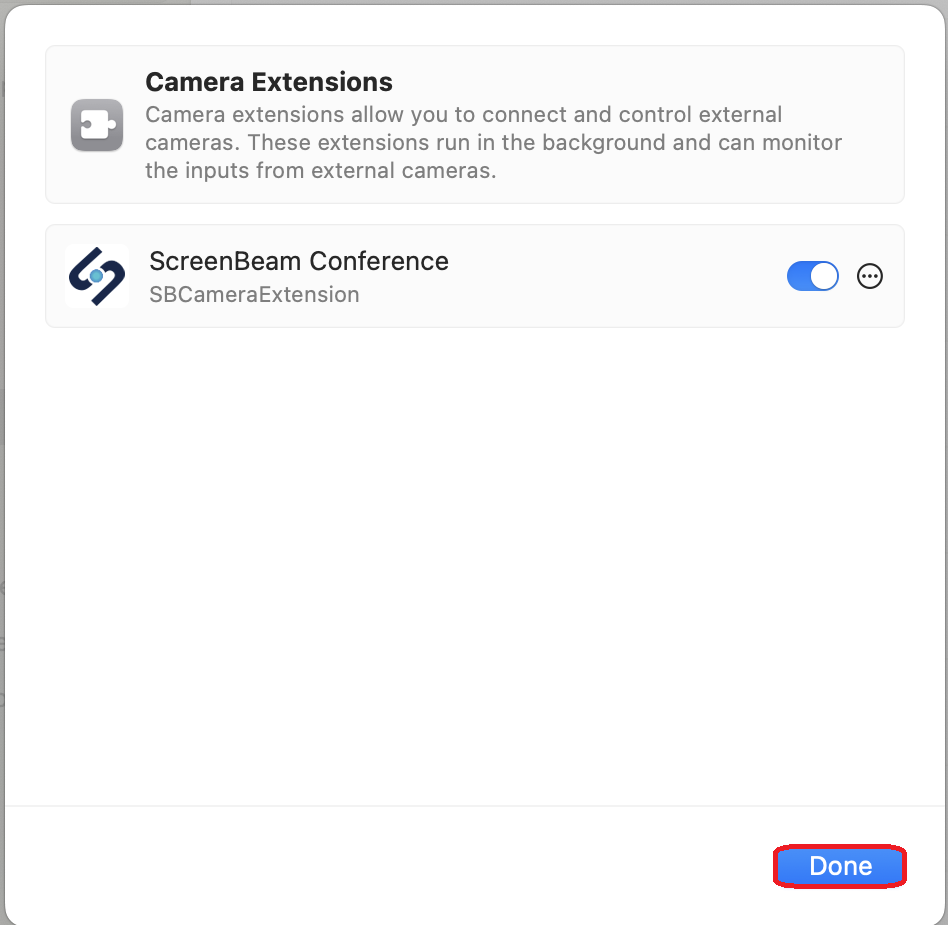
7. Toggle open ScreenBeam Conference. |
|
8. Click Done. |
|
9. Continue by launching ScreenBeam to begin your conference. |


In 18-46 conference rooms, select Wireless Projection on the AMX Panel located within the room to begin using ScreenBeam. Refer to the image below for an example.

After pressing 'Wireless Projection' on the AMX Panel, it may take a minute for the projector to turn on. Once it does, the connection screen will appear.
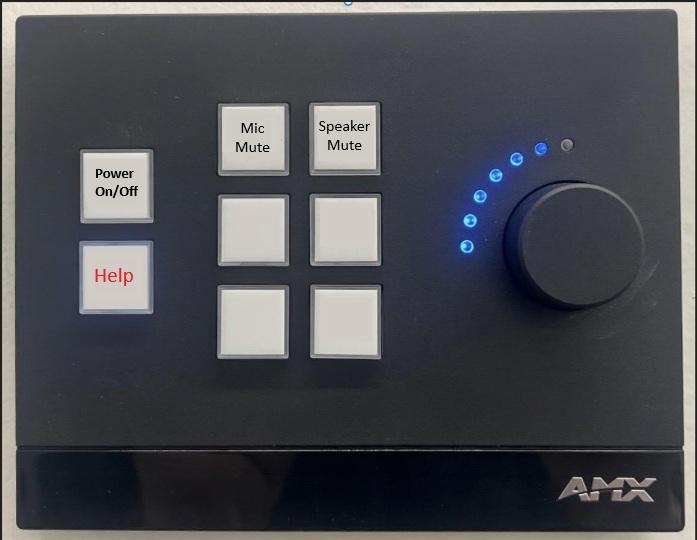
Name of the button: | What it does: |
Picture Mute | Turns off the projector/screen. Audio/microphone will still be usable. |
Privacy Mute | Turns off the camera and overhead microphones. Projector/screen will still be on. |
Mic Mute | Turns off the overhead microphone |
Speaker Mute | Turns off the overhead audio |
Wireless Presentation / Other Source | Switches the display to ScreenBeam for connecting your device for casting/mirroring |
Power On/Off | Turns the TV, microphone, and speakers on and off |
Projector Power On/Off | Turns the projector on and brings down the projector screen from the ceiling / Turns the projector off and brings the projector screen back up into the ceiling |
SIM PC | Switches the display to the simulation PC for displaying SIM center video and connections |