
HIPAA-Compliant Zoom Meetings
For clinical work, you must use a special version of Zoom that is HIPAA compliant. You can schedule and host HIPAA-compliant Zoom meetings from the Zoom website (zoom.temple.edu) or via the Zoom desktop client. Instructions for scheduling and starting HIPAA-compliant Zoom meetings are below.
Scheduling
There are two ways to schedule a Zoom meeting. You can either use the Temple-branded Zoom website (located here: https://zoom.temple.edu) or the Zoom desktop application.
From Zoom Website
|
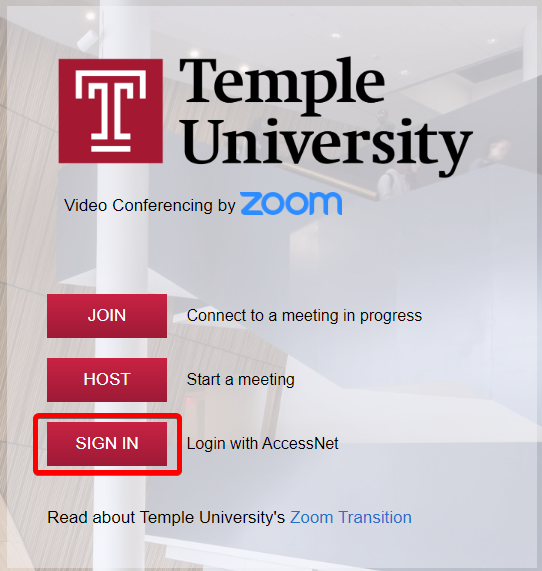
1. Go to the Temple-branded Zoom website and click Sign In:
If you are prompted for your Temple credentials, please enter them as you usually would.
|
 |
|
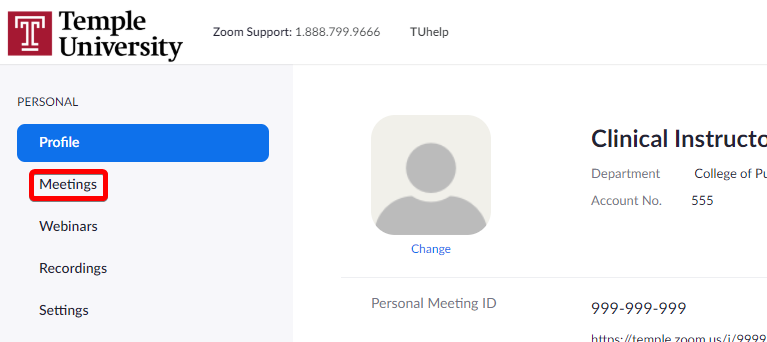
2. Click Meetings on the sidebar.
|
 |
|
3. Click Schedule a New Meeting.
|
 |
|
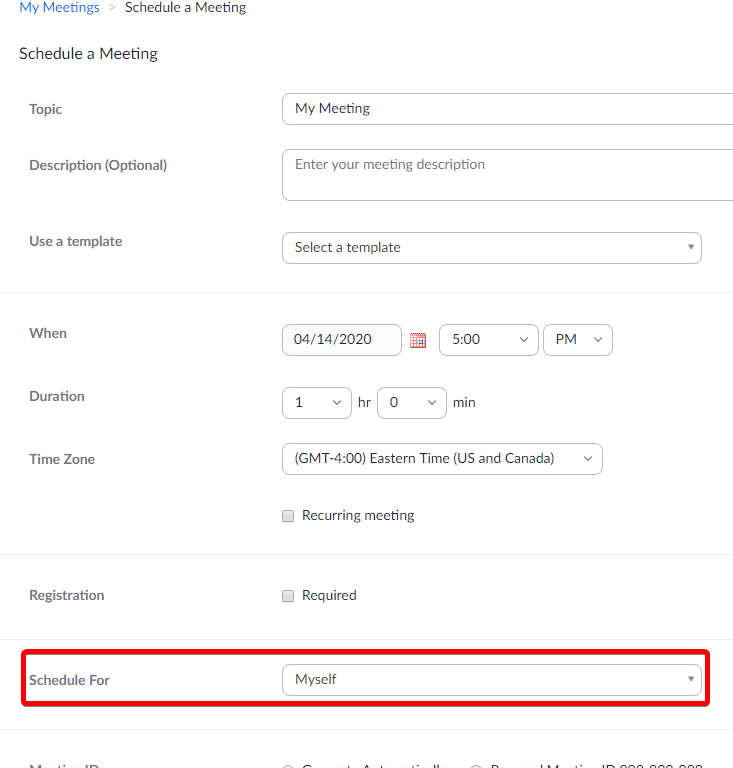
4. Before you fill out any information, find the Schedule For option towards the bottom of the current screen.
|
 |
|
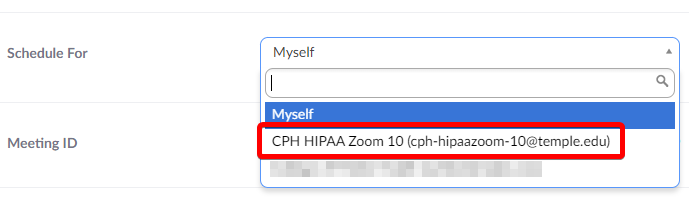
5. Click into the Myself dropdown and select the account you would like to schedule the meeting under. In this case, select the account listed as CPH HIPAA Zoom.
|
 |
|
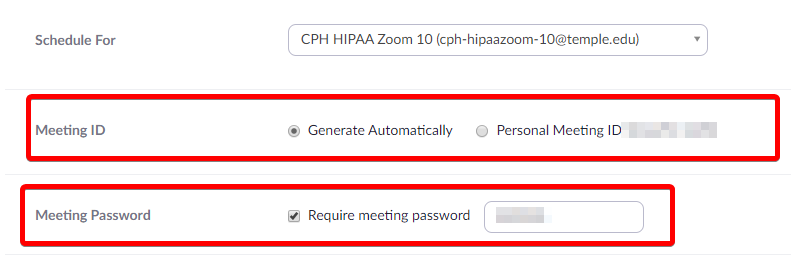
6. Fill in the rest of information as needed for the meeting, we recommend using Generate Automatically (if the option is given) and Require Password for extra security.
|
 |
|
7. If someone besides you will be hosting the meeting, please add them as an Alternate Host. You will need to enter their email in the form of accessnet@temple.edu. The alternate host will recieve a copy of the meeting invitation with a Start link. You may also add yourself as an Alternate Host if you would like to receive an email invitation.
|
 |
|
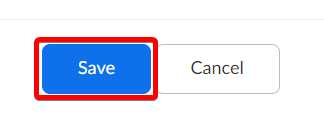
8. Click Save to schedule the meeting.
|
 |
From Zoom Desktop Application
|
1.
If you
|
 |
|
2. Click
|
 |
|
3.
| |
| |
| |
|
 |
|
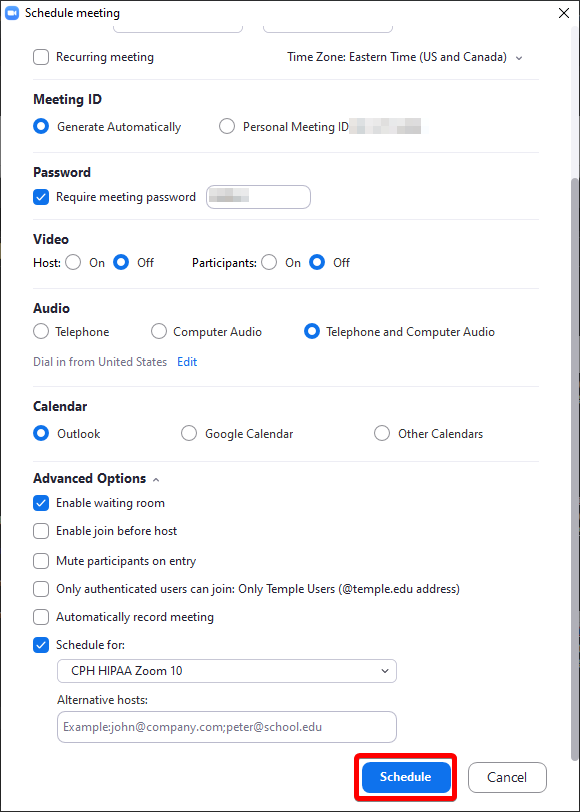
4. Click Advanced Options.
|
 |
|
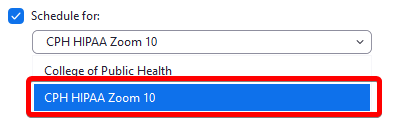
5. Check the Schedule for box.
|
 |
|
6. If you can schedule for multiple users, you will need to select the one labeled "CPH HIPAA Zoom".
|
 |
|
7. If someone besides you will be hosting the meeting, please add them as an Alternate Host. You will need to enter their email in the form of accessnet@temple.edu. The alternate host will recieve a copy of the meeting invitation with a Start link. You may also add yourself as an Alternate Host if you would like to receive an email invitation.
|
 |
8.
|
 |
Starting a Meeting
There are a few ways to start scheduled Zoom meetings.
From Zoom Website
|
1. Go to the Temple-branded Zoom website and click Sign In:
If you are prompted for your Temple credentials, please enter them as you usually would.
|
|
||||||||||||||||
|
2. Click Meetings on the sidebar.
|
|
||||||||||||||||
|
3. Click Schedule a New Meeting.
|
|
||||||||||||||||
|
4. Before you fill out any information, find the Schedule For option towards the bottom of the current screen.
|
|
||||||||||||||||
|
5. Click into the Myself dropdown and select the account you would like to schedule the meeting under. In this case, select the account listed as CPH HIPAA Zoom.
|
|
||||||||||||||||
|
6. Fill in the rest of information as needed for the meeting, we recommend using Generate Automatically (if the option is given) and Require Password for extra security.
|
|
||||||||||||||||
|
7. If someone besides you will be hosting the meeting, please add them as an Alternate Host. You will need to enter their email in the form of accessnet@temple.edu. The alternate host will recieve a copy of the meeting invitation with a Start link. You may also add yourself as an Alternate Host if you would like to receive an email invitation.
|
|
||||||||||||||||
|
8. Click Save to schedule the meeting.
|
From Zoom Website
|
From Zoom Website
|
1. Go to the Temple-branded Zoom website and click Sign In:
If you are prompted for your Temple credentials, please enter them as you usually would.
|
|
|
2. Click Meetings on the sidebar.
|
|
|
3. Click Schedule a New Meeting.
|
|
|
4. Before you fill out any information, find the Schedule For option towards the bottom of the current screen.
|
|
|
5. Click into the Myself dropdown and select the account you would like to schedule the meeting under. In this case, select the account listed as CPH HIPAA Zoom.
|
|
|
6. Fill in the rest of information as needed for the meeting, we recommend using Generate Automatically (if the option is given) and Require Password for extra security.
|
|
|
7. If someone besides you will be hosting the meeting, please add them as an Alternate Host. You will need to enter their email in the form of accessnet@temple.edu. The alternate host will recieve a copy of the meeting invitation with a Start link. You may also add yourself as an Alternate Host if you would like to receive an email invitation.
|
|
|
8. Click Save to schedule the meeting.
|
|
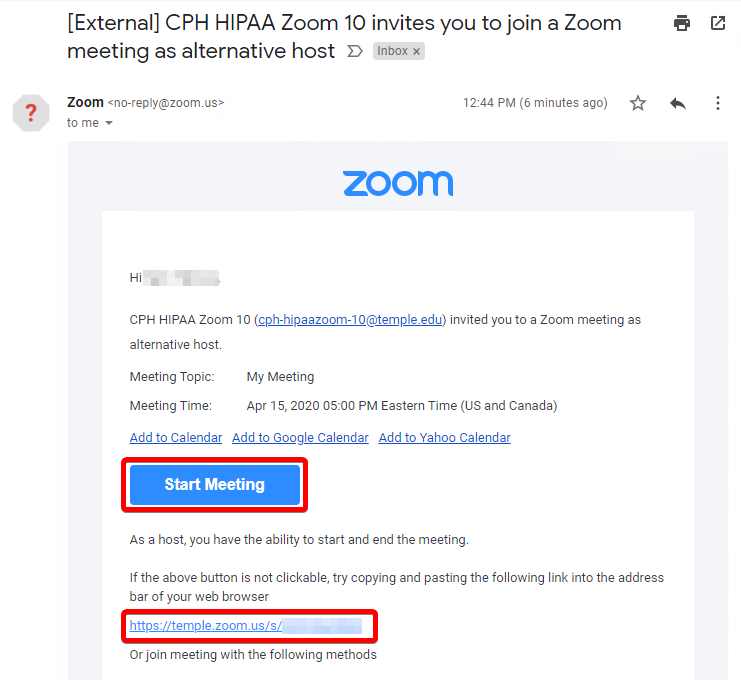
From Zoom Invitation Email
|
1. Open the email invitation you received either from Zoom or directly from the scheduler.
|
|
|
2. Click the link provided to launch the meeting.
|
 |
|
3. If you are prompted with: "If you are the meeting host, sign in to start the meeting", please find the "Sign in to Start" button.
|
 |