
SAS Installation
If your class requires you to use SAS, a Windows machine is the required configuration. Please see the documented documented Laptop Requirements.
For Mac users: SAS can only be installed on Windows operating systems. Do not attempt to follow these instructions on an Apple device unless you are running Bootcamp with Windows 10 or have another way of running Windows 10. If you have a Mac, you you may be able to configure Bootcamp to run Winows and SAS, depending on how much memory is installed in your Mac, but but Bootcamp will not run on the new Apple M1 Macs. As of Jan 2021, there is no version of Bootcamp, VMware, or Virtualbox that will run on the Apple M1 computer. Therefore you cannot run SAS 9.4 on an Apple M1 Mac this semester. There is no workaround for Apple M1 Macs. See See Bootcamp instructions for guidance on this process.
Follow the step-by-step instructions exactly as they are presented below. Do not skip any steps in the process. The images in this guide can be clicked on for closer viewing.
Note for those who have installed SAS from a previous semester and only need to update the license file: Please complete the first step step Downloading the SAS license file and then skip to to Updating the License File.
Downloading the SAS Installer
VisitVisit https://download.temple.edu and login with your Temple credentials.- Find "SAS" listed among the list of available downloads.
- On the SAS license agreement page, select "I Agree".
- On the SAS Education Analytic Suite - Use of Software Form, select "Teaching and Research Use". Then enter "CPH".
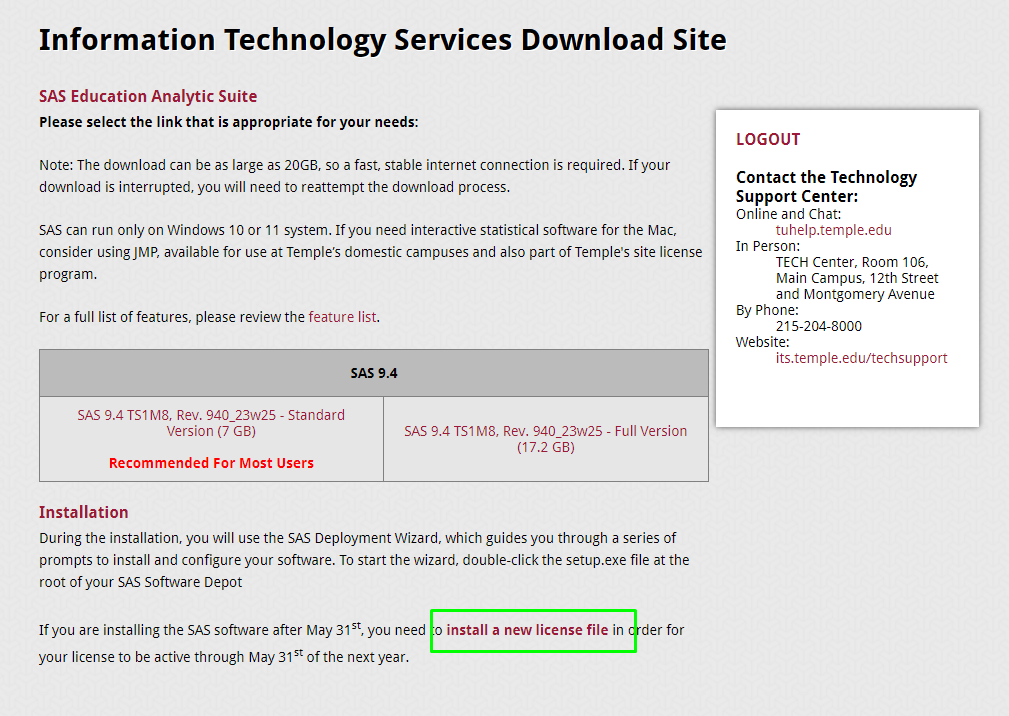
- If you need the SAS installer, on the center of the page, click "SAS 9.4 TS1M8, Rev. 940_23w25 - Standard Version (
77 GB)" to download the SAS installer. As this is a fairly large download, it may take several minutes to an hour to complete the download. - If you need the SAS license file, follow the link at the bottom of the page that says "install a new license file" and follow the instructions listed on the Download site.
- Congrats! You can now proceed with the instructions for installing.
Downloading the SAS License file
|
1. Log into download.temple.edu and go to the SAS download page.
|
|
|
2. Find and click on the link named "install a new license file".
|
 |
|
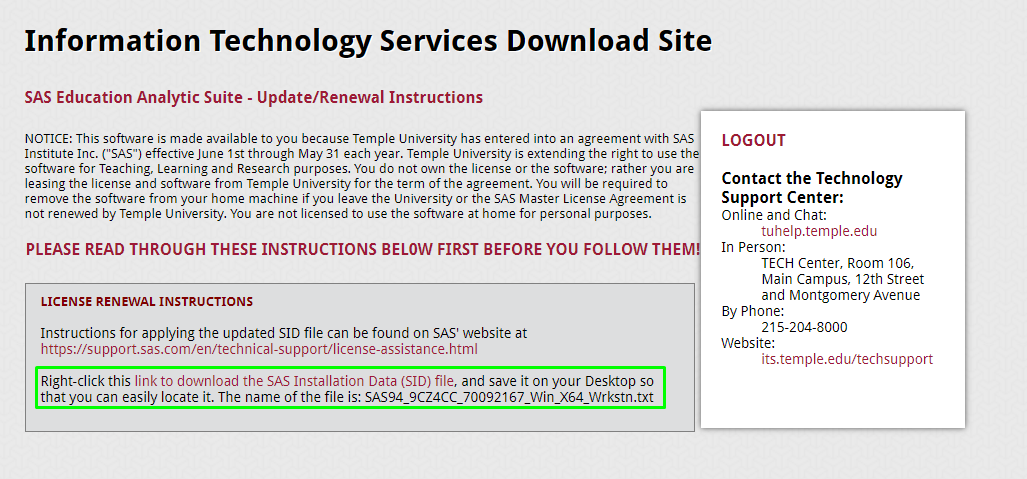
3. Read the instructions and right-click on the "link to download the SAS Installation (SID) file" and select Save link as to a location you choose.
|
 |
|
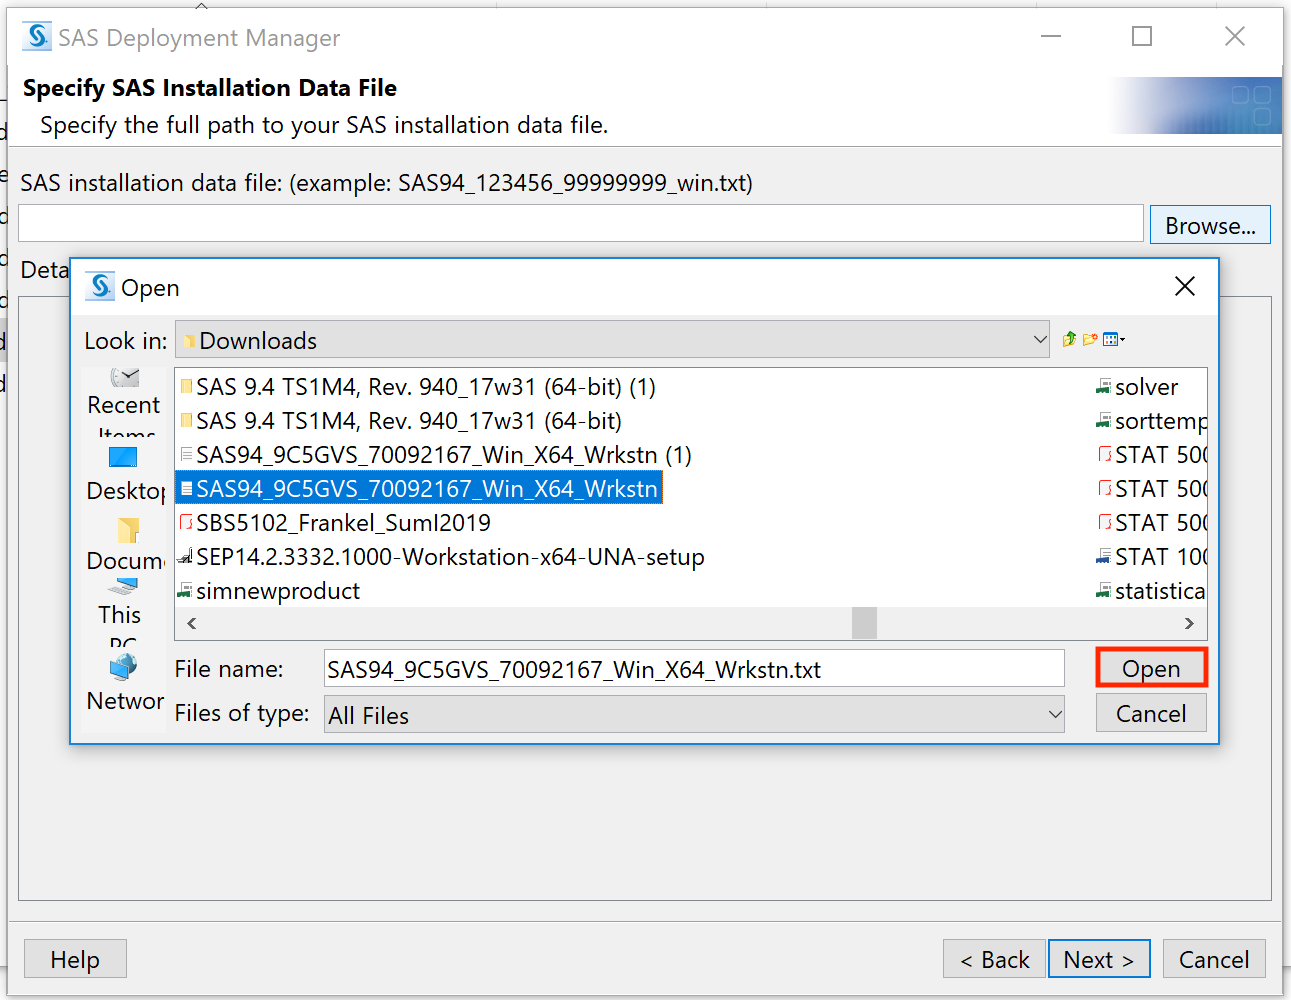
4. The file will be named something similar to SAS94_9CZ4CC_70092167_Win_X64_Wrkstn.txt
|
|
|
5. If you already have SAS installed, proceed
|
Installing SAS
|
1. If you had any trouble downloading the installer in the previous set of instructions, please contact or visit
|
 |
|
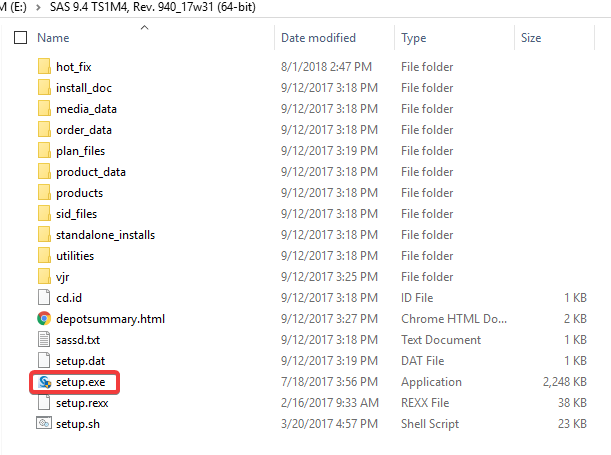
2. Double click on
|
|
|
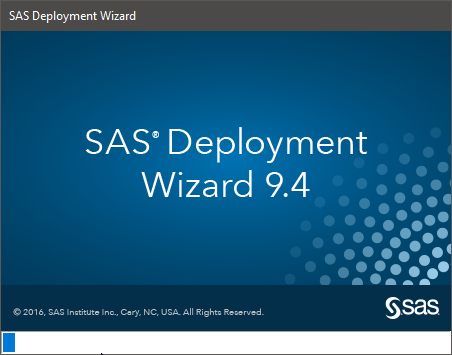
3. The SAS installer may take a few minutes to launch.
|
 |
|
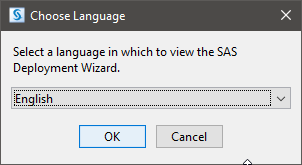
4. Once SAS's installer initialized, you will be asked to choose your language.
|
 |
|
5. It may take a few more moments before you can proceed.
|
 |
|
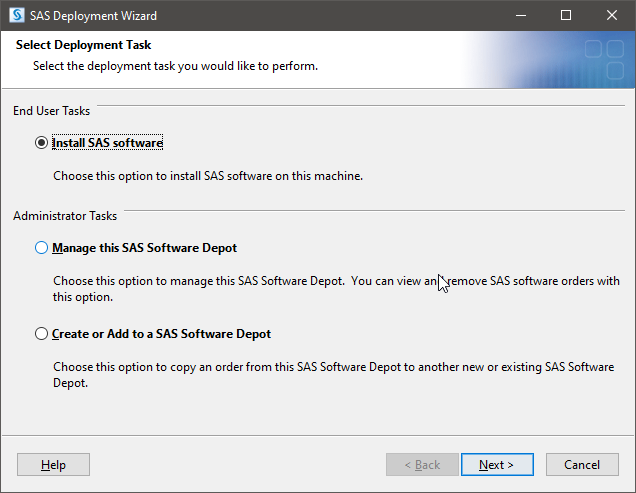
6. When the SAS Deployment Wizard has opened,
|
 |
|
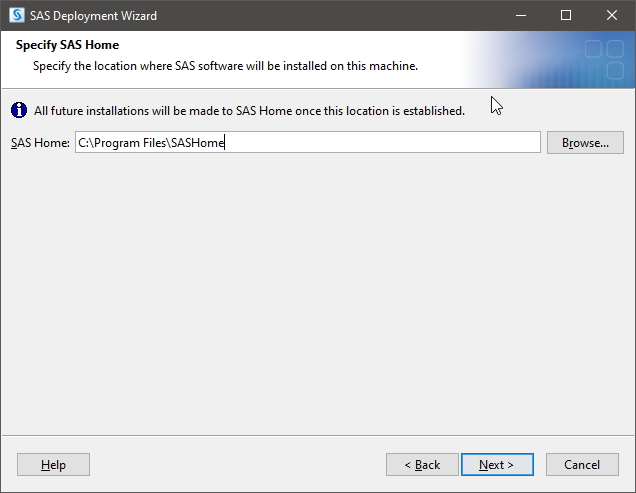
7. You will be prompted to enter
|
 |
|
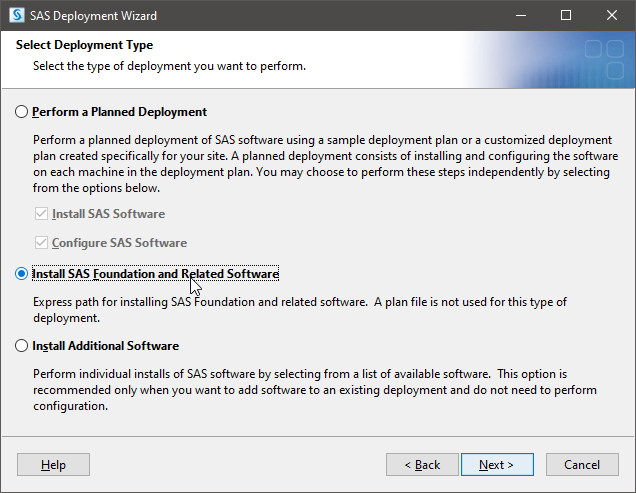
8. If prompted for a Deployment Type, This step may not be applicable to all installations of SAS 9.4
|
 |
|
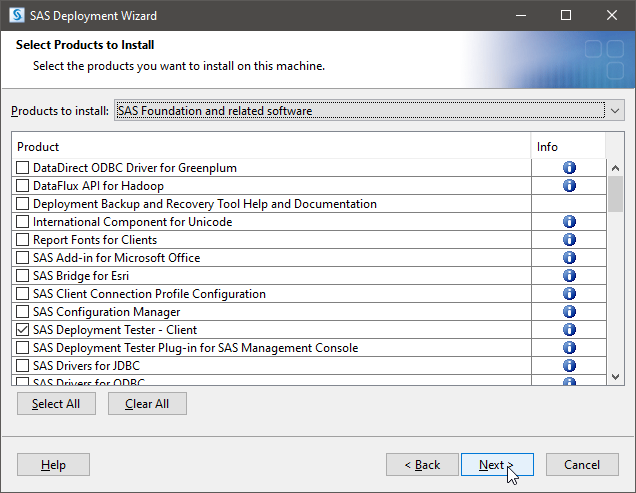
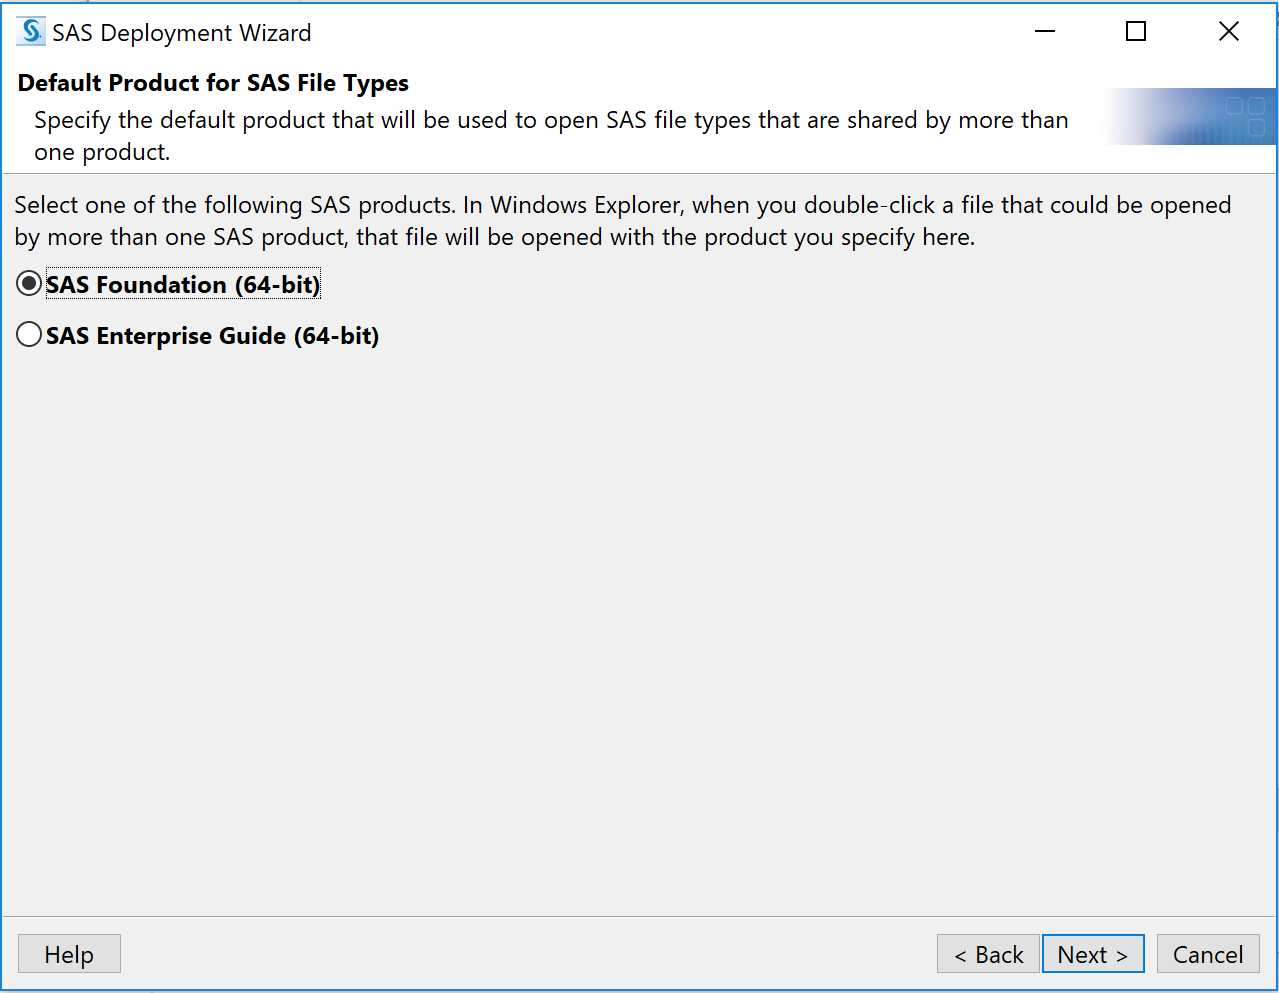
9. You will also be asked to select which products you want to install. You can leave this as the default, and
|
 |
|
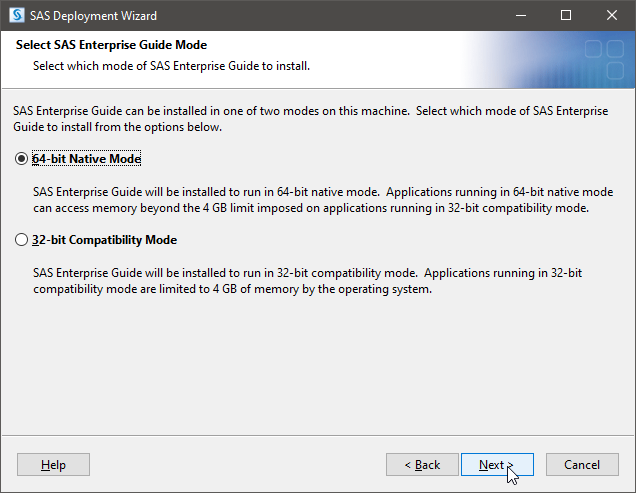
10. If prompted for the Enterprise Guide mode, This step may not be applicable to all installations of SAS 9.4
|
 |
|
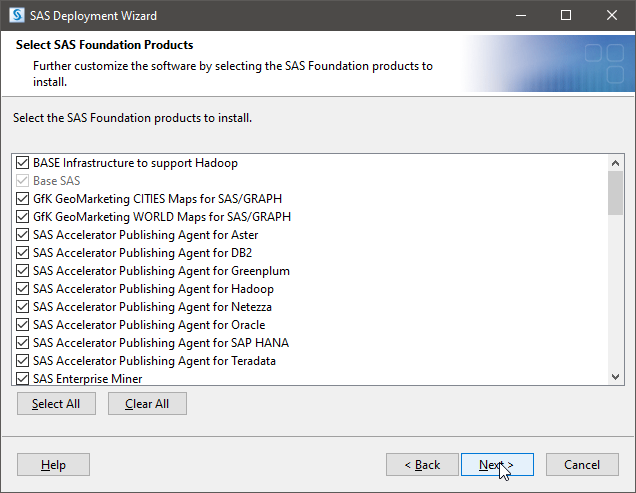
11. You will be prompted again to select which products. Leave it as the default, and
|
 |
|
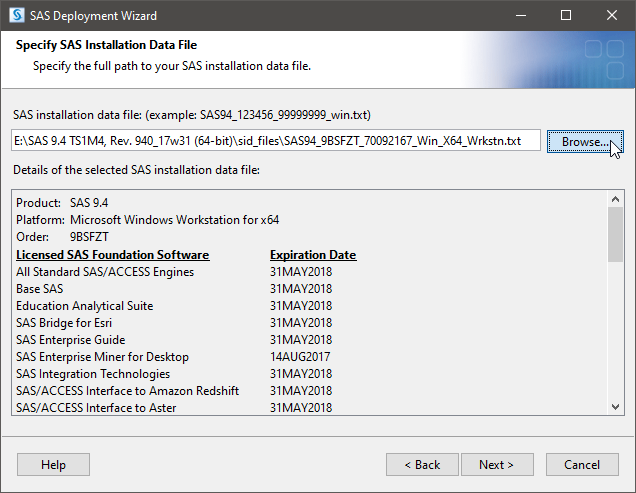
12. DO NOT SKIP THIS STEP!
|
 |
|
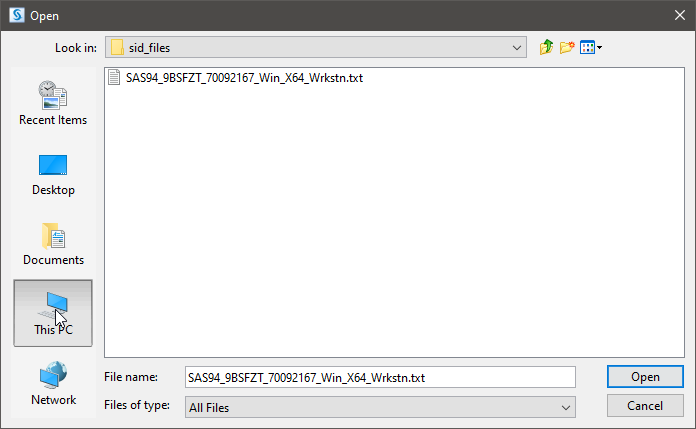
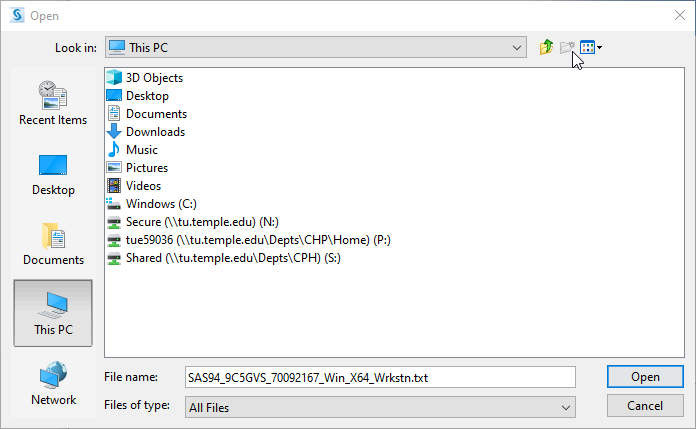
13. On the left side of the file prompt, click "This PC".
|
 |
|
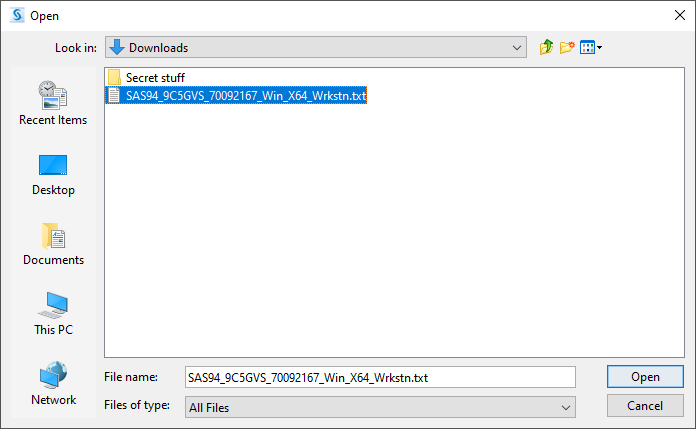
14. You will see various folders, click "Downloads".
|
 |
|
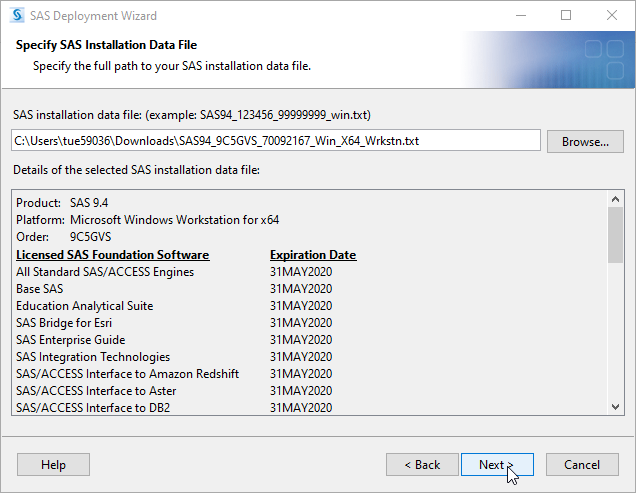
15. In your "Downloads" folder, you should now be able to find the license file you downloaded previously. Find "SAS94_9CWL9Y_70092167_Win_X64_Wrkstn.txt" and click "Open".
|
 |
|
16. Once the file is selected, you can proceed with the installation by clicking "Next".
|
 |
|
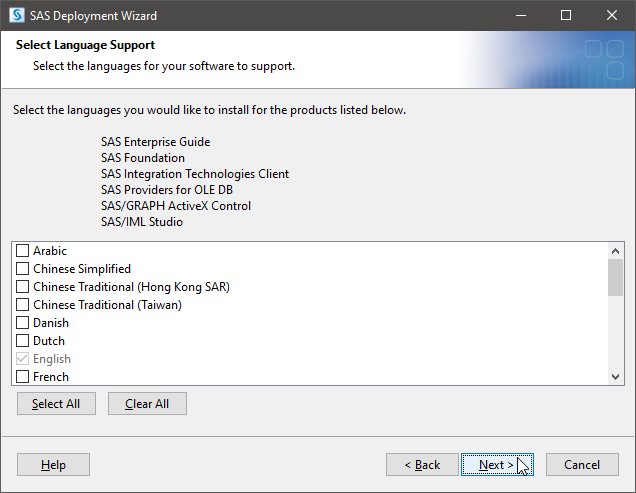
17. Next, it will ask you which languages you want to install. Click "Clear All" and then click "Next".
|
 |
|
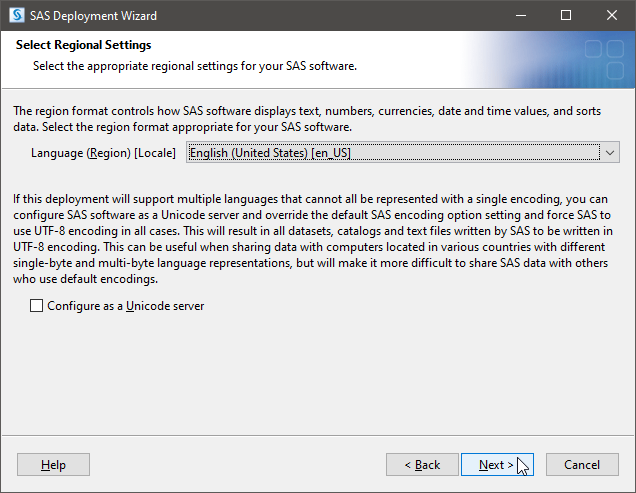
18. Now you'll be asked for Regional Settings.
|
 |
|
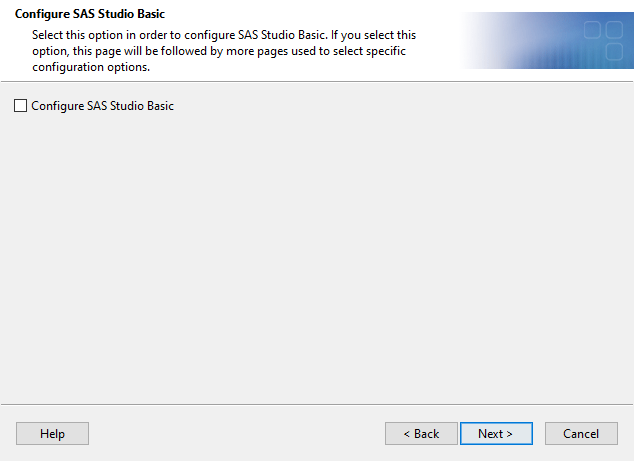
19. You may be prompted to select an option This step may not be applicable to all installations of SAS 9.4
|
 |
|
20. Next, you may be prompted to
This step may not be applicable to all installations of SAS 9.4
|
 |
|
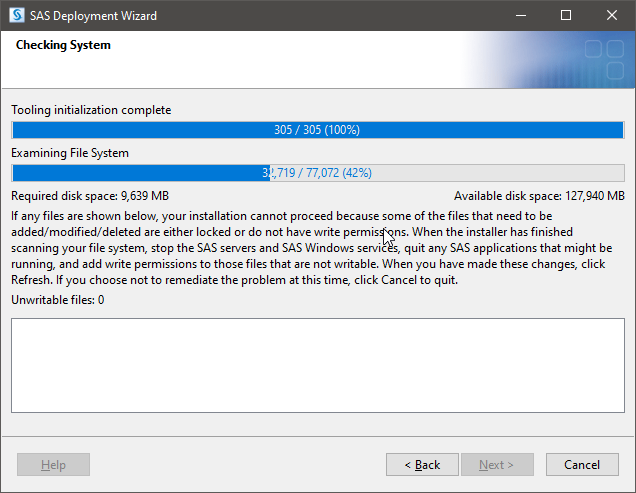
21. SAS will now run a system check.
|
 |
|
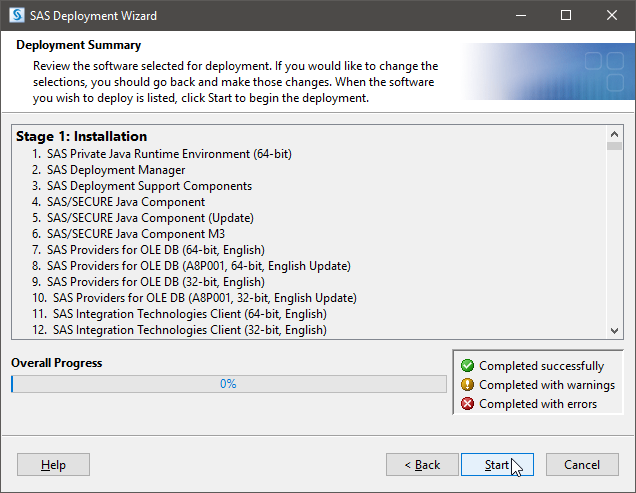
22. Now we're at the actual installation part.
|
 |
|
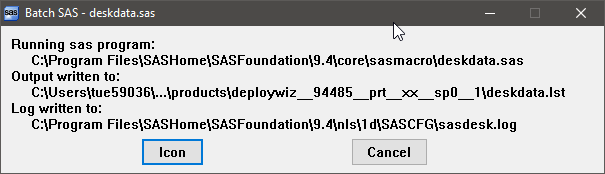
23. While it's installing, you might see popups like these.
|
 |
|
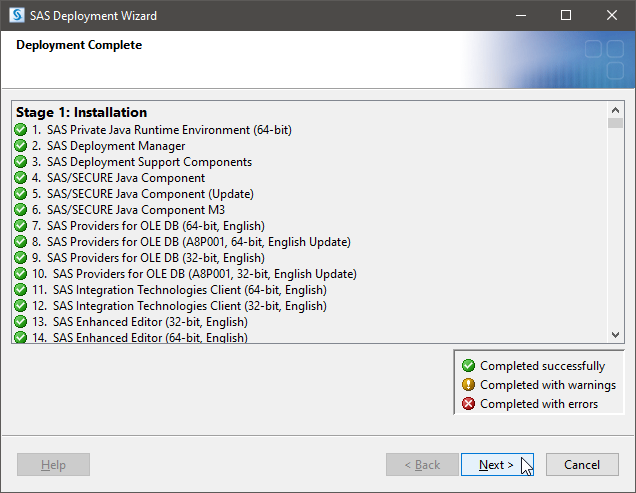
24. Once you wake up from your nap, SAS should be installed. You can confirm that everything completed successfully by scrolling through the list.
|
 |
|
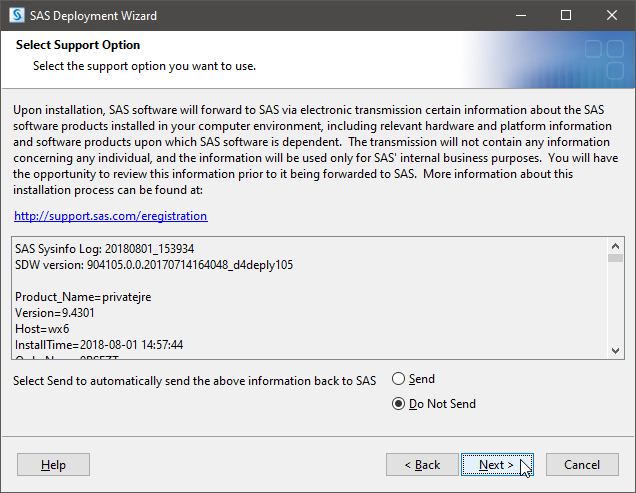
25. You will be asked about support options. Make sure "Do Not Send" is checked and then proceed to
|
 |
|
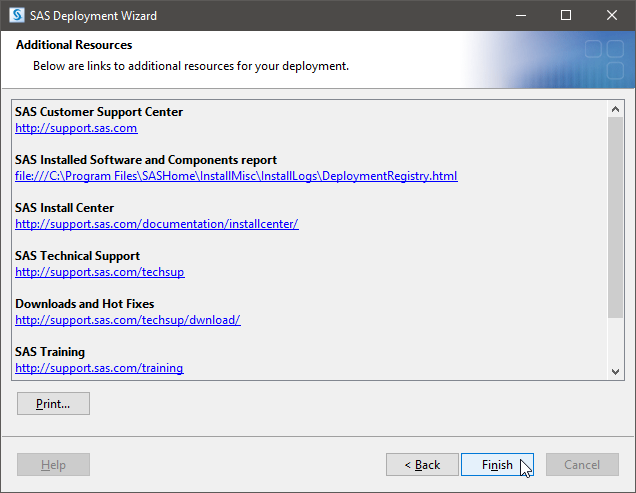
26.
|
 |
Updating the License File (for those who already have SAS 9.4 installed)
|
1. Before you begin, follow the steps in the first section:
|
|
|
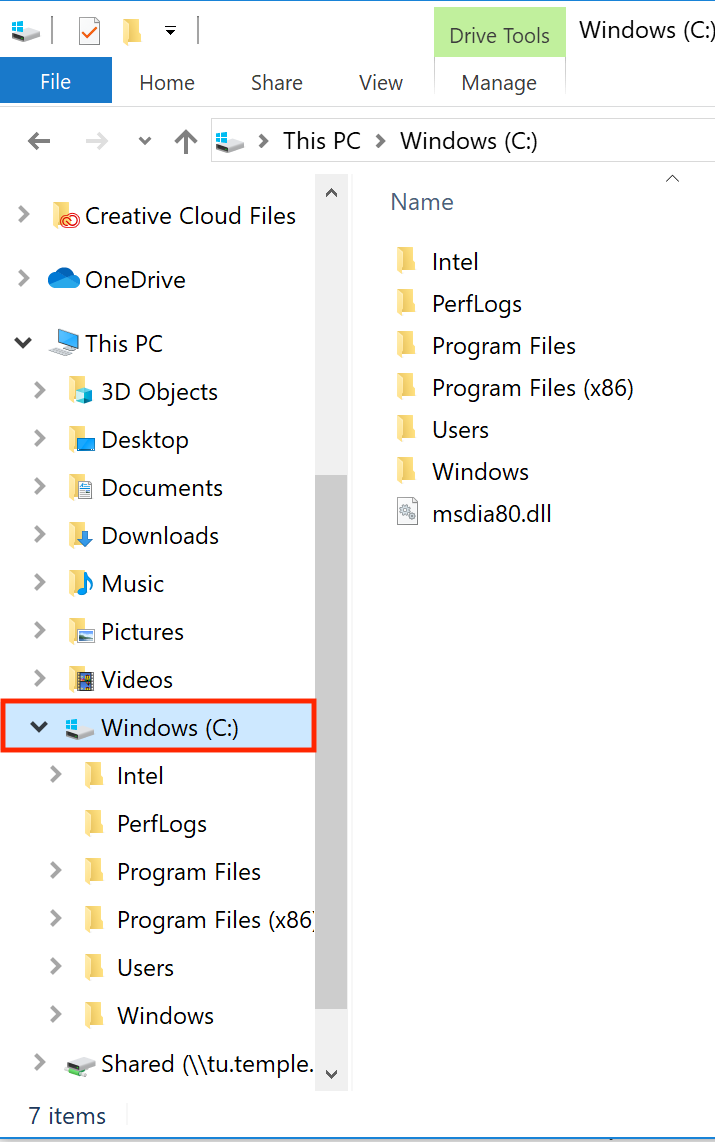
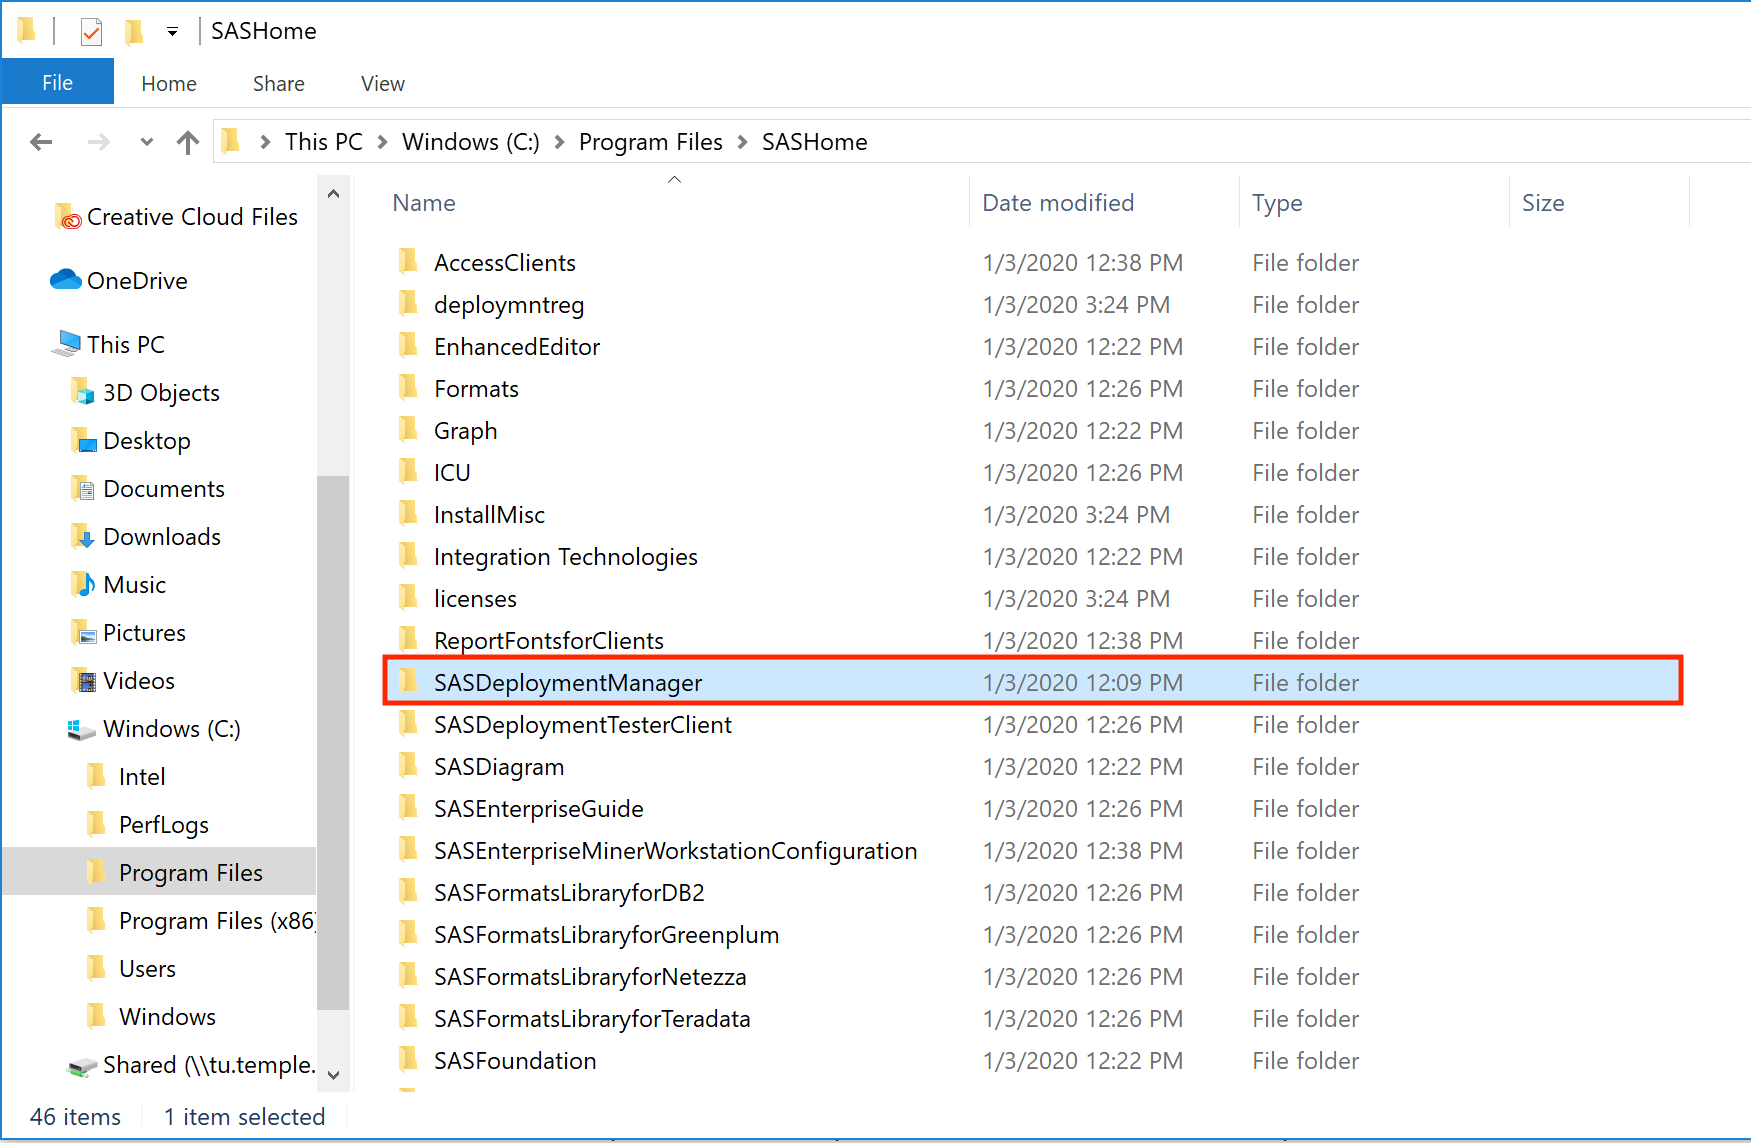
2. Open the file explorer and click
|
 |
|
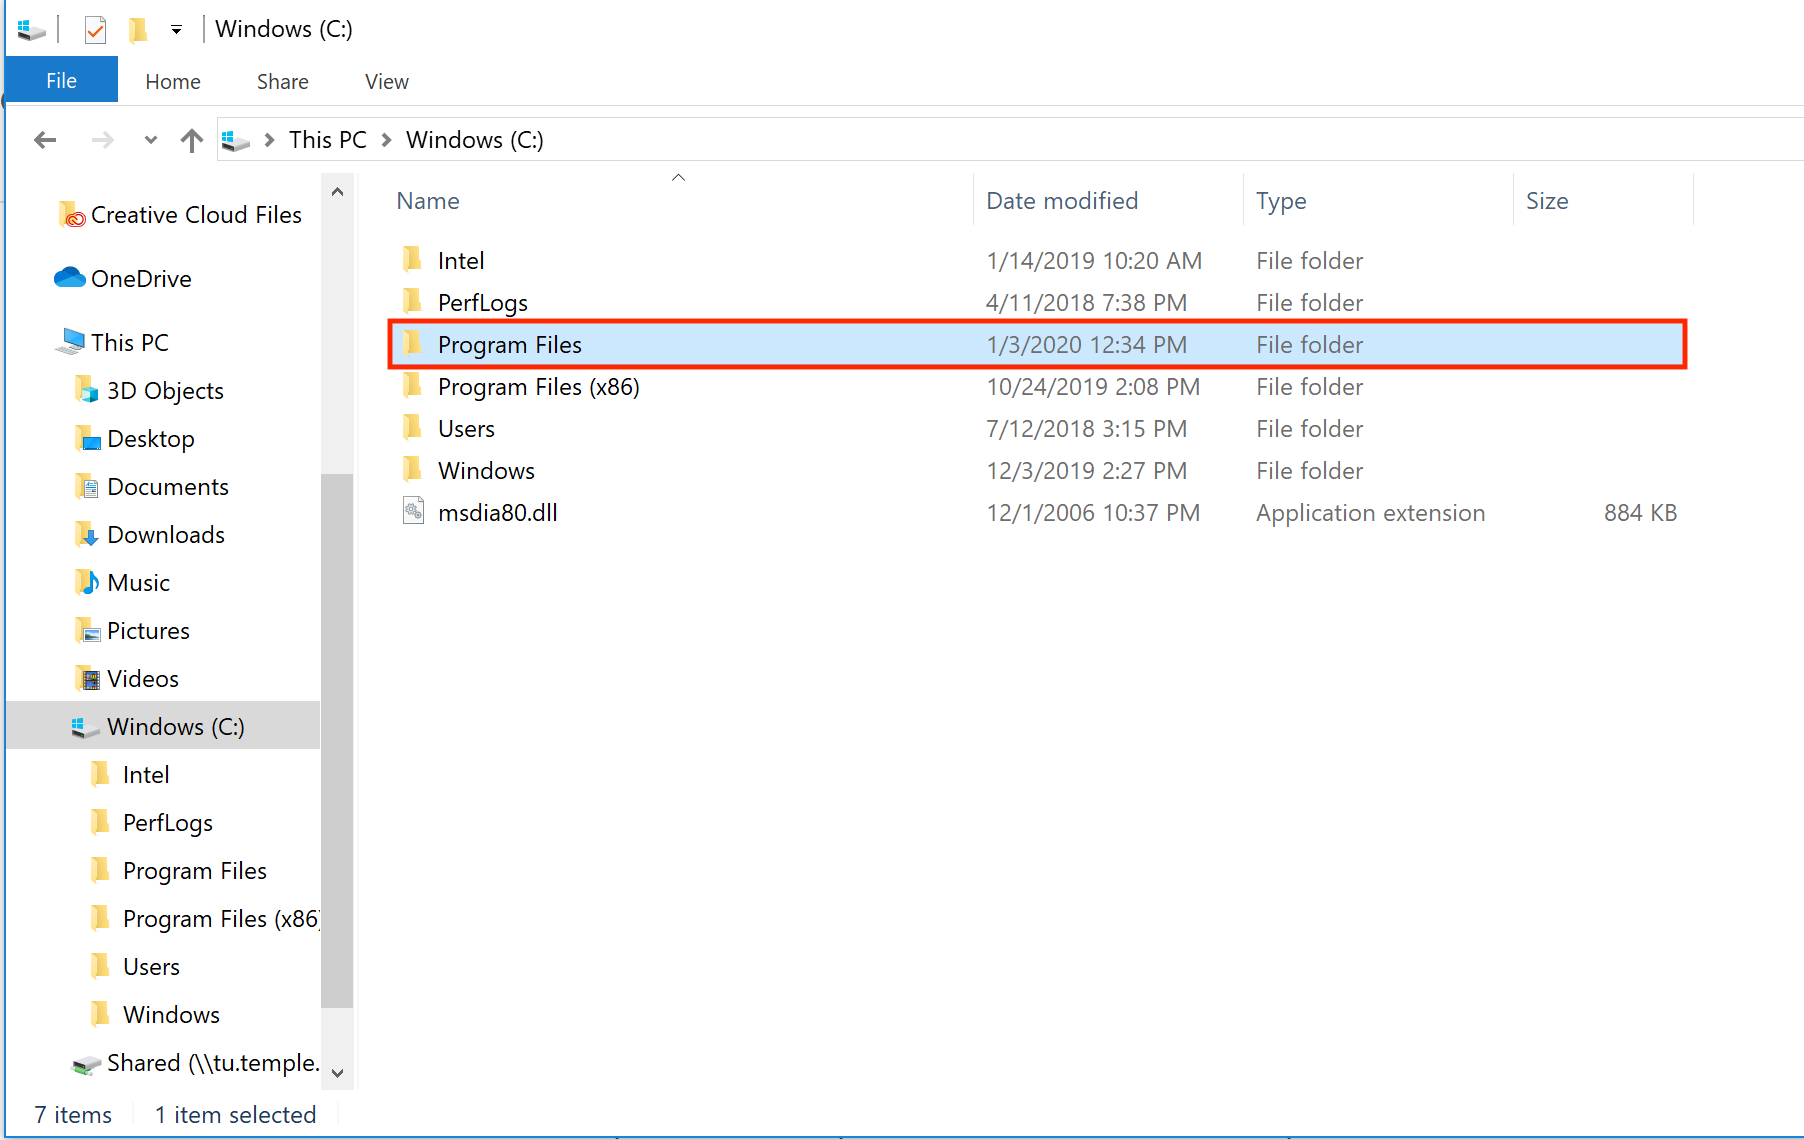
3. Double-click on the folder
|
 |
|
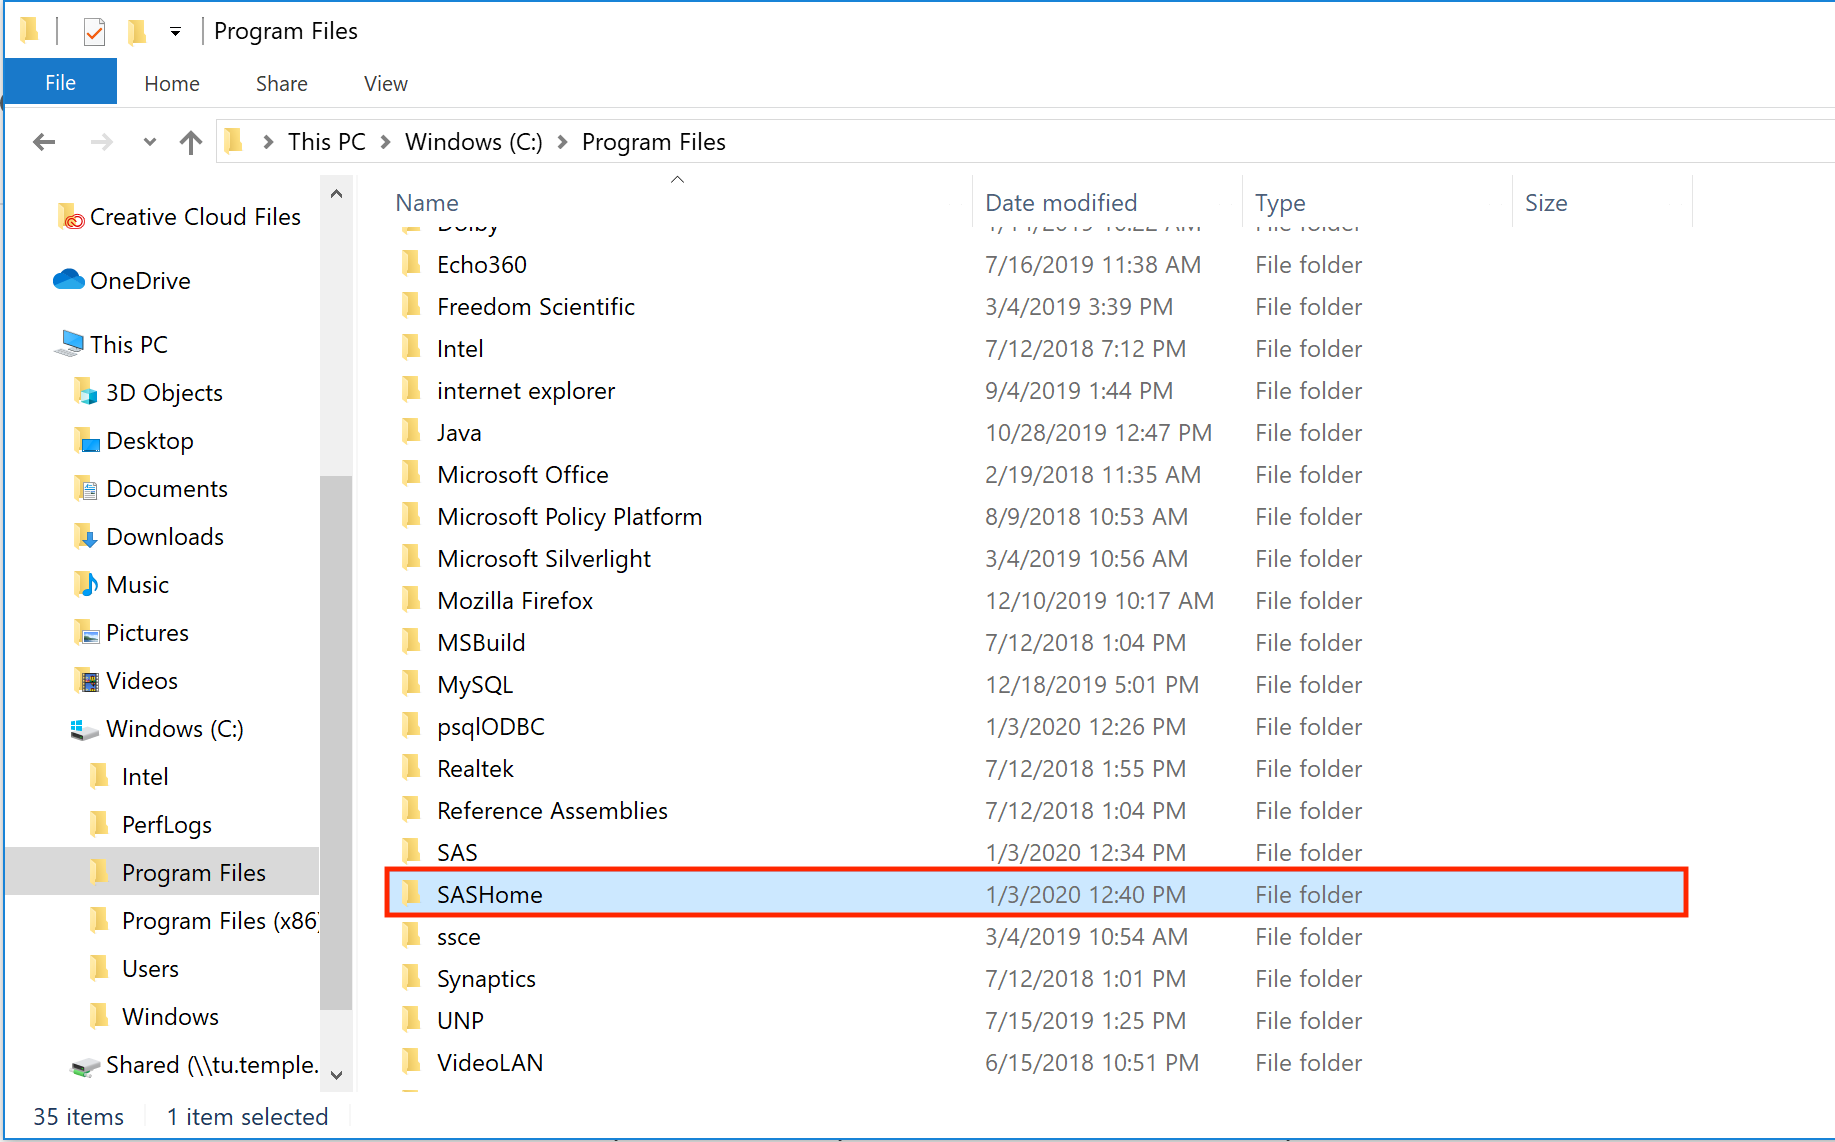
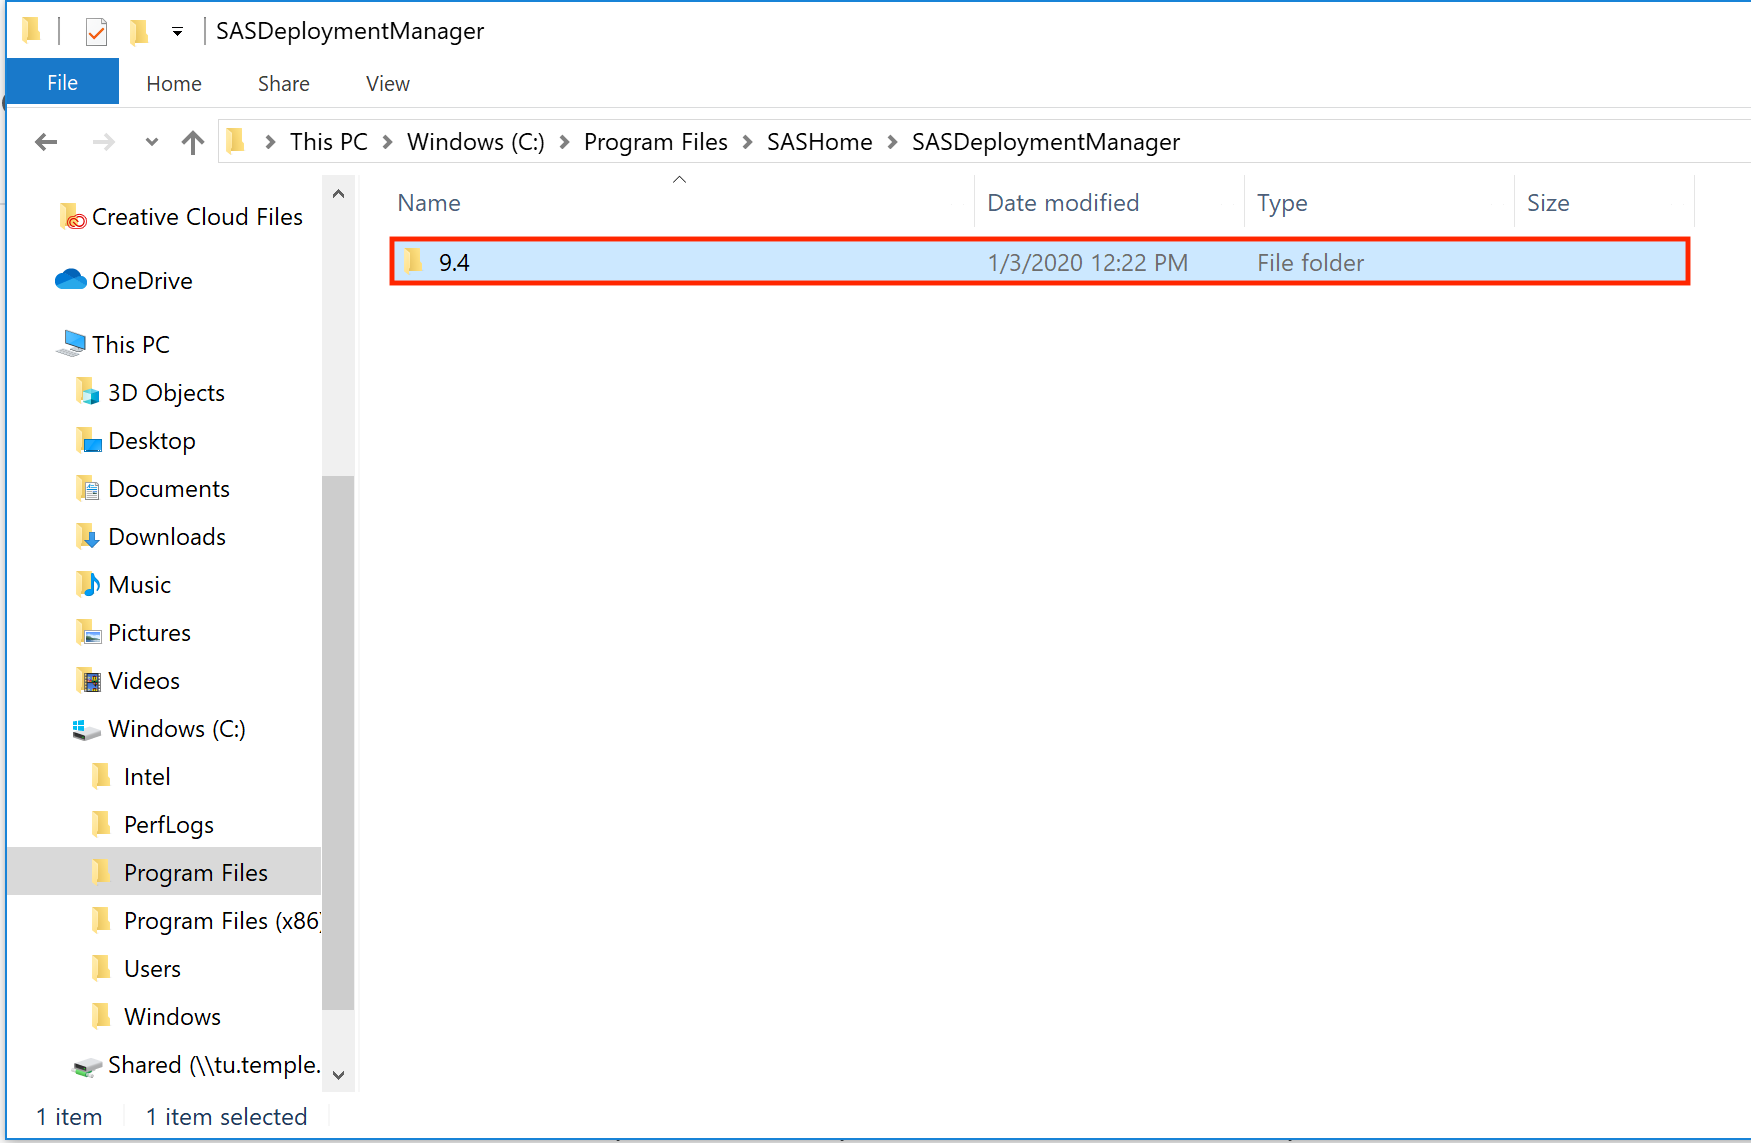
4. Double-click on the folder
|
 |
|
5. Locate the folder
|
 |
|
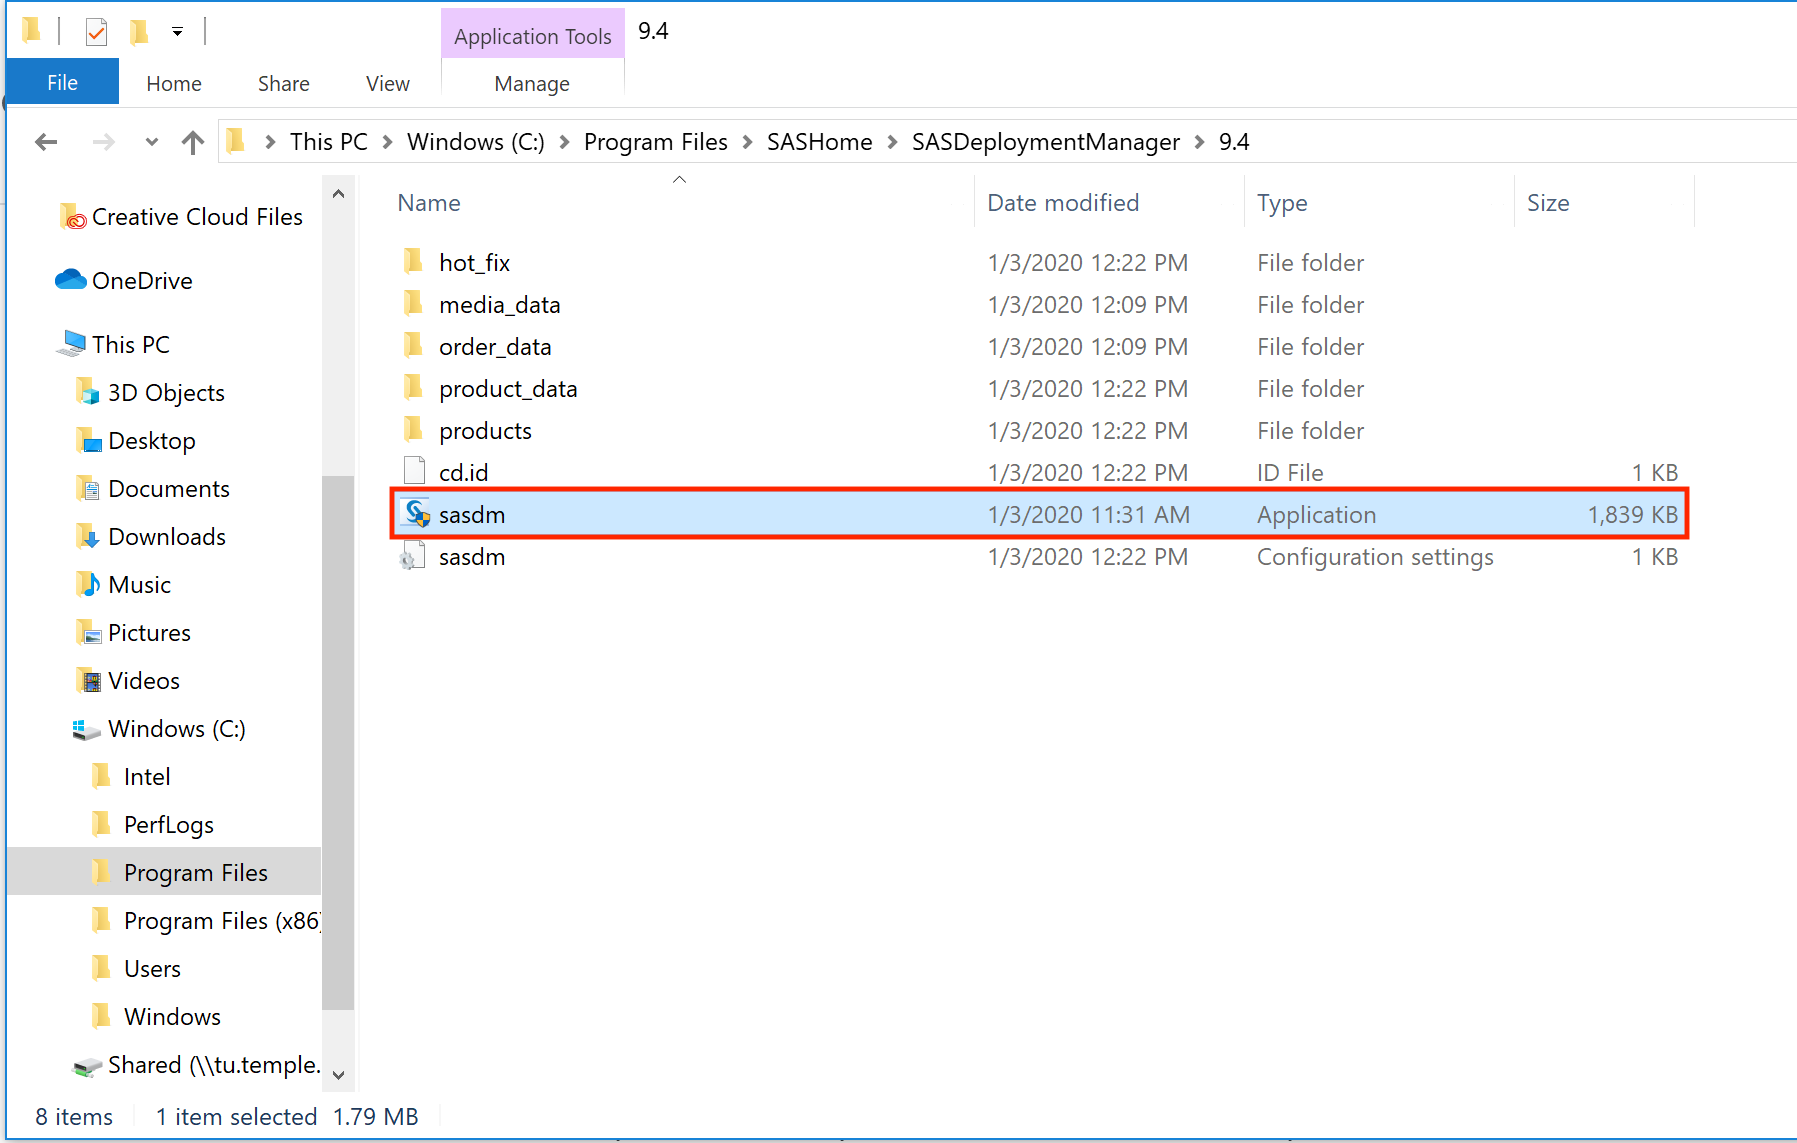
6. Double-click on the folder
|
 |
|
7. Double-click
|
 |
|
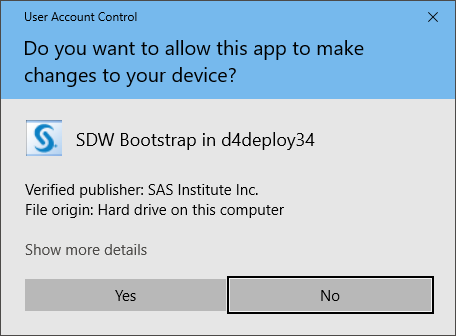
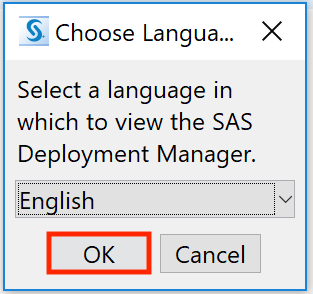
8. When asked "Do you want to allow this app to make changes to your device"?,
|
|
|
9. Keep English selected for the language and
|
 |
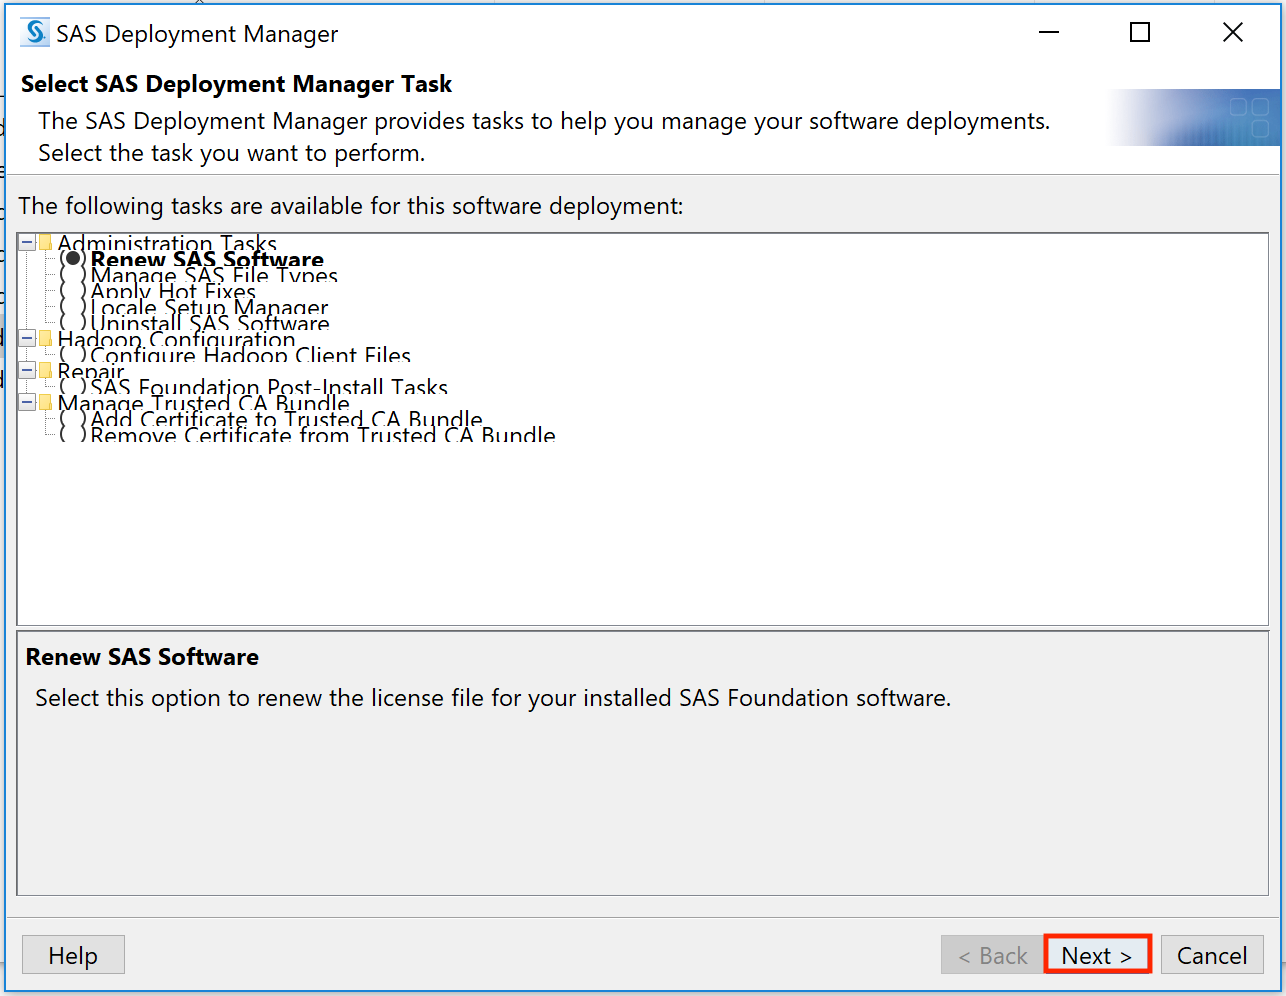
| 10. Keep Renew SAS Software selected and |
 |
|
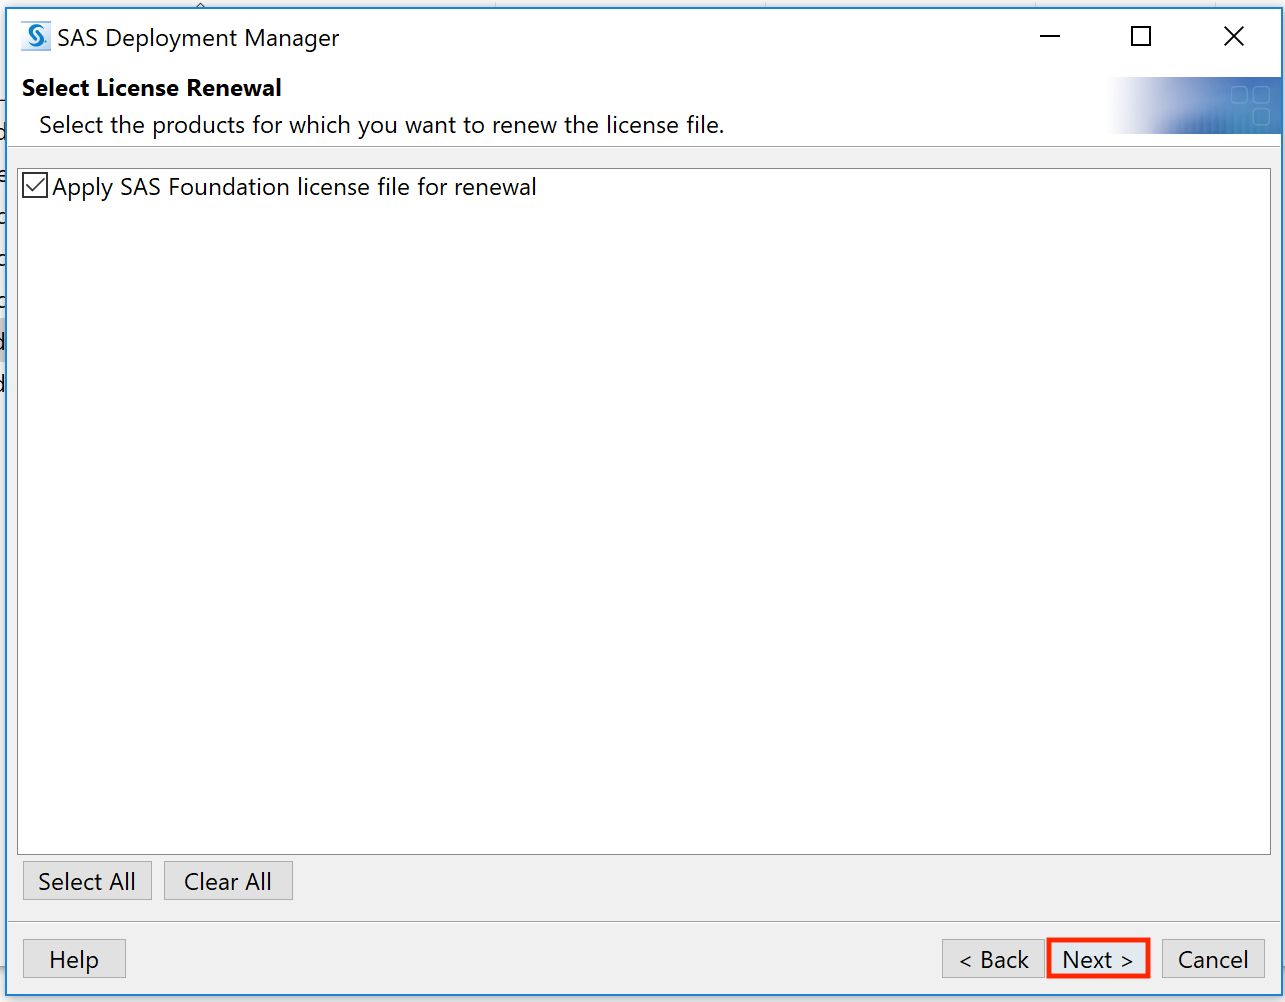
11. Keep Apply SAS Foundation License File for Renewal selected and
|
 |
|
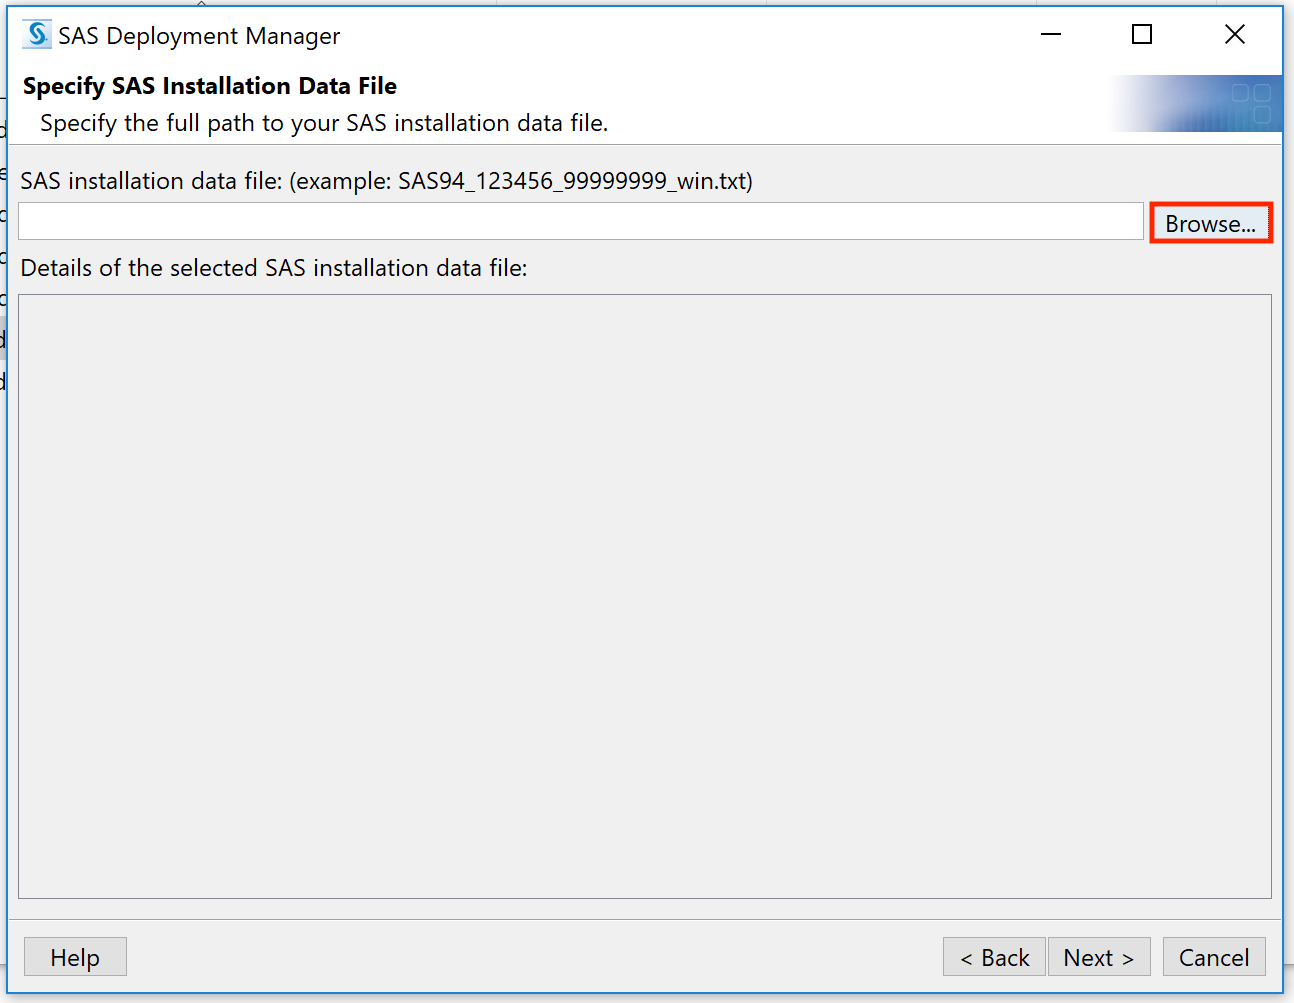
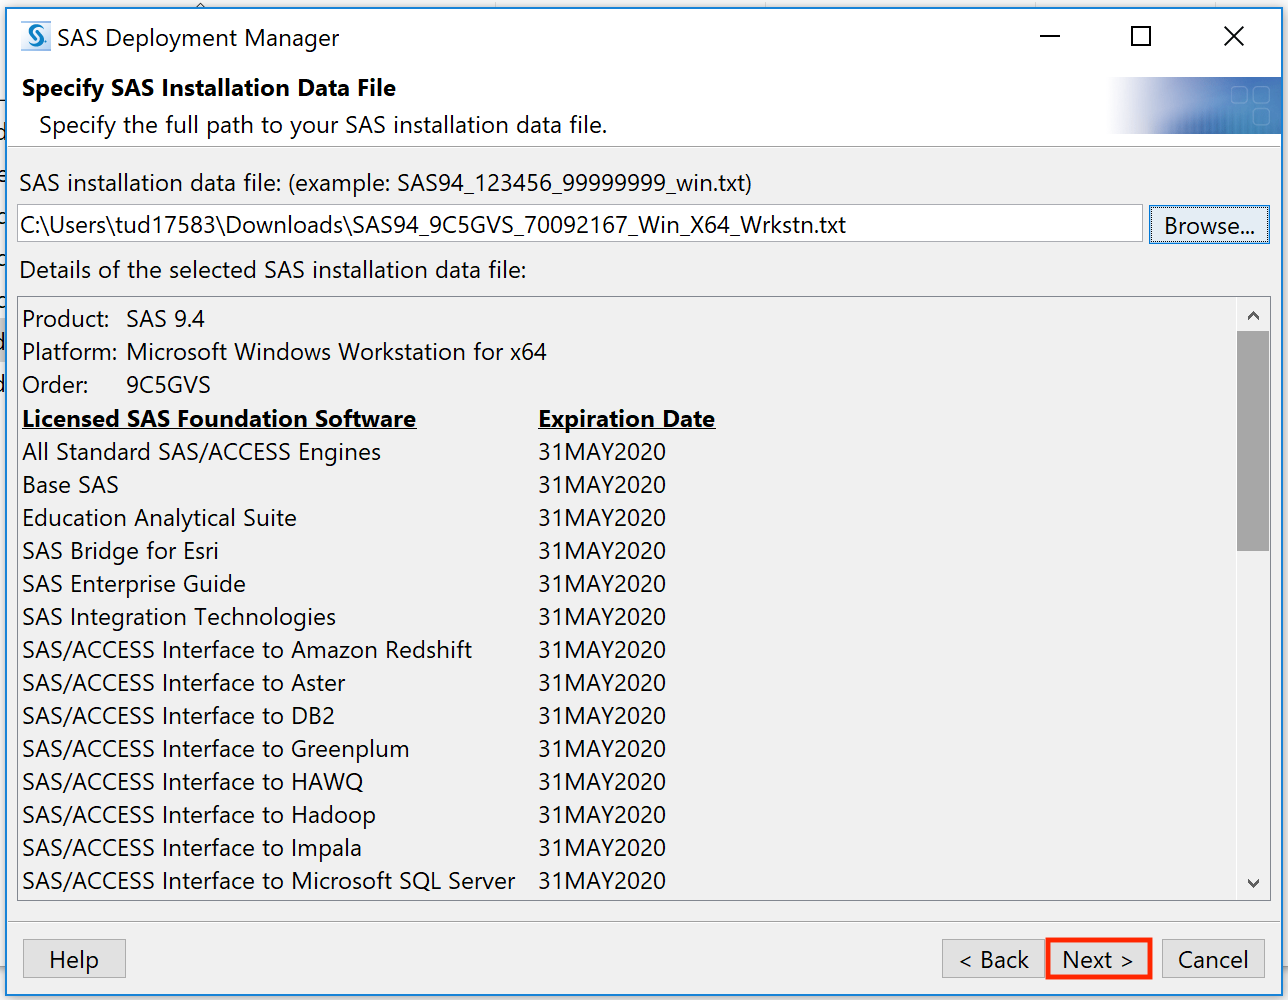
12. Click Browse and locate where you saved the license file from
|
 |
|
13. Select the license file and
|
 |
|
14.
|
 |
|
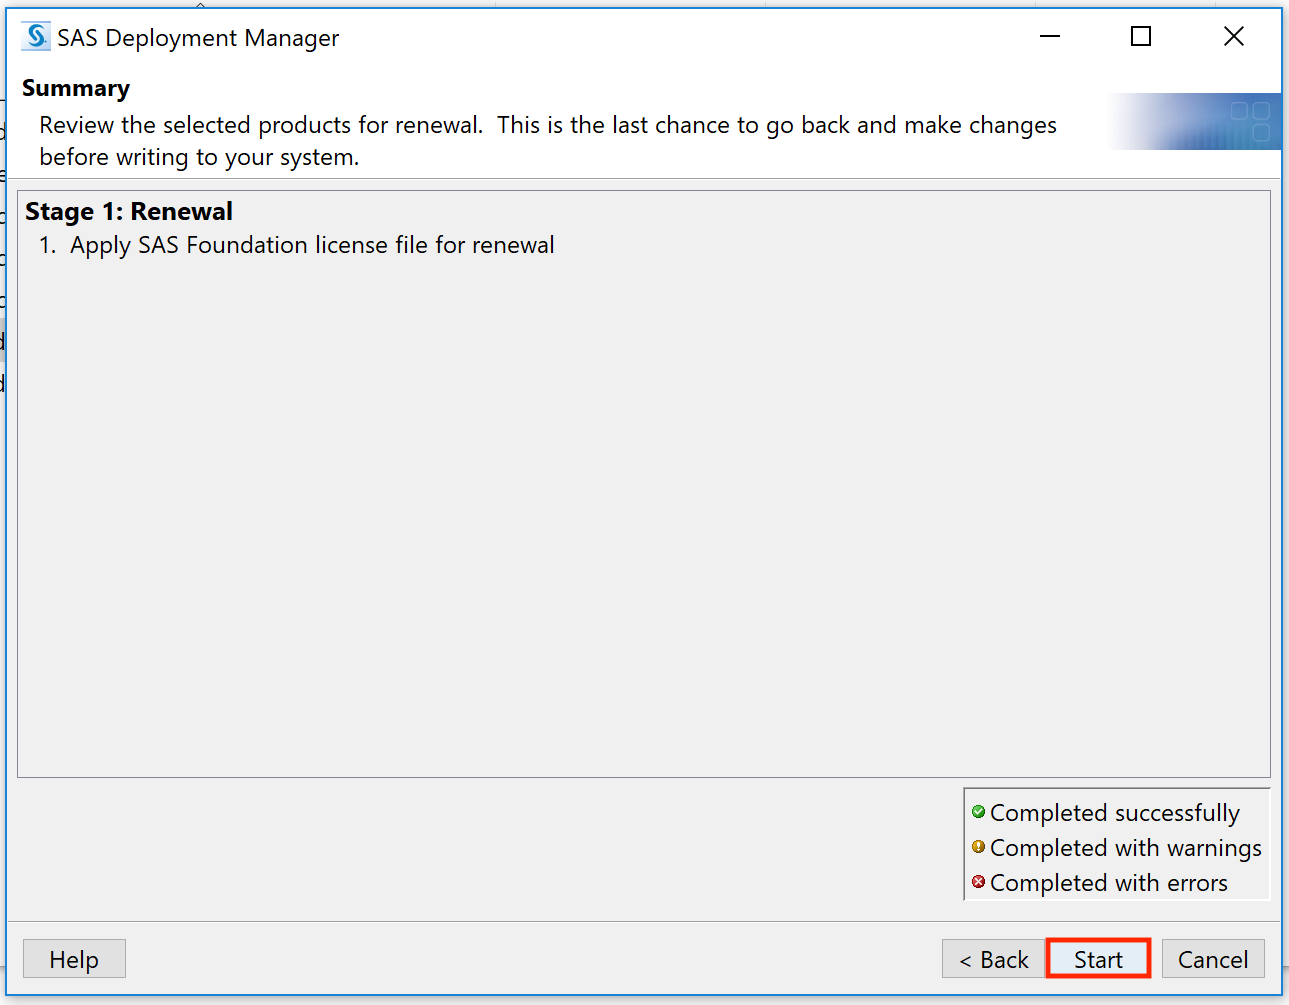
15.
|
 |
|
16.
|
 |
|
17.
|
 |