
Recording Process
Step 1: Provide Pre-Recording Guidance to Presenter
Before they begin recording, tell them that if they make a mistake and would like to redo, the process is the same for every time this might happen: pause at least 5 seconds, then redo the current slide entirely not the entire presentation. (We can trim out the rerecorded areas in Panopto in post-production, but we need a pause/break in the audio in order to edit.)
Step 2: Record
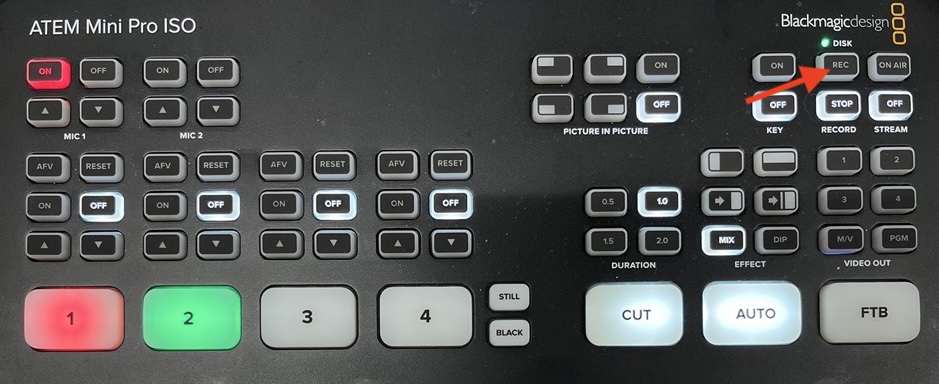
- Press the REC button in the right upper area of the switcher to start a recording.

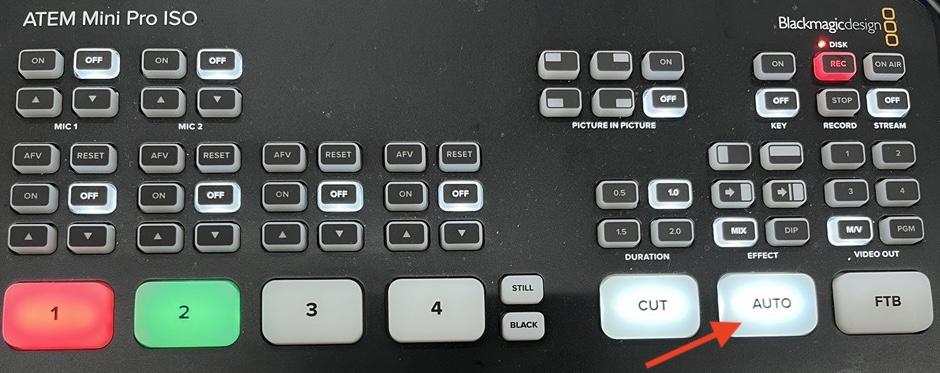
- Every 10 seconds or so, or at a natural break when the presenter pauses, and/or changes the slides, press the AUTO button on the switcher. (Pressing Auto is a toggle which will switch between the two input feeds each time pressed, and will transition smoothly. The input shown in red square is what is currently being shown in the combined feed and the green square is what will be switched to next when pressing Auto.) In addition to the combined mp4 being recorded, the ATEM switcher is also recording the individual HDMI input feeds as separate mp4s.
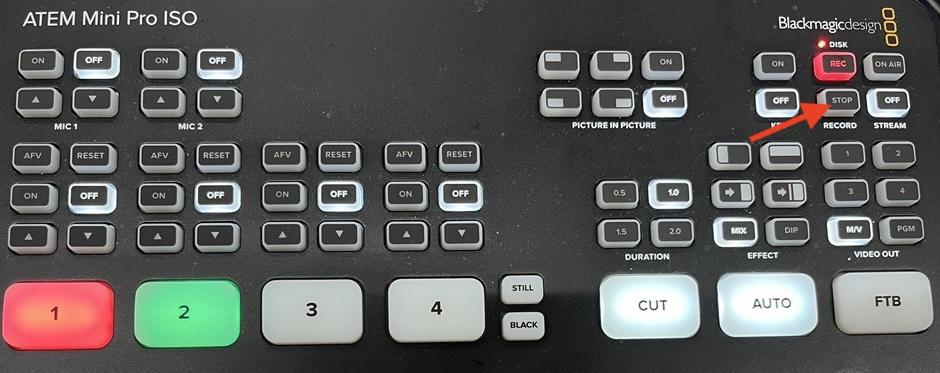
- When the presenter is finished recording press the STOP button under REC on the switcher.
- Review the recording before presenter leaves (see how in next set of instructions).


Step 3: Review the Recording Using the Studio Mac Computer
- Click on Finder
- Click on ATEM Mini Pro ISO
- Double-click on A033. (Do not unplug this drive from the switcher. It can damage the recording.)
- Locate the folder for that day
- Double-click on the file called recordallinputs 01.mp4
- To view inputs recorded separately, expand the Video ISO Files folder and double-click on the files that look like: recordallinputs CAM 1 01.mp4 and recordallinputs CAM 2 01.mp4
- Upload all three of the files mentioned above to a OneDrive folder (location TBD). Ellen or Lorraine will put these files into Panopto as one video and complete any requested edits (such as simple trimming) in the Panopto editor and make it available to the faculty member.
Step 4: Upload Files to Panopto
- Go to video.temple.edu and click on Sign In
- Click on Browse on the left side menu and navigate to the CPH Studio folder (under the College of Public Health folder)
- In the CPH Studio folder, click on Create on the left side
- Select Upload Media
- Upload the Cam 1 01 file as the first file (let it finish uploading and processing before doing anything else)
- Close the window when it says it’s ok to
- After it’s finished processing and uploading, hover over the video and click on the three dots
- Click on Edit
- In the editor, look toward the bottom of the page and locate the timeline
- Click on the + (just above the timeline)
- Click on Add a Stream
- A new window will open. Drag and drop the Cam 2 01 file into the Secondary Video or Powerpoint area on the right side
- Allow it to process
- After both files have finished processing, you can edit the recording with both streams edited at the same time
- Lorraine and Ellen only: move the file to the requested Panopto folder (i.e., Canvas course folder, My Folder). If it’s going into the Canvas course folder, instruct them how to properly place it in the course so that students can view it.