Scanner Kits Available
Still have paper files? Scanner Kits are available. Contact us at cphithelp@temple.edu
Scanners Available for Checkout
We now have document scanners available to be signed out for scanning projects. These kits include a high-speed scanner and a laptop preloaded with scanning software (NAPS2), making it easy to digitize documents for research, archiving, or personal use. Delivery and set up is included when signing out the scanner kits.
Scanners are available to faculty and staff on a first-come, first-served basis.
To request a scanner kit, please email cphithelp@temple.edu for assistance.
Scanning with NAPS2
Scan a Document
-
Ensure your scanner is powered on and connected to your computer.
-
Place the document in the automatic document feeder (ADF) at the top of the scanner.
-
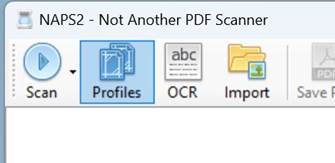
Click Scan in the NAPS2 main window, unless you have another scanning profile then:
- Click the arrow next to "Scan" in the NAPS2 main window.
-
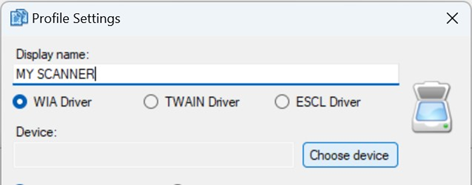
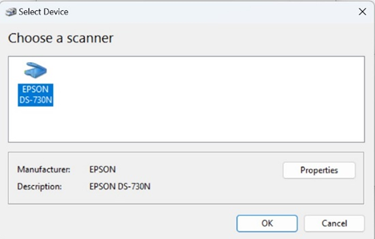
Select your scanner profile from the list, scanning will begin.
-
The scanned document will appear in the NAPS2 window.
Edit and Arrange Scanned Pages
-
After scanning, select a page to edit by clicking on it.
-
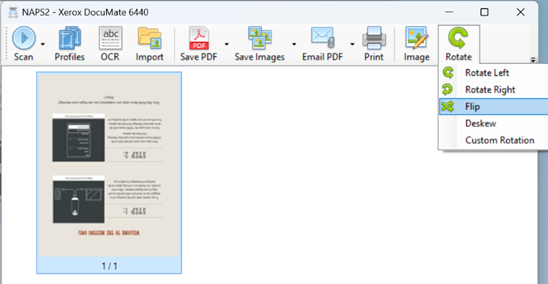
Use the toolbar options to:
-
Rotate the page.
-
Crop to remove unwanted areas.
-
Adjust Brightness/Contrast for better visibility.
-
-
Drag and drop pages to rearrange their order.
Save or Export the Scanned Document
-
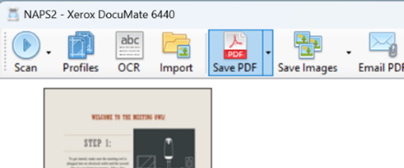
Click Save PDF or Save Image in the toolbar.
-
Choose a file format (PDF, TIFF, JPEG, PNG).
-
Select a destination folder and enter a file name.
-
Click Save to complete the process.
Additional Features
-
Optical Character Recognition (OCR): Click OCR to enable text recognition for searchable PDFs.
-
Email or Print: Use the Send option to email the scanned document directly or print it.
-
Batch Scanning: Scan multiple pages at once using the Automatic Document Feeder (ADF).
Tips and Tricks
-
CTRL + A allows the user to select all images. With this you can flip all images at the same time or change all images to black and white from color.
-
If you see lines on images, try using a microfiber cloth and wipe the inside of the scanner. Then rescan to replace the image.
-
Do a review of the images for possible post-its stuck to a page, overlapping key information.


