
Manage Teams and Channels
Managing Microsoft Teams allows users to customize their collaboration spaces by adding members and creating channels tailored to their needs. Team owners can invite new participants, assign roles, and organize discussions through standard or private channels.
Whether you're setting up a space for a department, class, or project group, managing your team structure ensures the right people have the right access to conversations and files. Channels help segment topics, protect sensitive discussions, and streamline communication.
What is the difference between a Team and a Channel in Microsoft Teams?
A Team is a group of people collaborating on a common project or department, while Channels are sub-sections within a Team used to organize conversations and content by topic. Each Team can have multiple Channels to keep discussions focused and organized.
Standard channels are open to all team members, while private channels are limited to specific people and used for restricted discussions.
Please visit Assign team owners and members in Microsoft Teams admin center for some general information and detailed information on managing user roles, setting permissions, and controlling who can create teams and channels in Microsoft Teams.
Create a Team
|
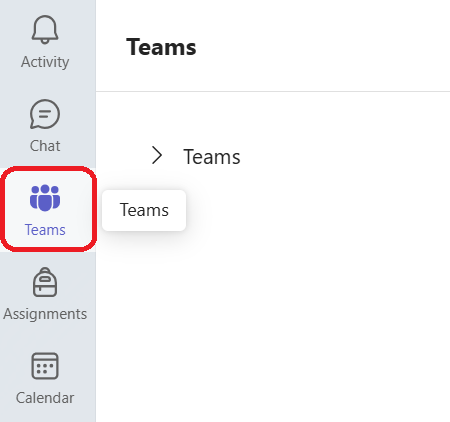
1. In Microsoft Teams on the left sidebar, click Teams.
|
 |
|
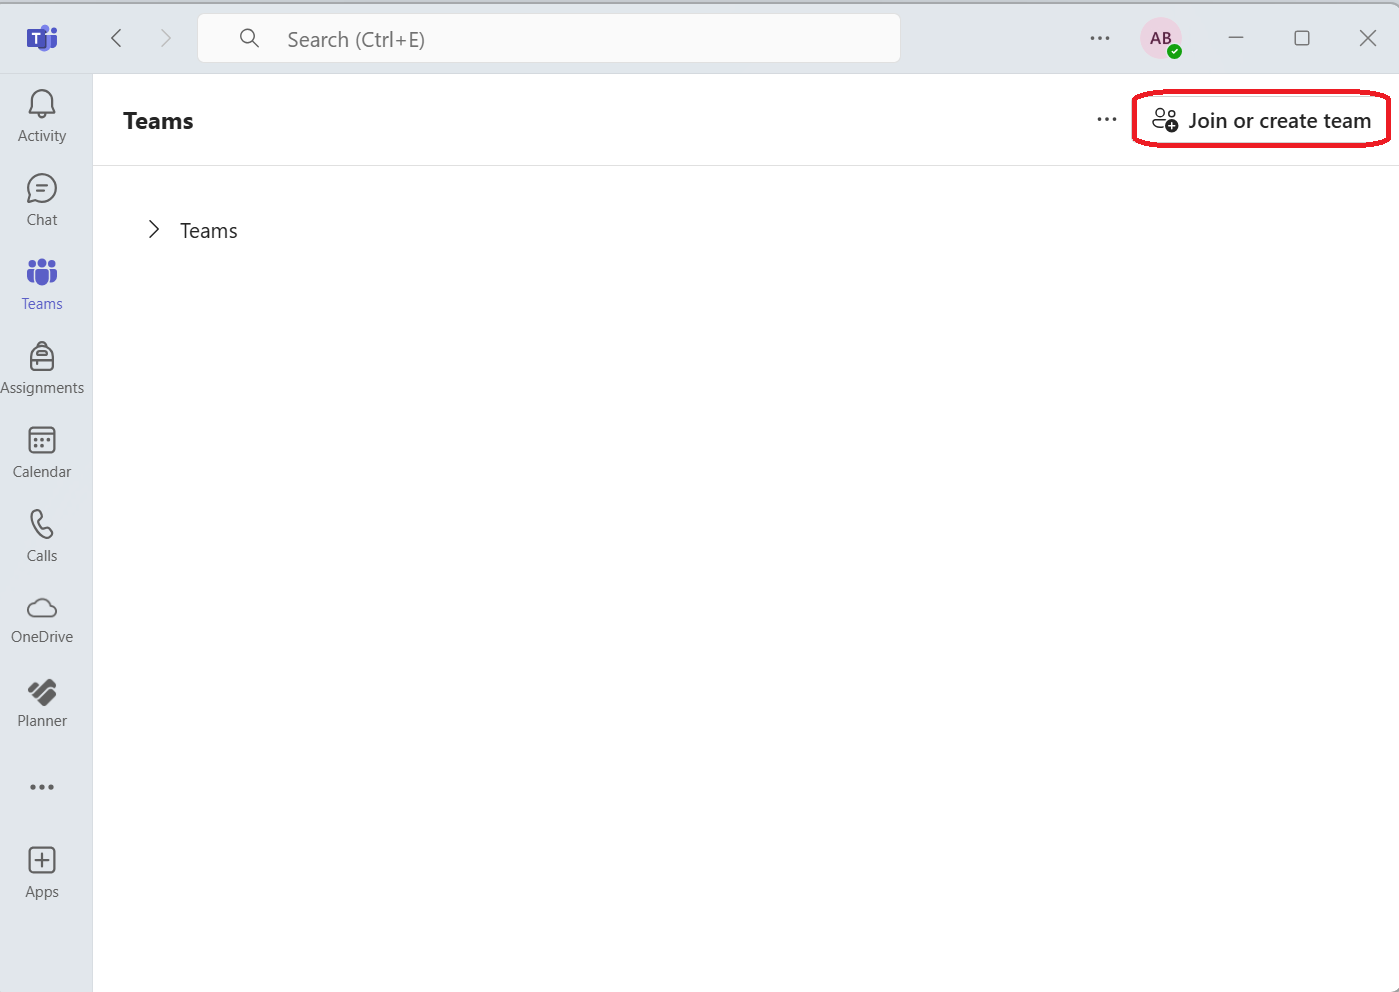
2. In the top right, click Join or create team. |
 |
|
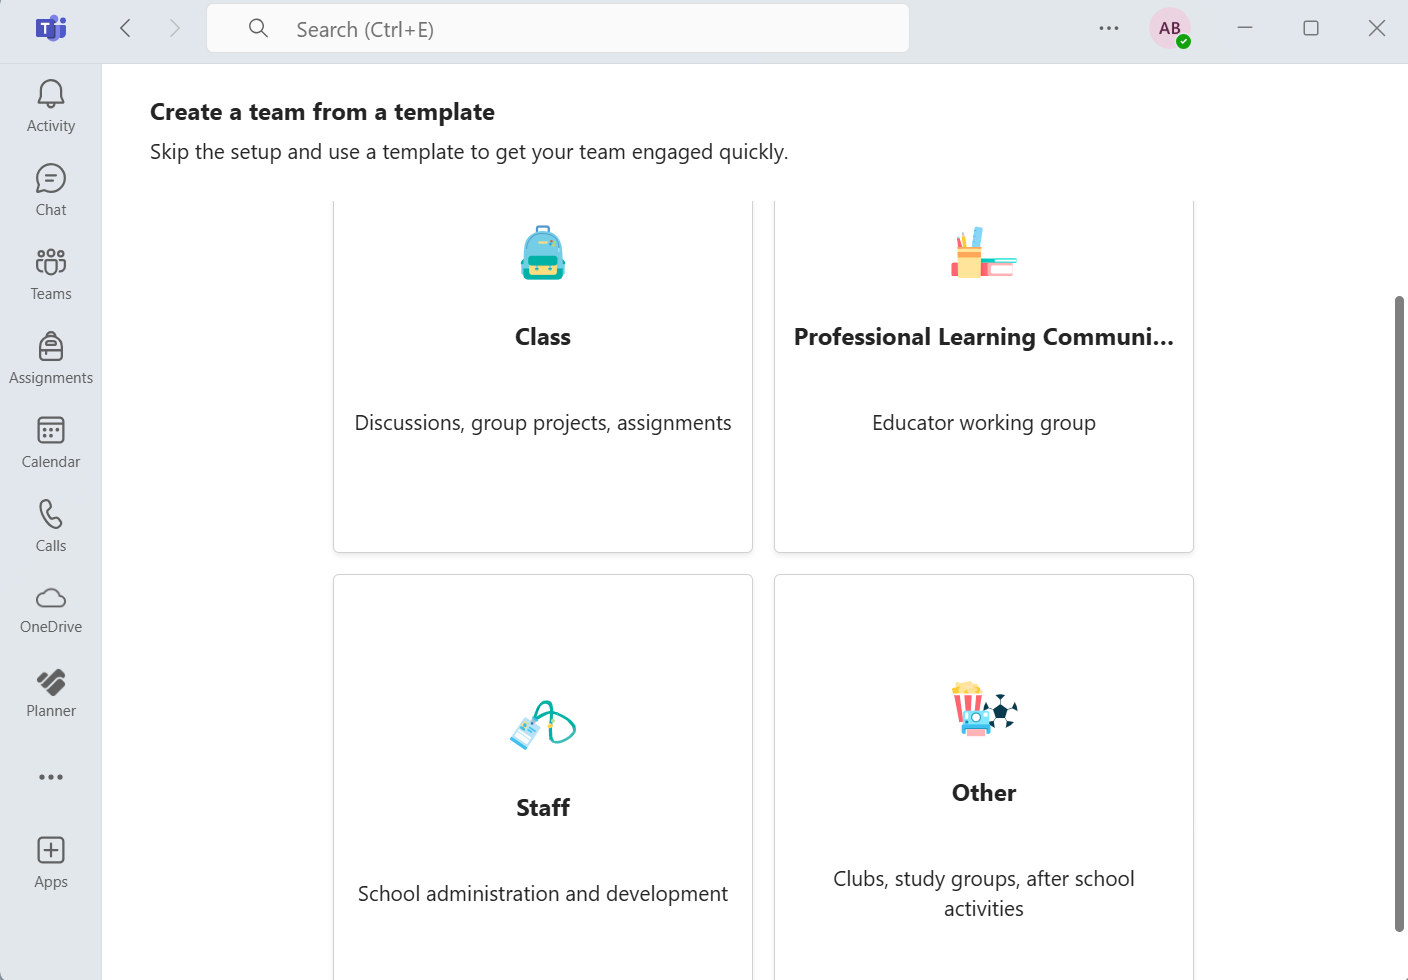
3. Select the Team template you would like to use: Class Teachers are owners of class teams and students participate as members. Each class team allows you to create assignments and quizzes, record student feedback, and give your students a private space for notes in Class Notebook.
Professional Learning Community (PLC) Educators work together on shared goals or professional development. Each PLC team allows you to organise materials, collaborate, and access a OneNote notebook populated with templates for common PLC tasks.
Staff Staff leaders are owners of staff teams and add others as members. Each staff team allows you to communicate, share important documents, and set up a Staff Notebook to track common administrative goals.
Other Educators or students can create teams to work together on any shared goal, project, or activity.
|
 |
|
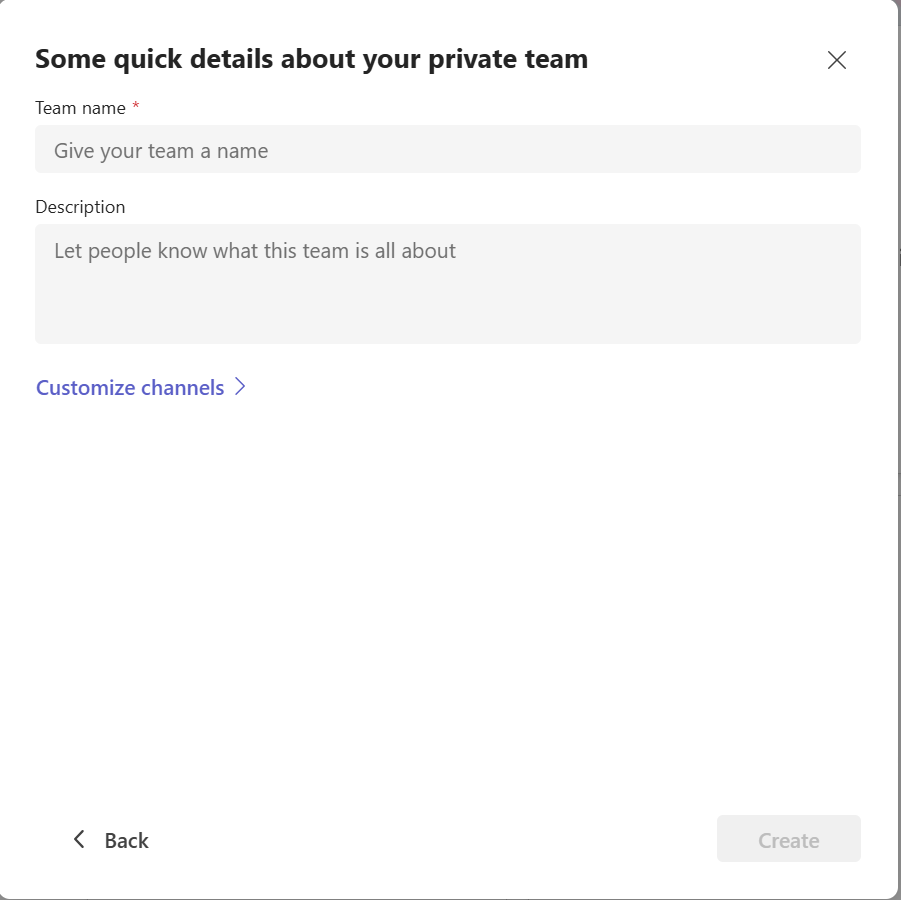
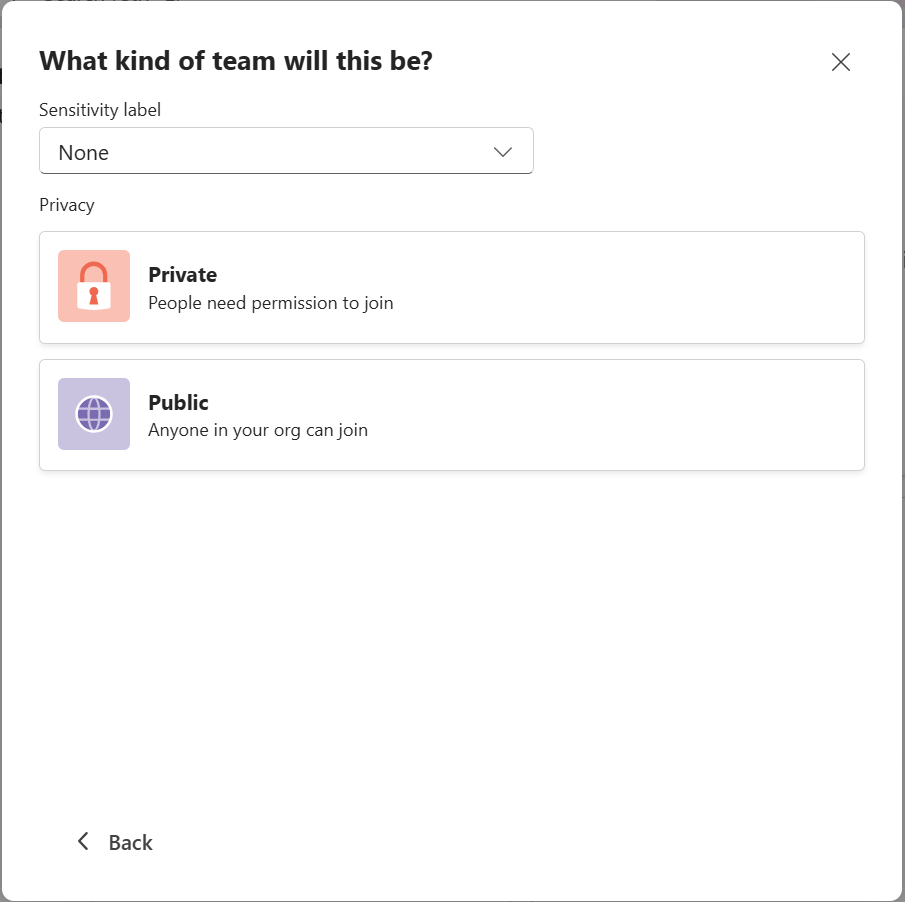
4. Select Private for the type of Team. |
|
|
5. Type the name of the Team, a description about the Team you are creating, and click Create. |
 |
Add a Member to a Team
|
1. In Microsoft Teams on the left sidebar, click Teams.
|
|
|
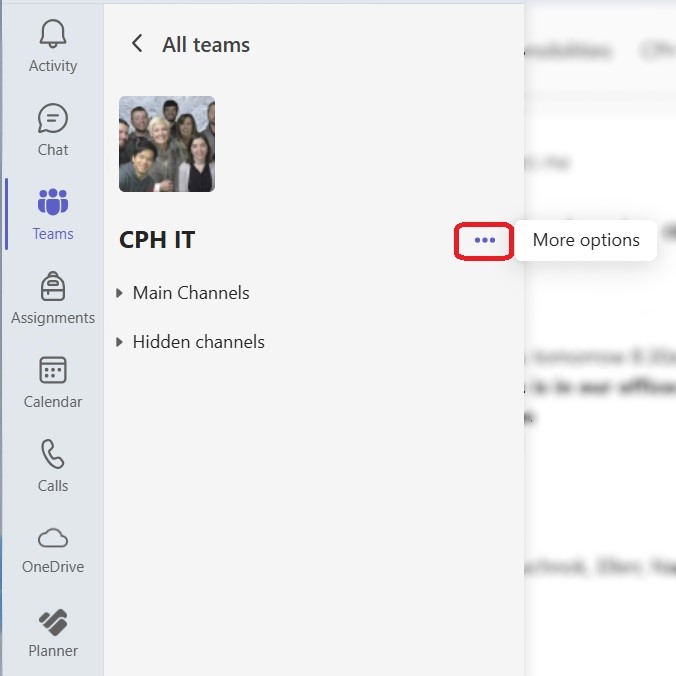
2. Click the ••• (More options) next to the team name. |
 |
|
3. Select Add member. |
 |
|
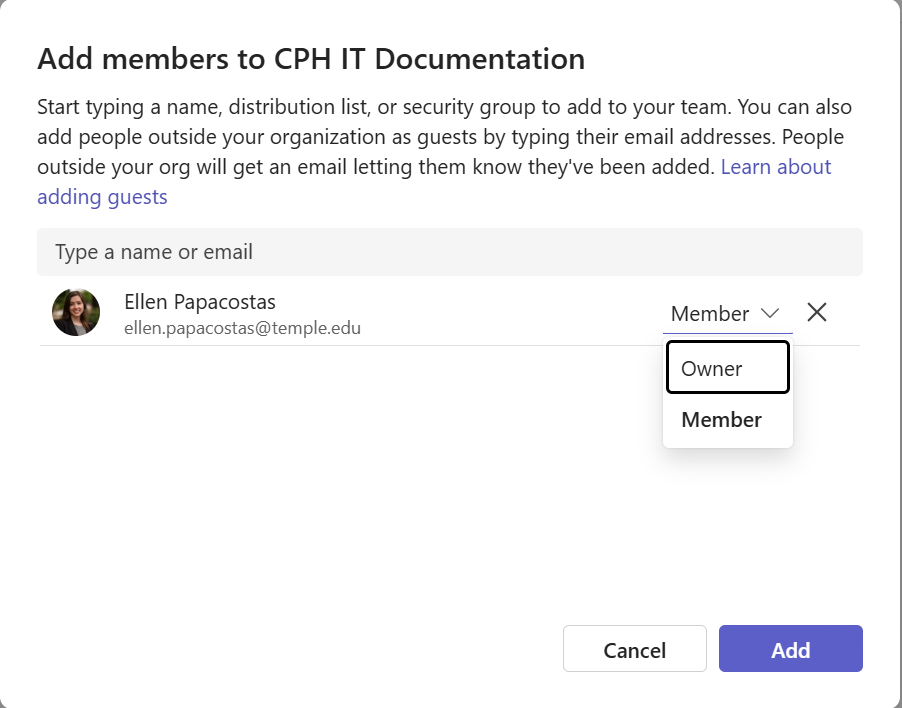
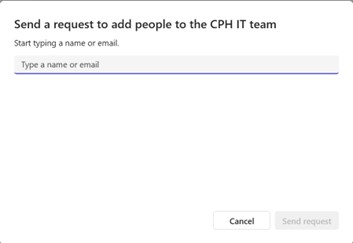
4. In the pop-up window:
a. Type the user's name or email address.
b. Choose their role (Member or Owner).
c. Click Add.
Please note that the first image is a Team Owner view, the second screenshot shows the interface as seen by a Team Member or non-owner, with limited permissions and fewer options. |
|
Add a Channel to a Team
|
1. In Microsoft Teams on the left sidebar, click Teams. |
 |
|
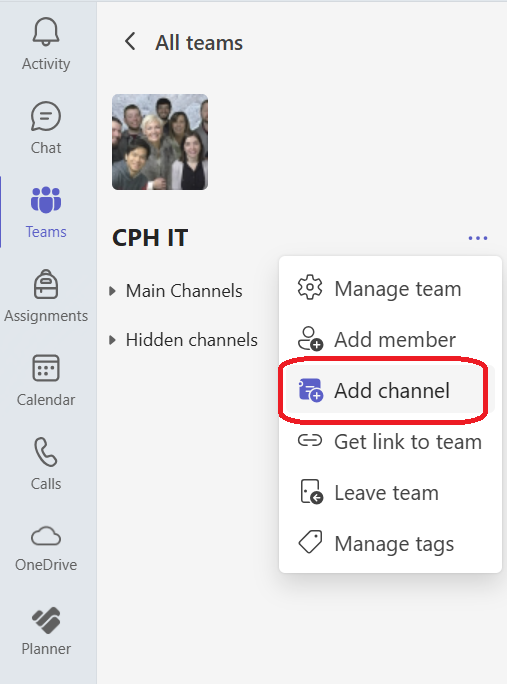
2. Click the ••• (More options) next to the team name. |
|
|
3. Select Add channel. |
 |
|
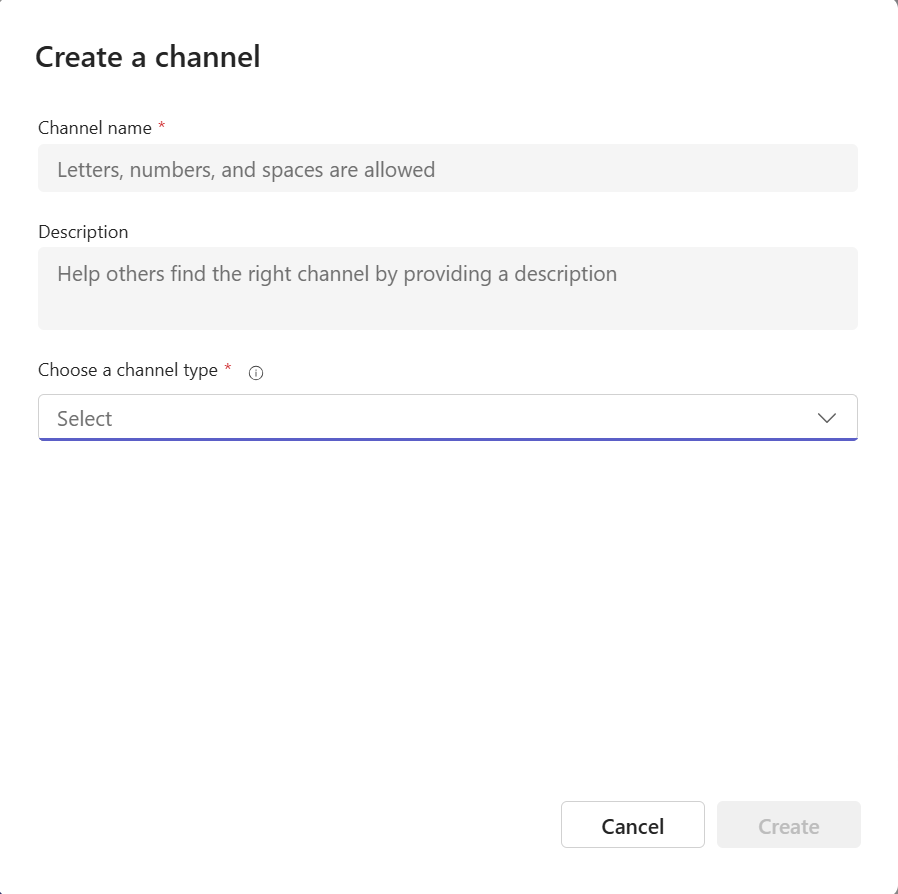
4. Fill out the form:
a. Channel Name (e.g., “General Discussion”)
b. Description (optional) |
 |
|
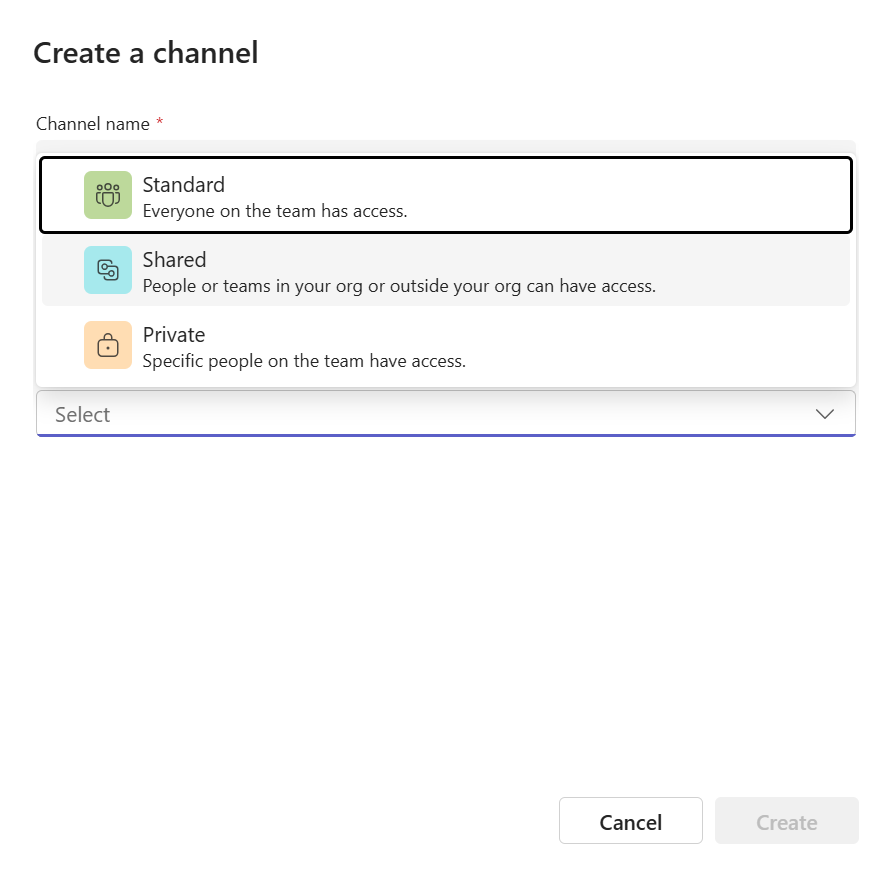
5. Under Choose Channel Type, choose:
a. 🔓 Standard – Accessible to everyone on the team
|
|
| 6. Click Create. |
|
Add a Private Channel to a Team
Please note that any members added to a private channel must be a member of the Team already. There is no way to add a member just to the private channel.
|
1. In Microsoft Teams on the left sidebar, click Teams. |
|
|
2. Click the ••• (More options) next to the team name. |
|
|
3. Select Add channel. |
|
|
4. Fill out the form:
a. Channel Name (e.g., “General Discussion”)
b. Description (optional) |
|
|
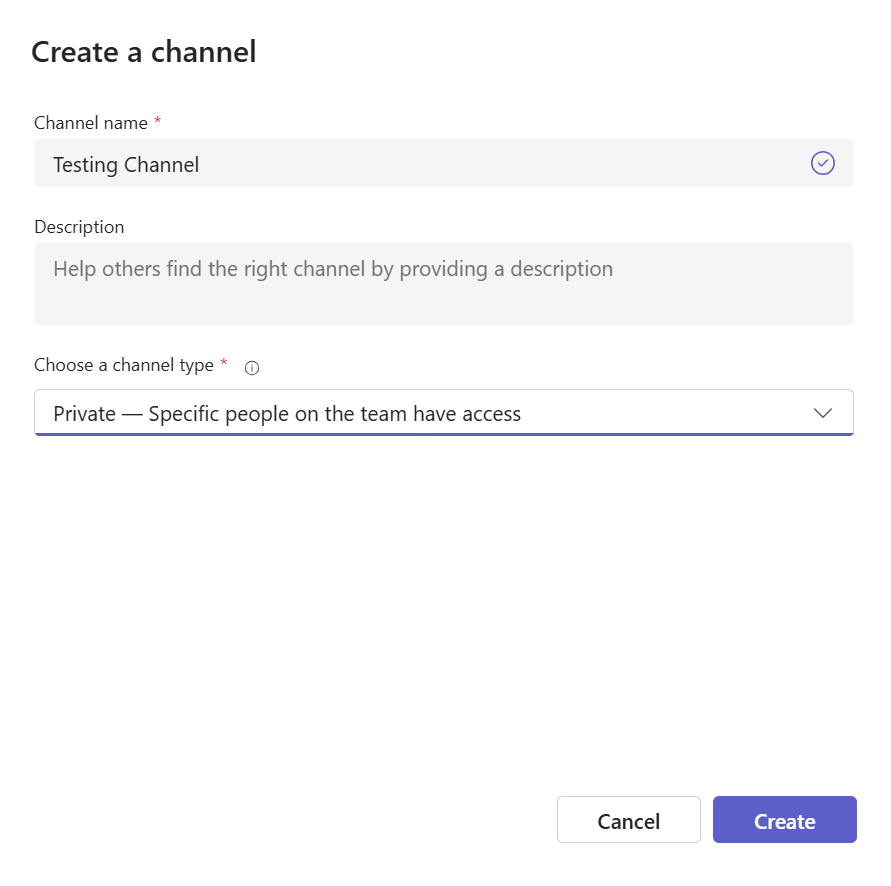
5. Under Channel Type, choose from the drop down menu:
a. 🔐 Private – Accessible only to a specific group of people within the team
|
|
| 6. Click Create. |
|
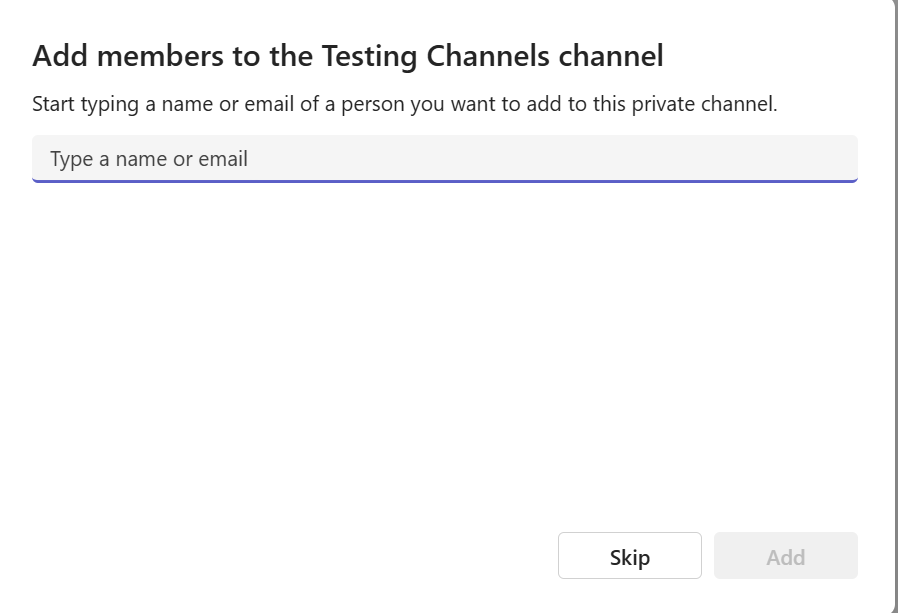
| 7. Add the members who should have access to this private channel. |
|
| 8. Click Add. |
|
Rename a Team or Channel
Rename a Team:
|
1. In Microsoft Teams on the left sidebar, click Teams.. |
|
|
2. Click the ••• (More options) next to the team name. |
|
|
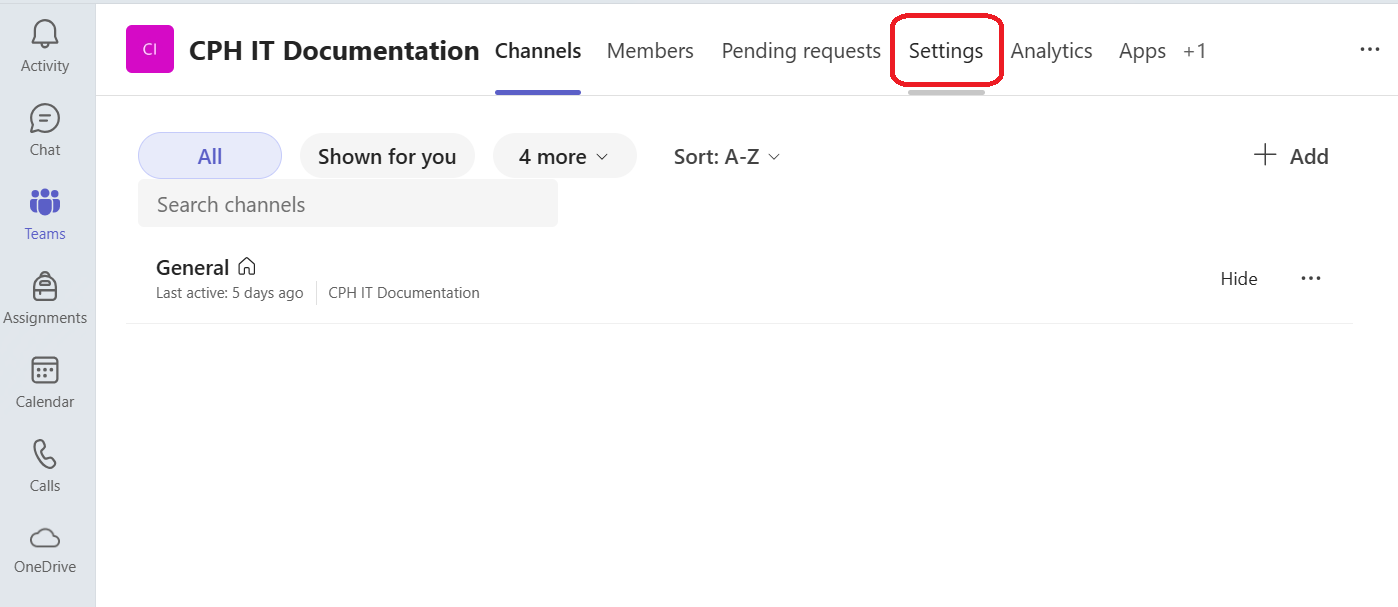
3. Select Manage team. |
 |
|
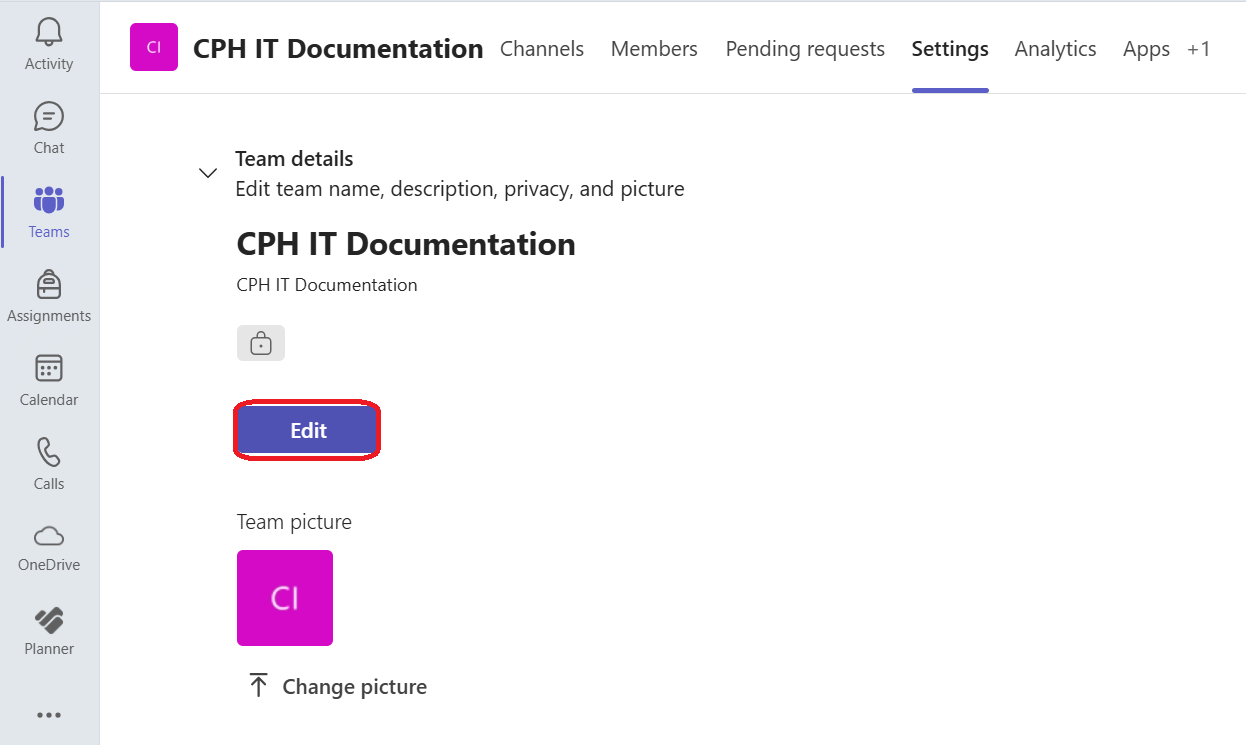
4. Select the Settings tab.
|
 |
| 5. Click Edit. |
|
| 5. Update the Team name and description. | 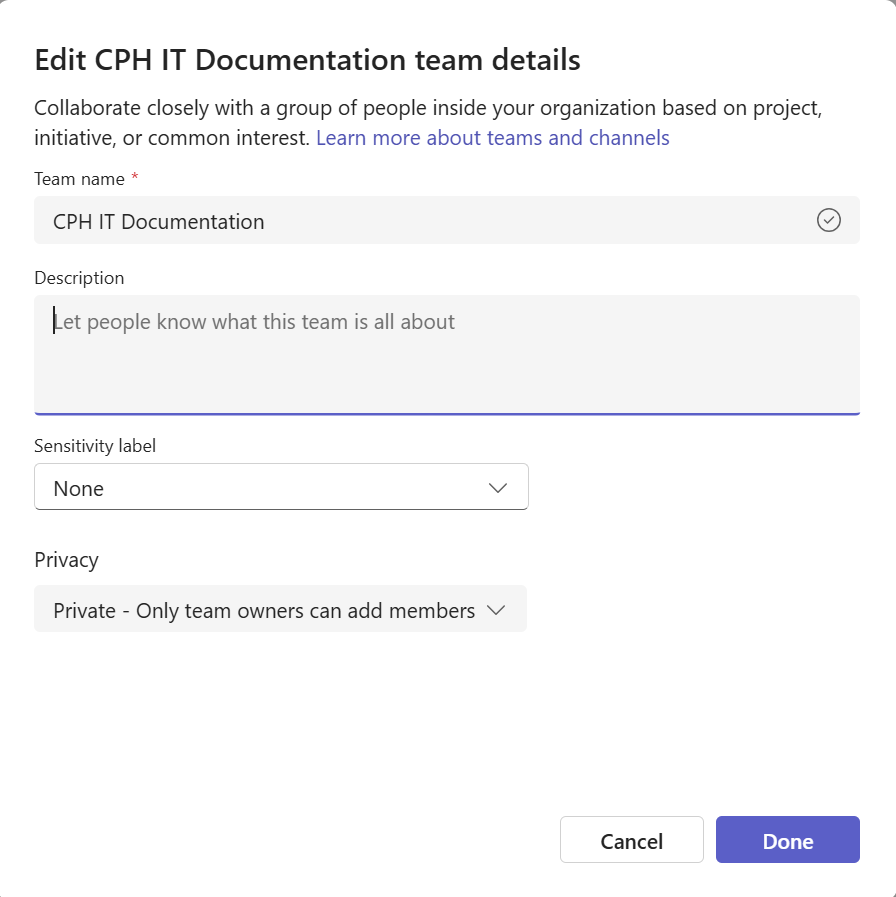
|
| 6. Click Done. |
|
Rename a Channel:
|
1. In Microsoft Teams, click Teams. |
|
|
2. Go to the channel under the team. |
|
|
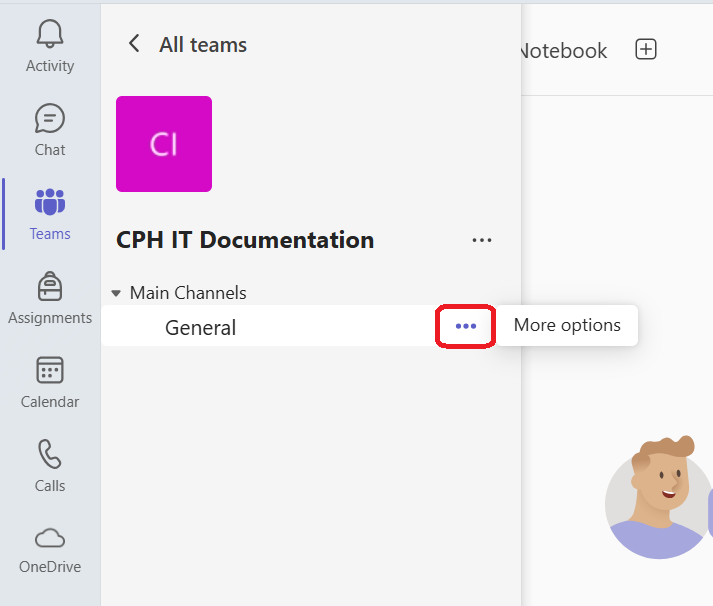
3. Click ••• next to the channel name. |
 |
|
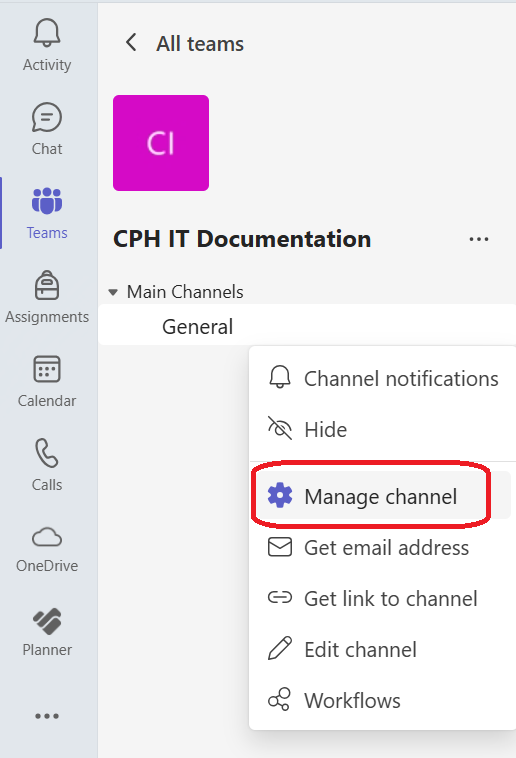
4. Select Manage channel. |
 |
|
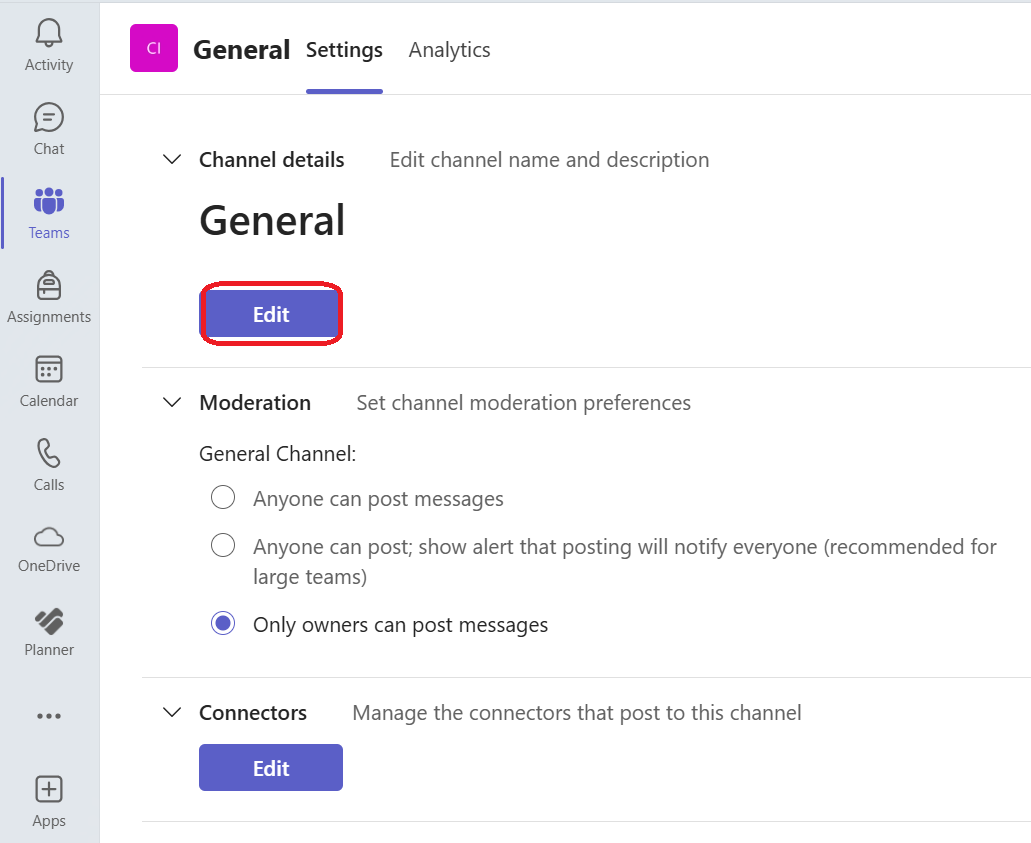
4. Click Edit to change the name and click Save.
|
 |
Delete a Team or Channel
Delete a Team:
|
1. In Microsoft Teams on the left sidebar, click Teams.. |
|
|
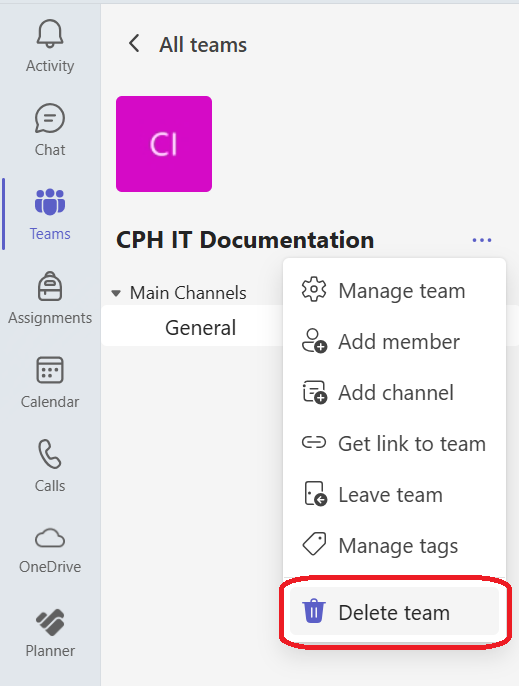
2. Click the ••• (More options) next to the team name. |
|
|
3. Select Delete the team. |
 |
|
4. Confirm the deletion. ⚠️ This is permanent. All files and conversations will be removed.
|
Delete a Channel:
|
1. In Microsoft Teams on the left sidebar, click Teams.. |
|
|
2. Go to the channel under the team. |
|
|
3. Click ••• next to the channel name. |
|
|
4. Select Delete channel and then Confirm.
|
Set Channel Permissions
Use channel moderation to keep communication organized, especially in large teams or channels focused on announcements.
|
1. In Microsoft Teams on the left sidebar, click Teams.. |
|
|
2. Find the channel you want to manage and click the ••• (More options) next to its name. |
|
|
3. Select Manage channel. |
|
|
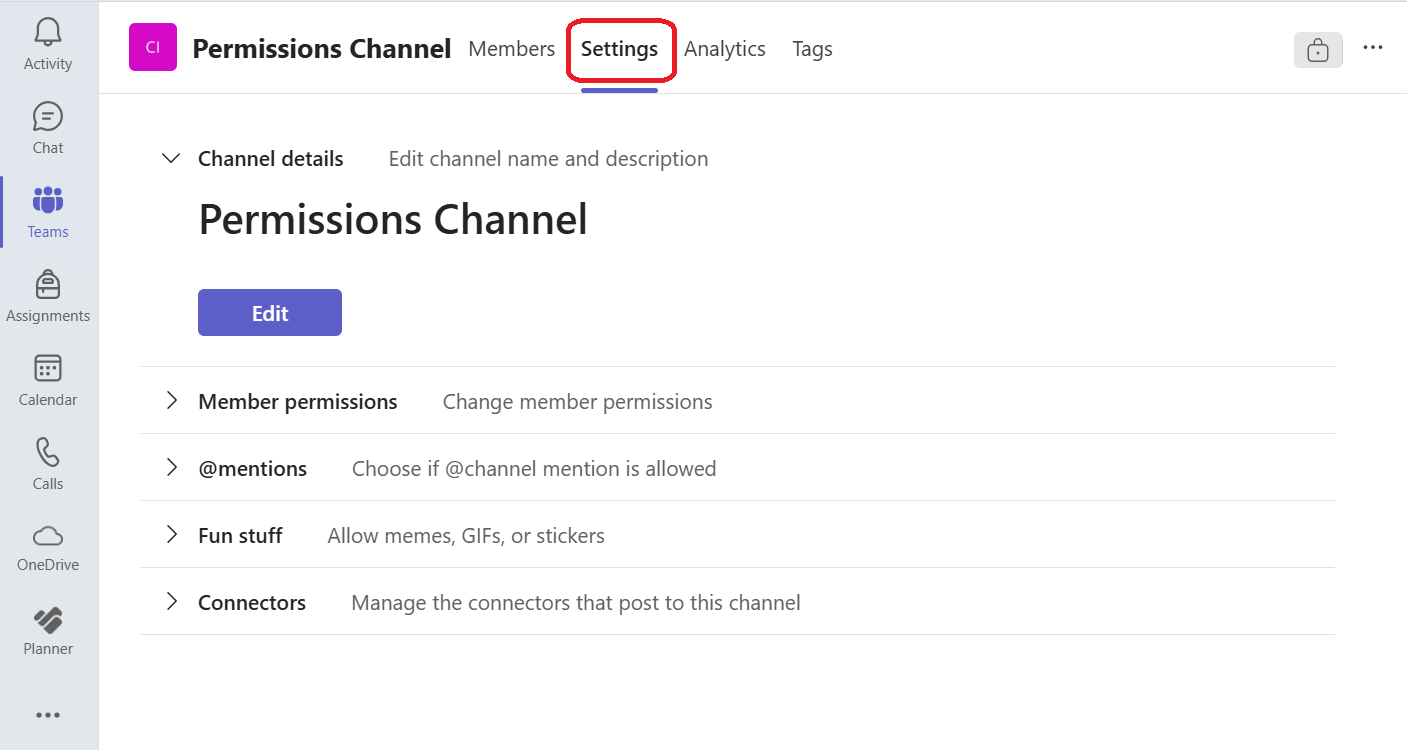
4. Click on the Settings tab.
|
 |
|
5. Click Member permissions to show the dropdown menu for checking what members can create, edit, or delete.
|
|