
Getting Started and Help

Exxat is the system used to track and manage your College of Public Health clinical and field experience. It is used to track:

  • Clinical and field placements
  • Evaluations
  • Feedback
  • Clearances and background checks
  • Timesheets (if applicable)

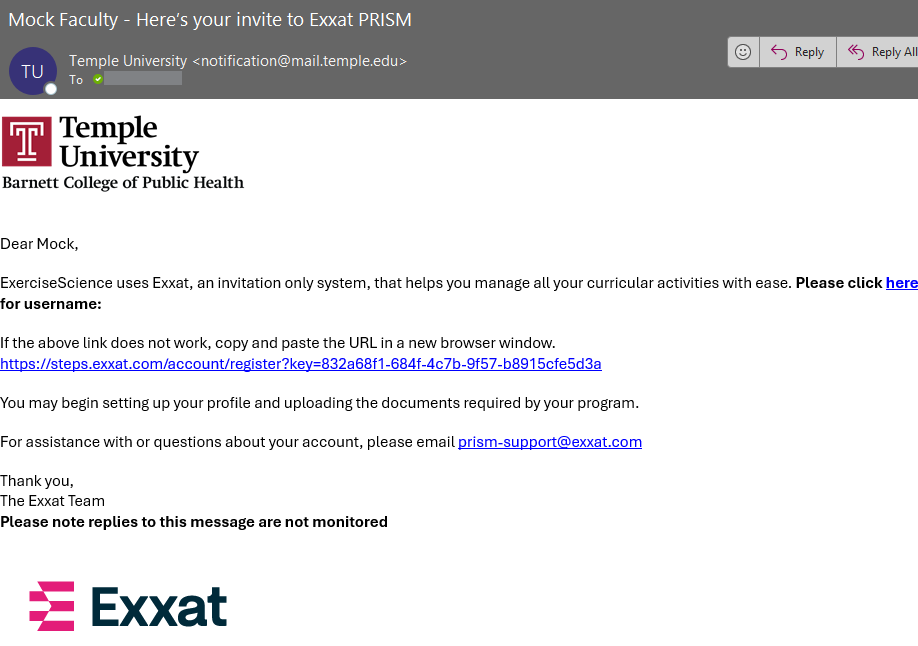
We use single sign on for Exxat - you should have received an email from "notifications@mail.temple.edu" with a link to activate your account.

1. You will be emailed a message from notification@mail.temple.edu. Click the link to activate your account.

image.png

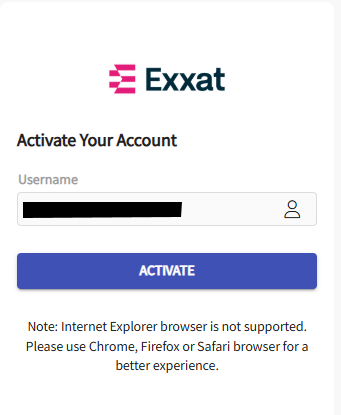
2. Your AccessnetID@temple.edu email address will appear in the Username area on the Exxat login screen; click Activate.

image.png

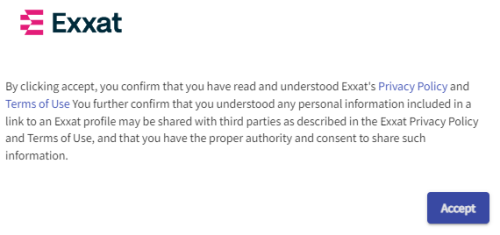
3. Read the Exxat Terms of Use and Click on Accept to agree


You will only need to accept the terms the first time you log in to Exxat.


exxat_login_2.png

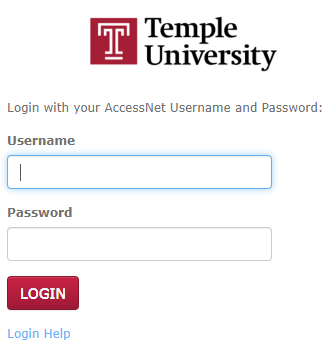
4. You will be redirected to log in on the main login page

image.png

5. We use Single Sign On - after entering your email you will be redirected to logon with your TU AccessNet username and password

  • No password reset prompts in Exxat will work for your account
exxat_login_3.png

6. You may be prompted for Duo Multi-Factor Authentication. If so, follow the instructions to complete the login process.


After you login, the Dashboard screen will be displayed.


image.png

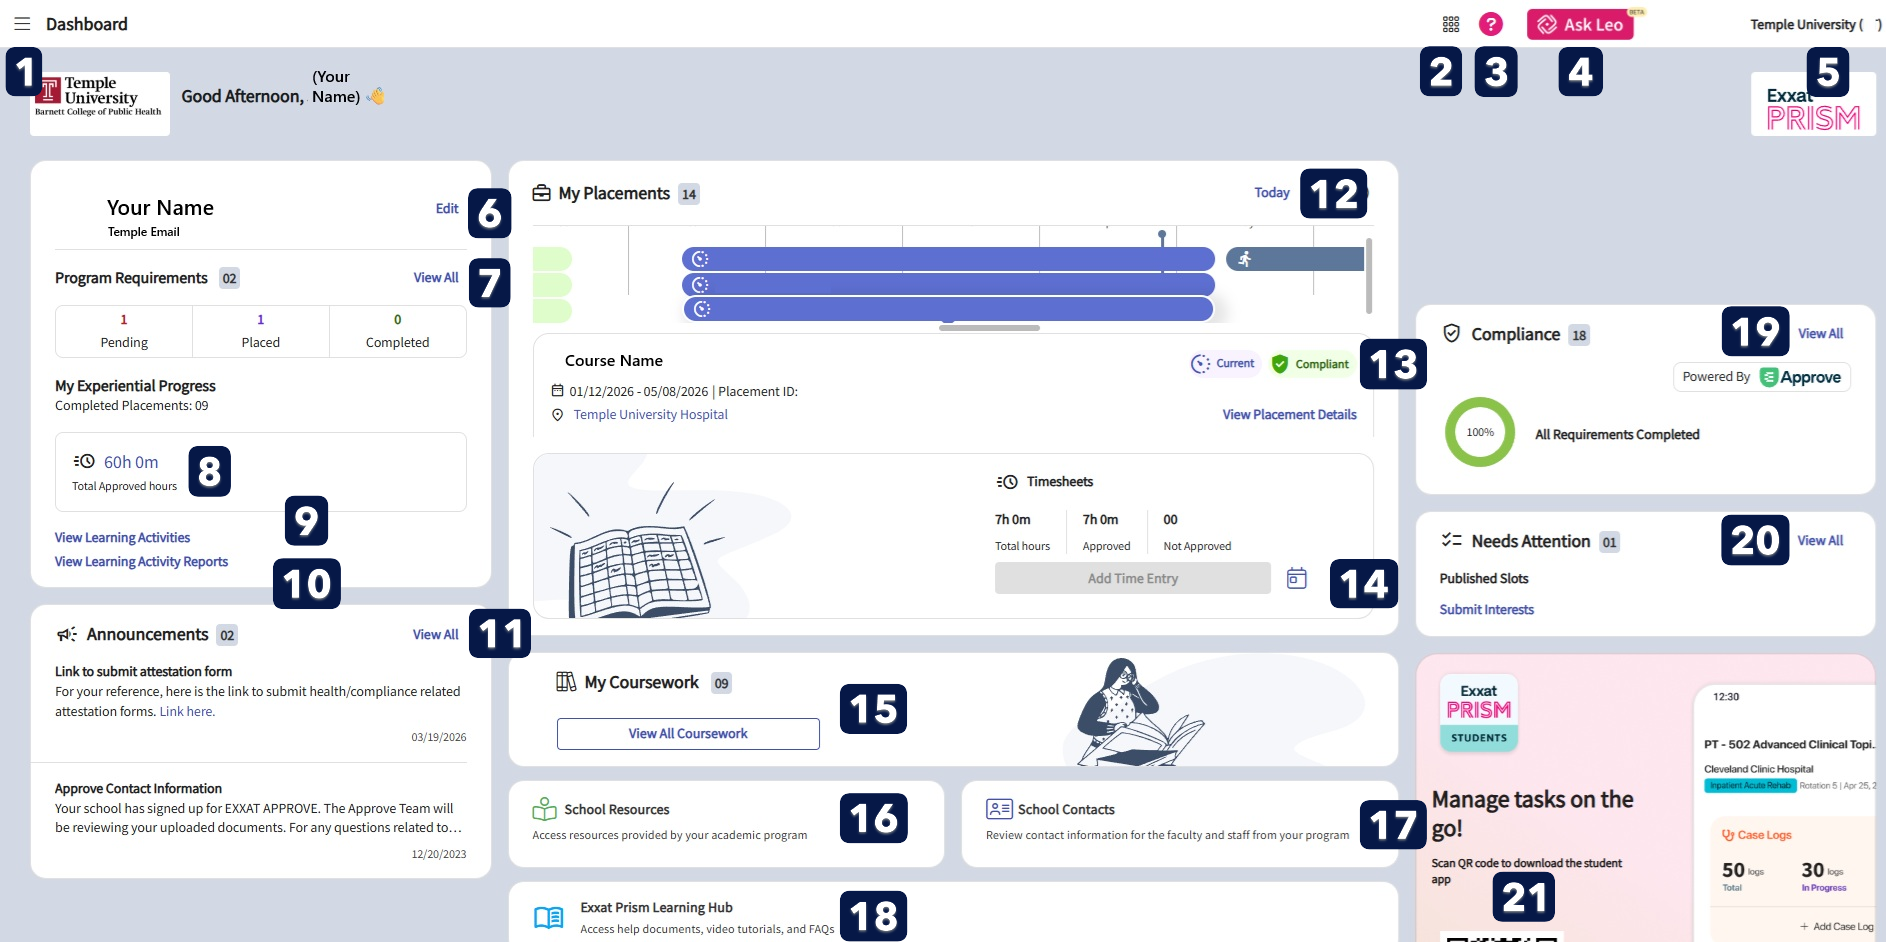
Image of Exxat Dashboard. Sections are listed below in focus order.

  1. Hamburger button - click to open a side menu from any page for navigation
  2. Return to Dashboard - button will return to the dashboard from any page, or switch between programs for students in multiple programs.
  3. Resource Center - help resources. Most questions should go to your program coordinator or CPH Clinical Affairs staff (cahelp@temple.edu). 
  4. Ask Leo - opens the AI chatbot, Leo. The AI is not trained on student data but instead on support articles, so it may not understand your question within the context of Temple's set up.
  5. User Settings - click to edit the theme, mode, view logged in devices, login history, and trust portal. If "change password" is visible here, that functionality will not work.
  6. Edit Profile - click to verify your profile information and fill in additional profile details (if applicable).
  7. View all program requirements (types of placements or settings; your program may not have this)
  8. View your timesheet for all current and completed placements (if applicable)
  9. View learning activities - view timelogs/timesheets (if applicable) and evaluations
  10. View reports on timelogs/timesheets (if applicable) and evaluations
  11. View announcements created by your program
  12. View past/present/future placements in calendar. Select a placement to view location information.
  13. Click the compliance status to view all submitted requirement documents and status in a pop-up. Click View Placement Details to view course/placement information on another page
  14. Add time logs for the selected placement.
  15. View a table of all placement information
  16. View posted resource documents
  17. View posted school contacts
  18. View posted help resources (same as 3)
  19. View all compliance requirements, subscribe to Approve review service, upload documents for compliance requirements.
  20. Submit interest for sites (PT only)
  21. QR code link to mobile app
  • For assistance with placements, please contact your program coordinator, Director of Practicum Education, DCE, Academic Fieldwork Coordinator, or Instructor.
  • For assistance with compliance - check the guidelines of each requirement for information on the requirement and submission format. If you need assistance email cahepl@temple.edu
  1. Click on the drop-down arrow () next to your name in the upper right corner of the screen

  2. Click on Logout at the bottom of the User setting pop-out box