
Insta360 App Instructions
Creating 360 Video Projects Using Insta360 and OrchestrateVR
Camera Basics
|
1. Charging the camera- Use the cable provided to plug into the side port to charge. |
|
|
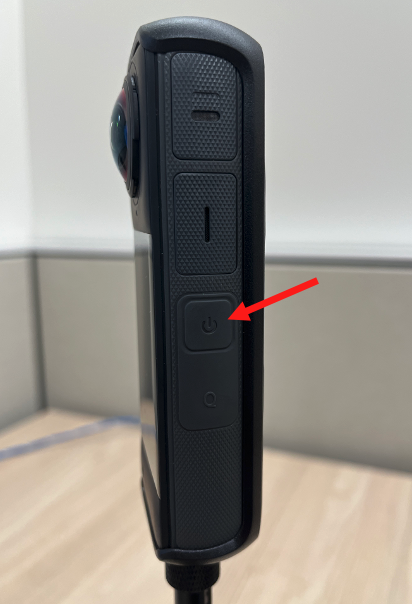
2. Powering on the camera- Press and hold the side power button. The camera will make a sound and light will show, indicating it is on. |
 |
| 3. Attaching camera to mount- | |
| 4. Using lens cover- It's important to cover the lens when not using the camera. Also, please be careful not to touch the lens. |
Recording with Insta360 App
| 1. Turn on the camera by pressing the side power button |
|
| 2. Open Insta360 App on your phone |
|
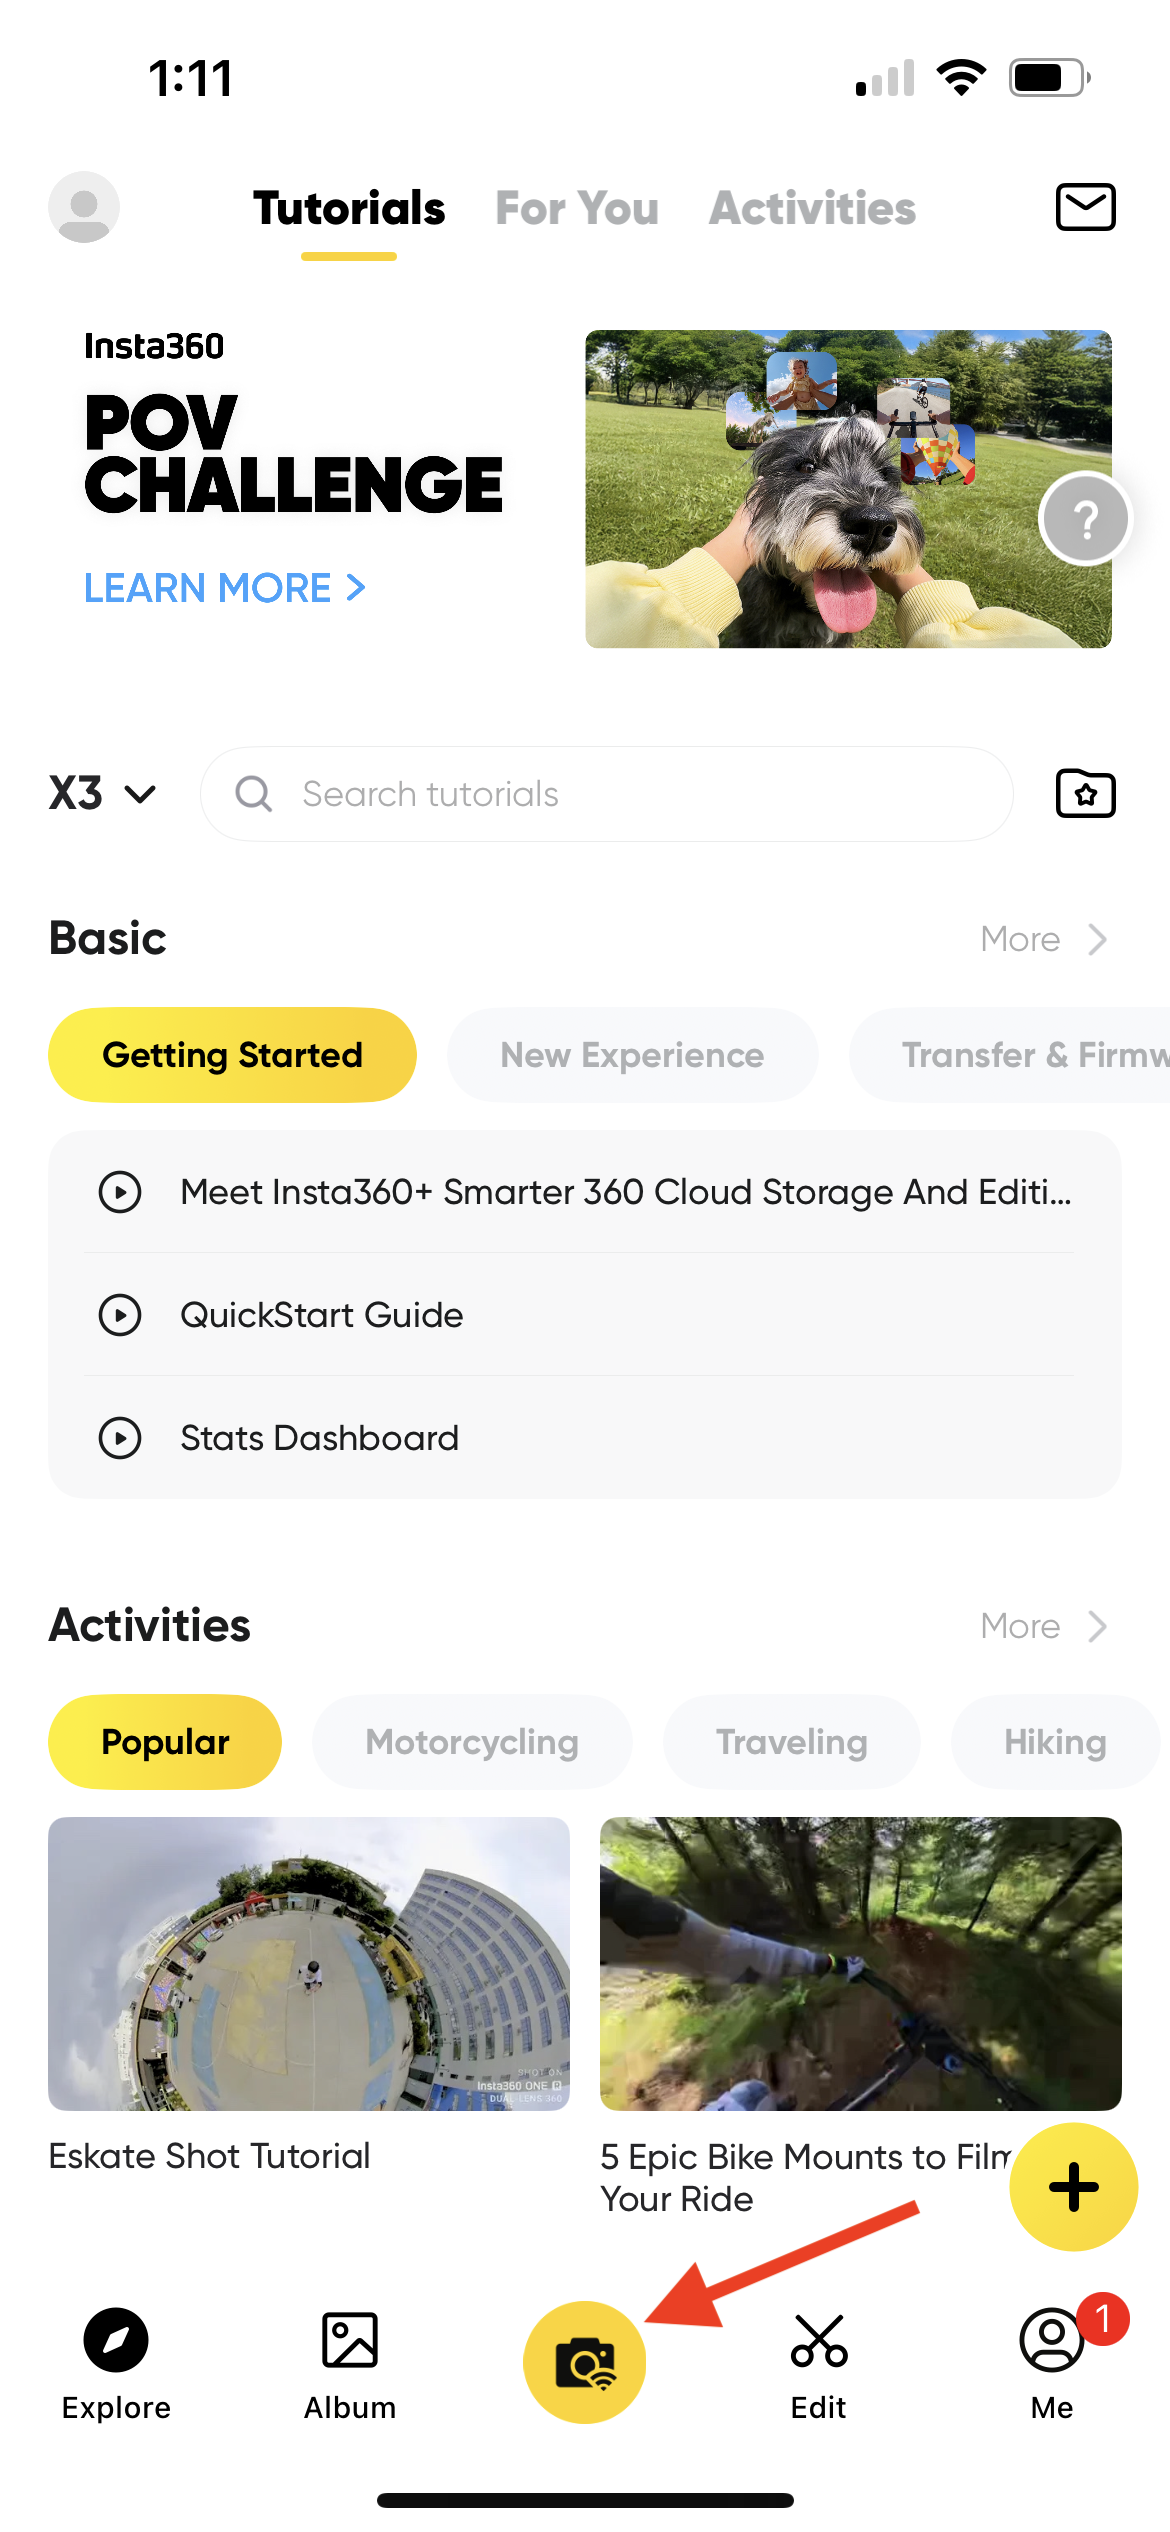
| 3. Press the yellow camera button at the bottom of the screen. You may be prompted to reconnect to the camera again- follow the prompts to do so. |
|
| 4. Press the yellow camera button again | 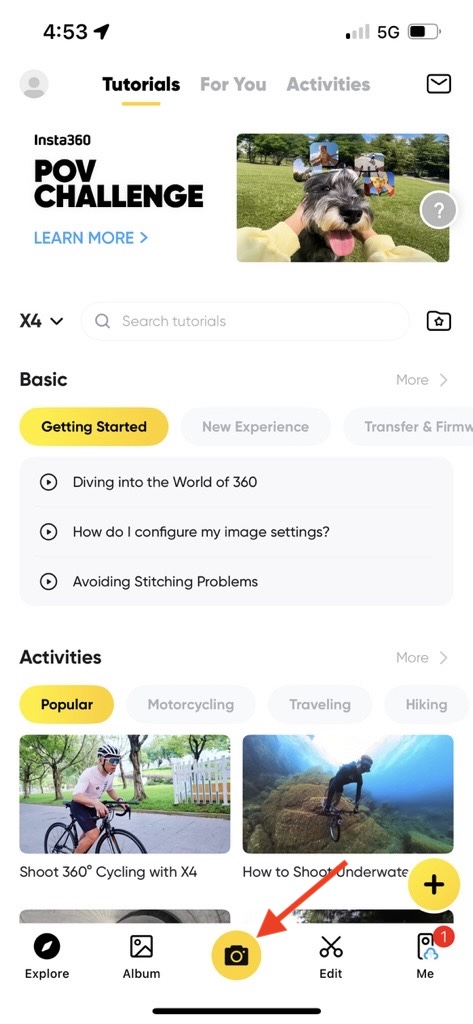 |
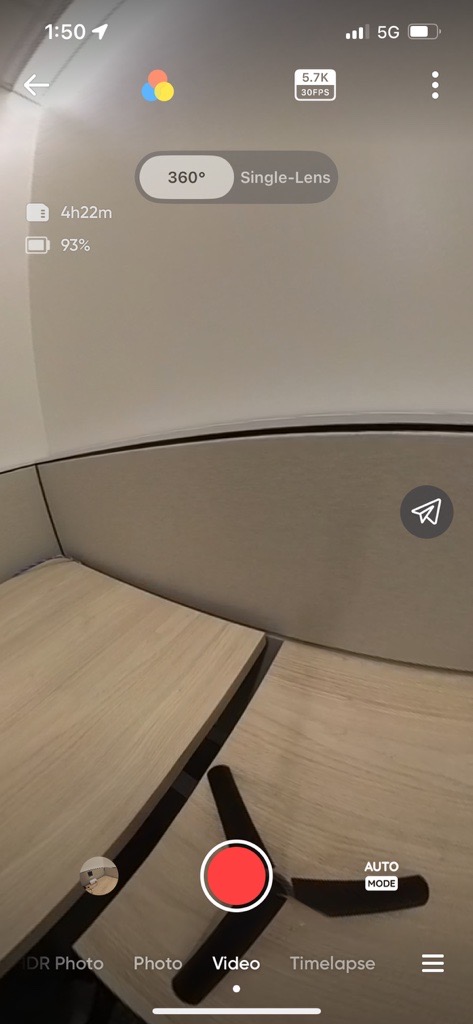
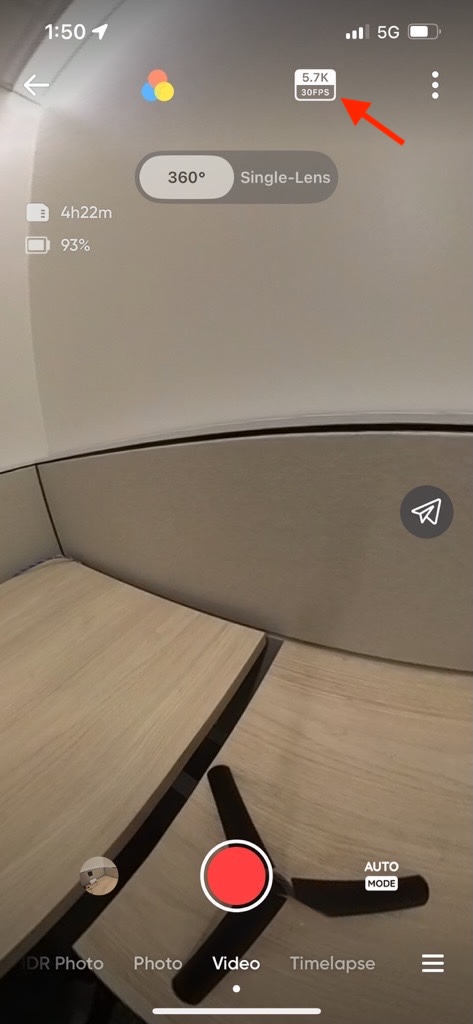
| 5. Confirm your settings, as shown below |
|
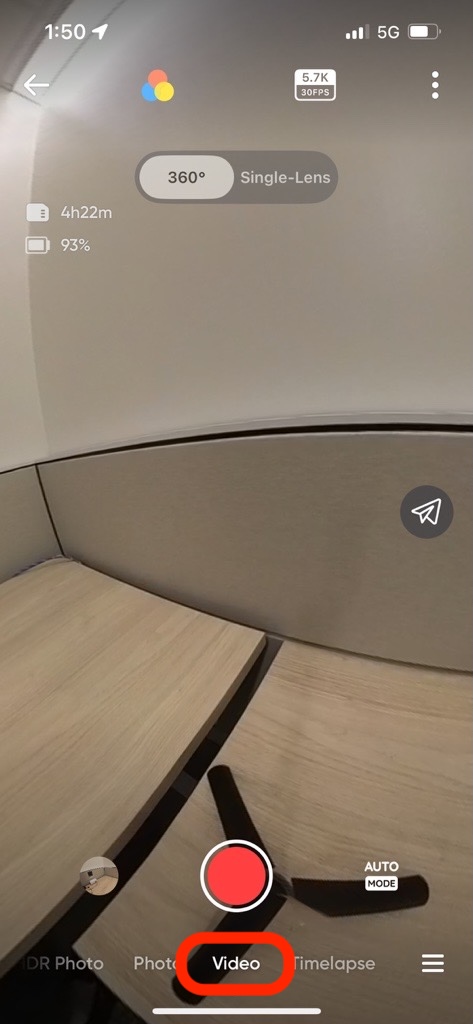
| 5a. Make sure Video is selected |
|
| 5b. Select 360 |
|
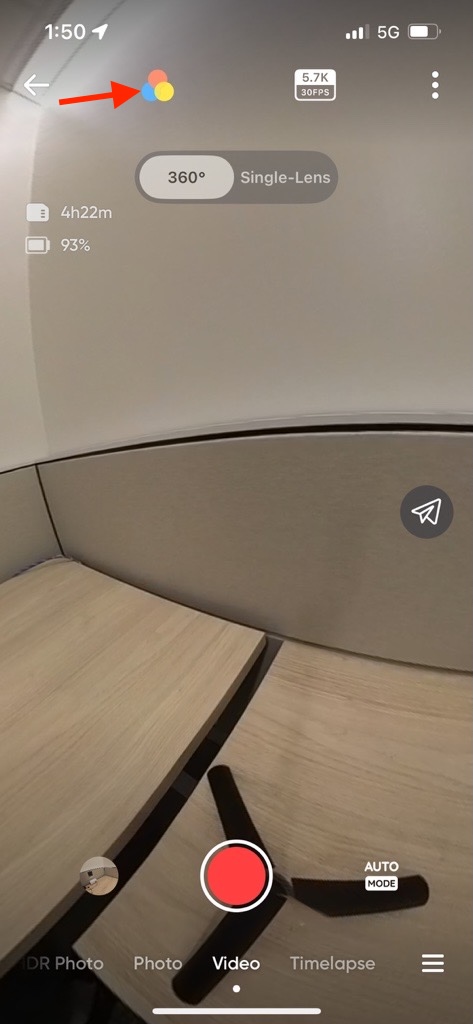
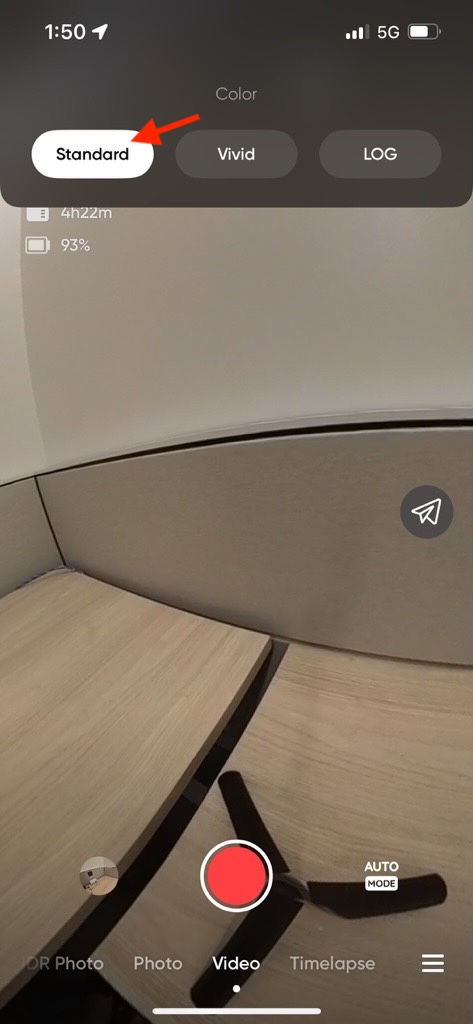
| 5c. Tap the color icon and select Standard |
|
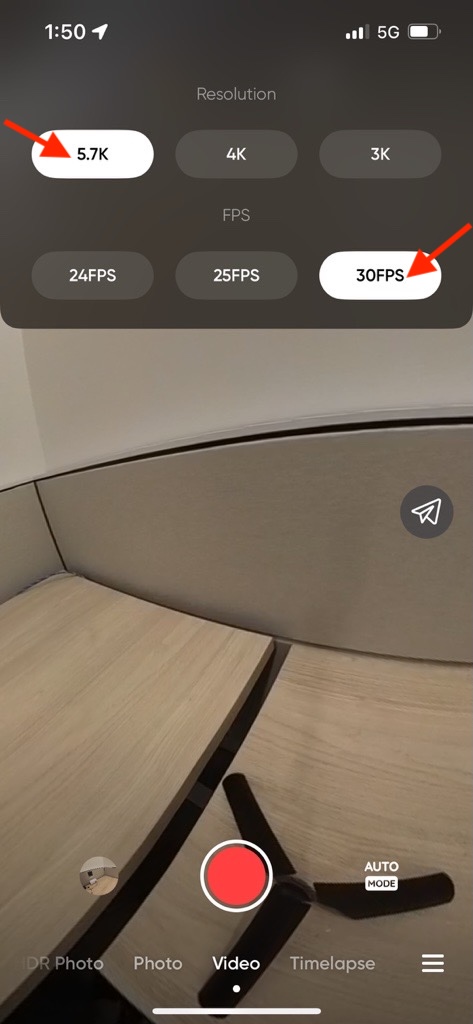
| 5d. Tap the Resolution and FPS button and select 5.7k and 30 FPS |
|
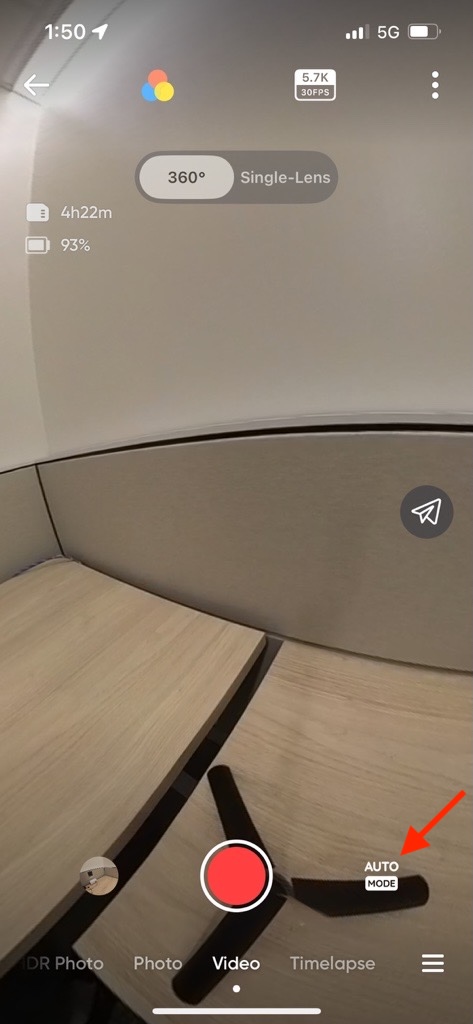
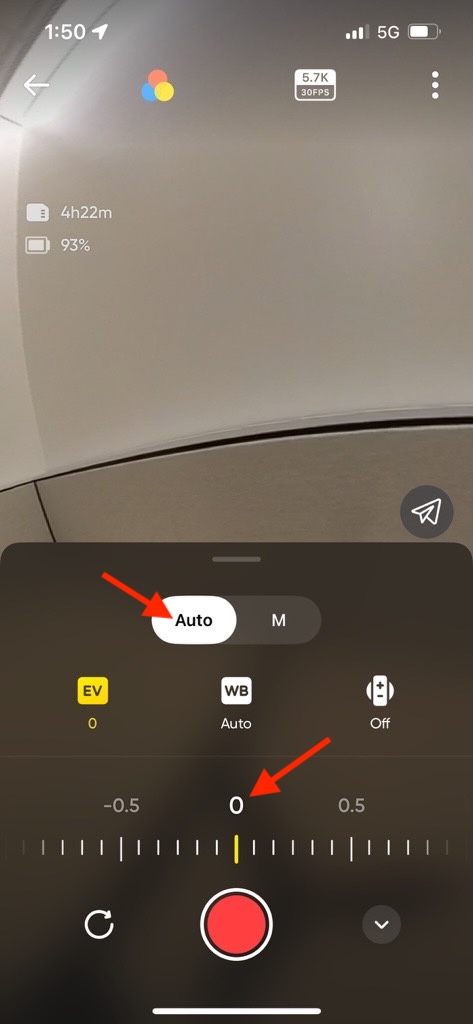
| 5e. Tap the mode button and make sure Auto is selected and EV is set to 0 |
|
| 6. After the settings are correctly selected, press the red button to begin recording. Note that the screen on the camera itself will go dark when using the app. |
|


Opening Recording Files in the Insta360 Desktop Application
Exporting Recording Files from Insta360 Desktop Application
Uploading Files to OneDrive + Sharing with Group Members
Uploading Files to OrchestrateVR
Creating a Project in OrchestrateVR: Setting Initial View, Adding Hotspots and Other Interactive Features
Sharing the Project
(May not be needed any longer)
Exporting Videos from Insta360 App
| 1. Open the Insta360 App and be sure to connect to the camera. | |
| 2. Tap on Album (to the left of the yellow camera button) | |
| 3. Press Dewarp (toward the bottom left corner) to turn on Dewarp | |
| 4. Tap the yellow up arrow in the upper right corner | |
| 5. Select Panoramic Video | |
| 6. Tap Save to Album | |
| 7. Select 1080P | |
| 8. The export process will begin and save to your photos |